

Photography Tips for Action Sports: Getting Started
As a professional photographer, I’m often asked by friends and strangers alike for my advice on photography. What camera to buy, how did I take a particular shot, how can their photos look more like mine, etc. Along those lines, I wanted to start a series of posts aimed at trying to answer some of the most common questions. We’ll begin with the basics and build from there.
The first question that always gets asked is, “What camera should I use?” There are two answers to that question. The first is to use whatever camera you have or can get your hands on. Be it your iPhone, GoPro, or hand-me-down camera. You don’t need the fanciest or newest camera in order to take great pictures. Just go out and start shooting.
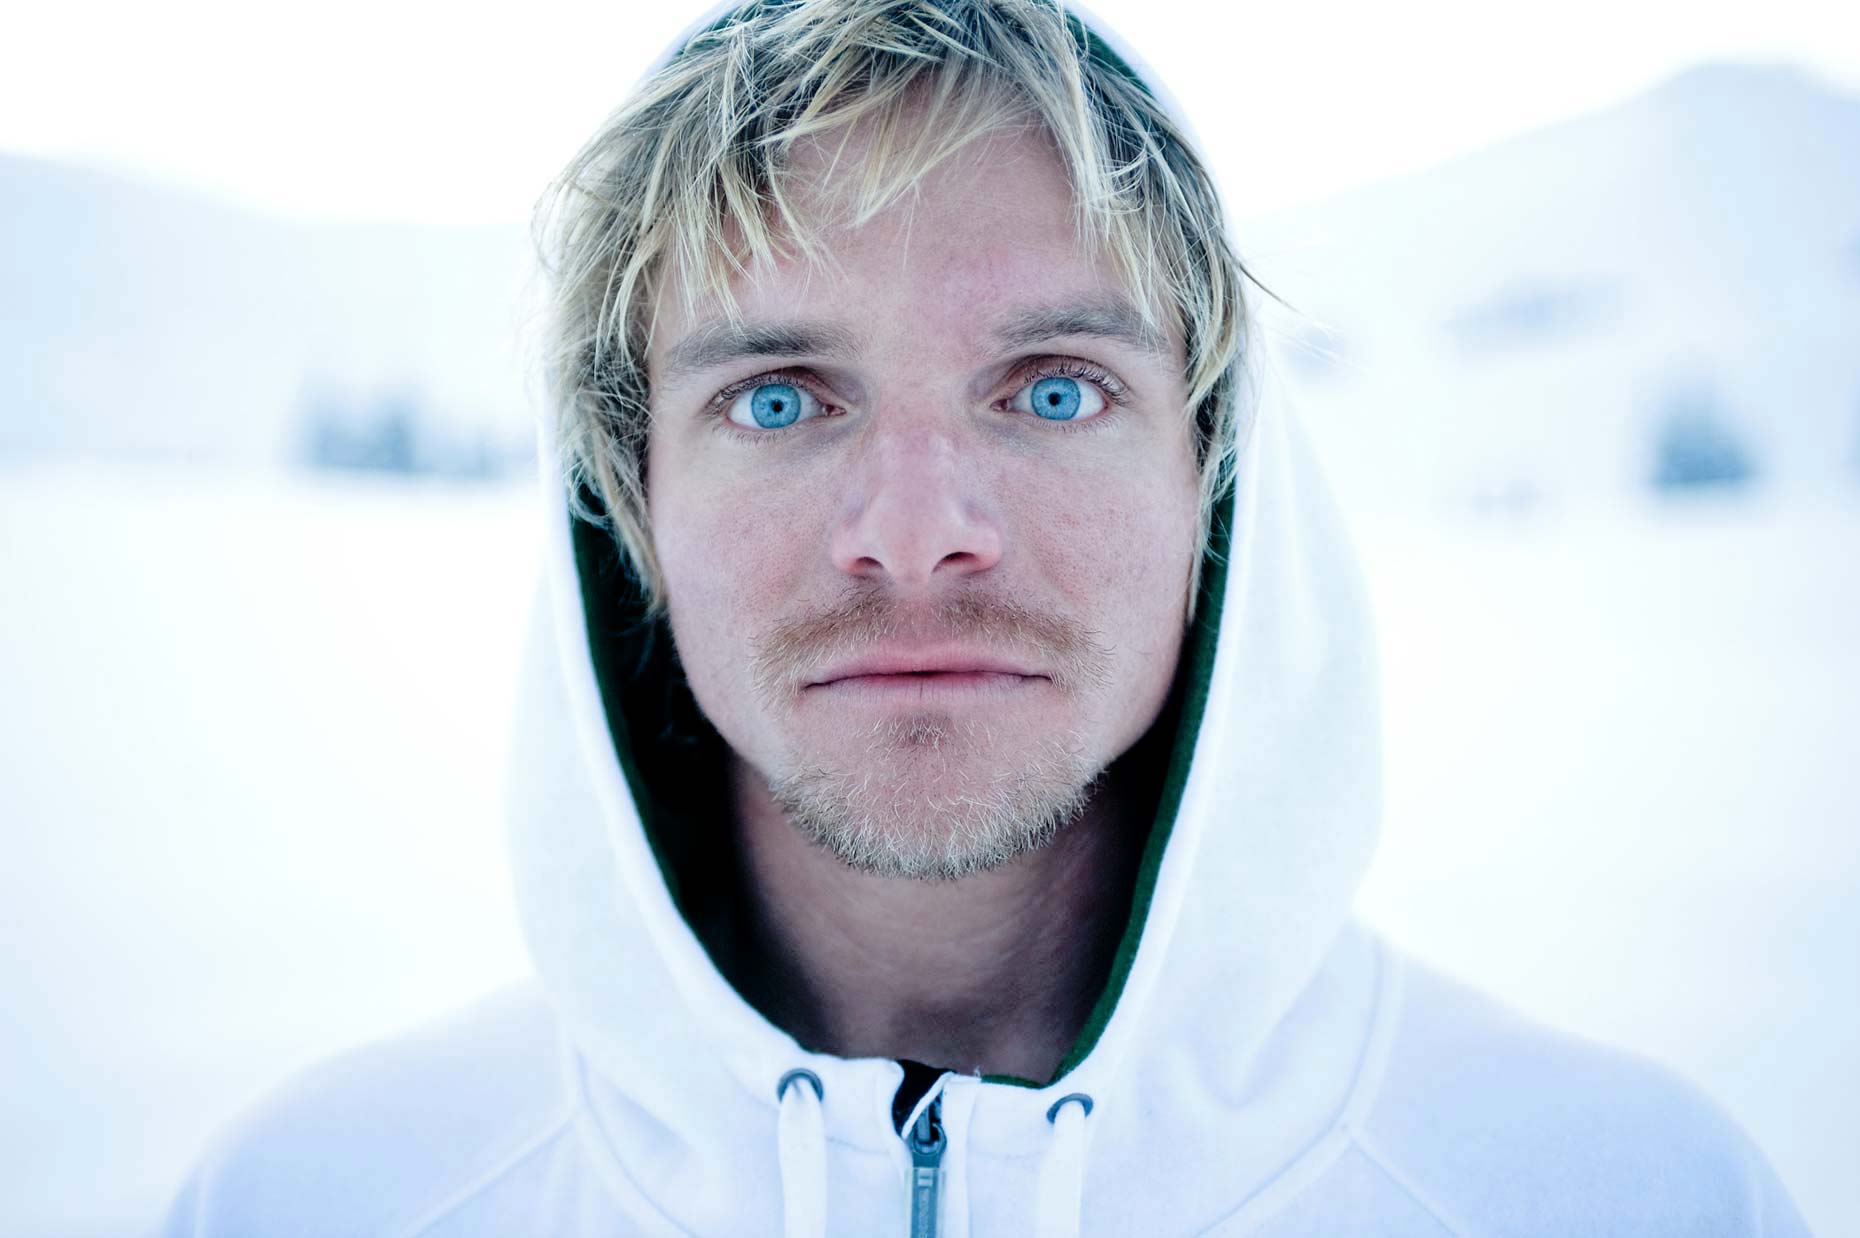
The second answer is, if you’re looking to buy something new, please go visit your local camera store. Cameras are constantly evolving and it’s impossible to make a blanket statement that says “camera x is the best camera around.” So, go to a store that specializes in nothing but cameras. Talk to them about what type of photography you want to shoot and they can recommend the best direction to go.
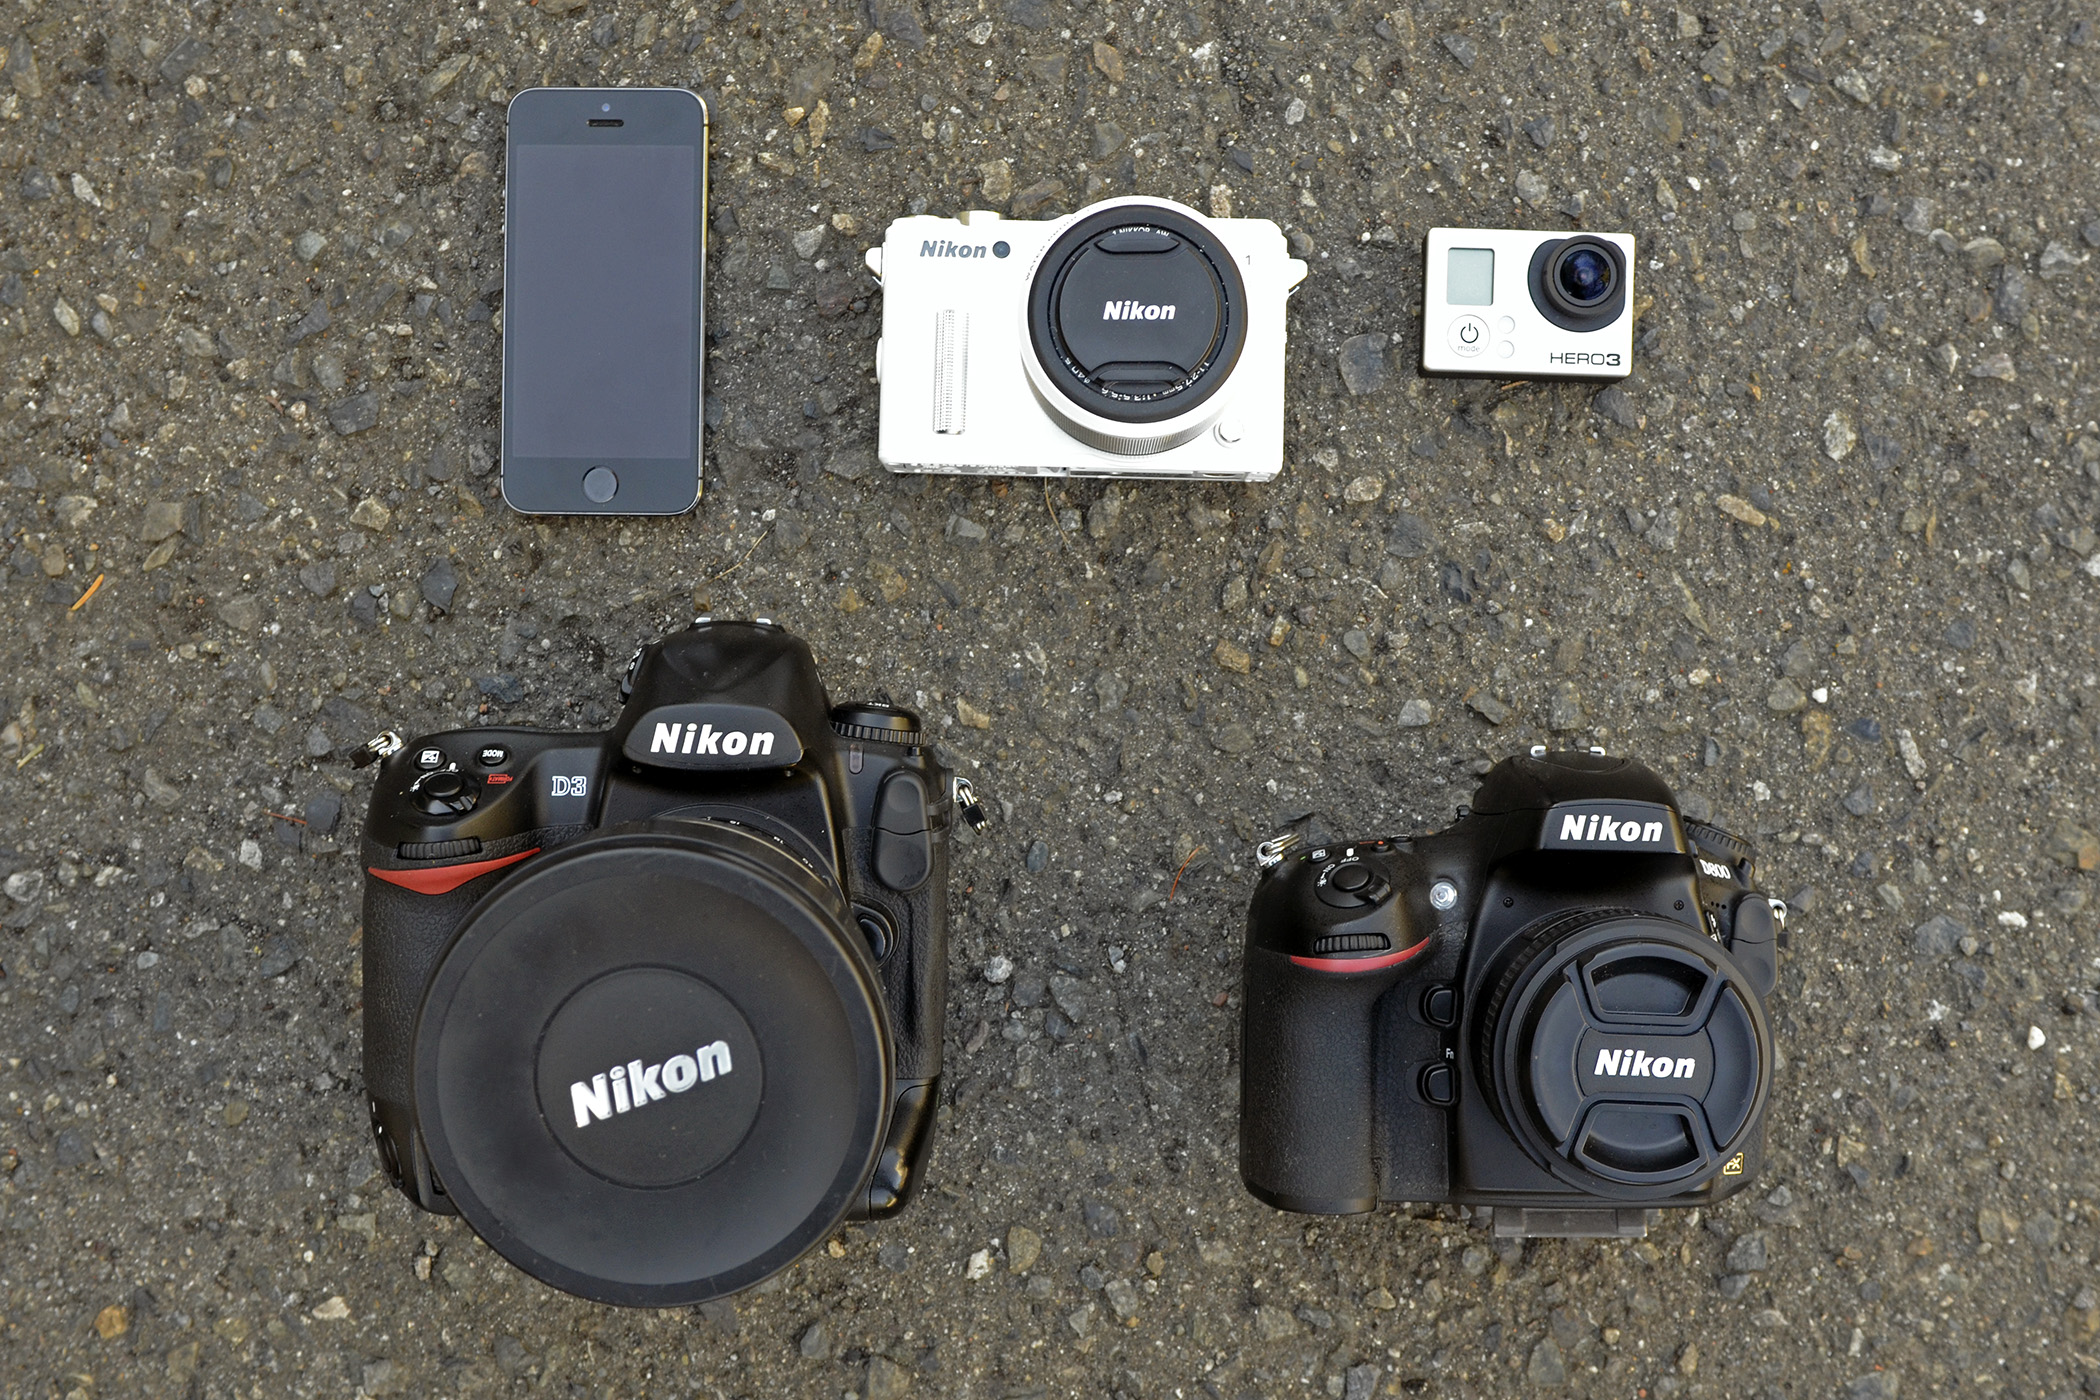
(Camera options: there’s no right “one”)
But if you really want to get serious about photography, buy a camera that that can shoot in full manual mode. If your camera only shoots in automatic mode, it’s impossible to achieve certain types of photos that we’ll be discussing soon.
What quick tips will make my photos look better? The most common way to make a beautiful scene look like a boring snapshot is to put your subject in the center of the frame. Follow the rule of thirds: place your subject in the left/right/top/bottom third of your frame. Whether it’s your friend you’re photographing or the waterfall you just hiked to, compose the shot so that the subject is off to the side of the frame. Your eye will find it more visually interesting.
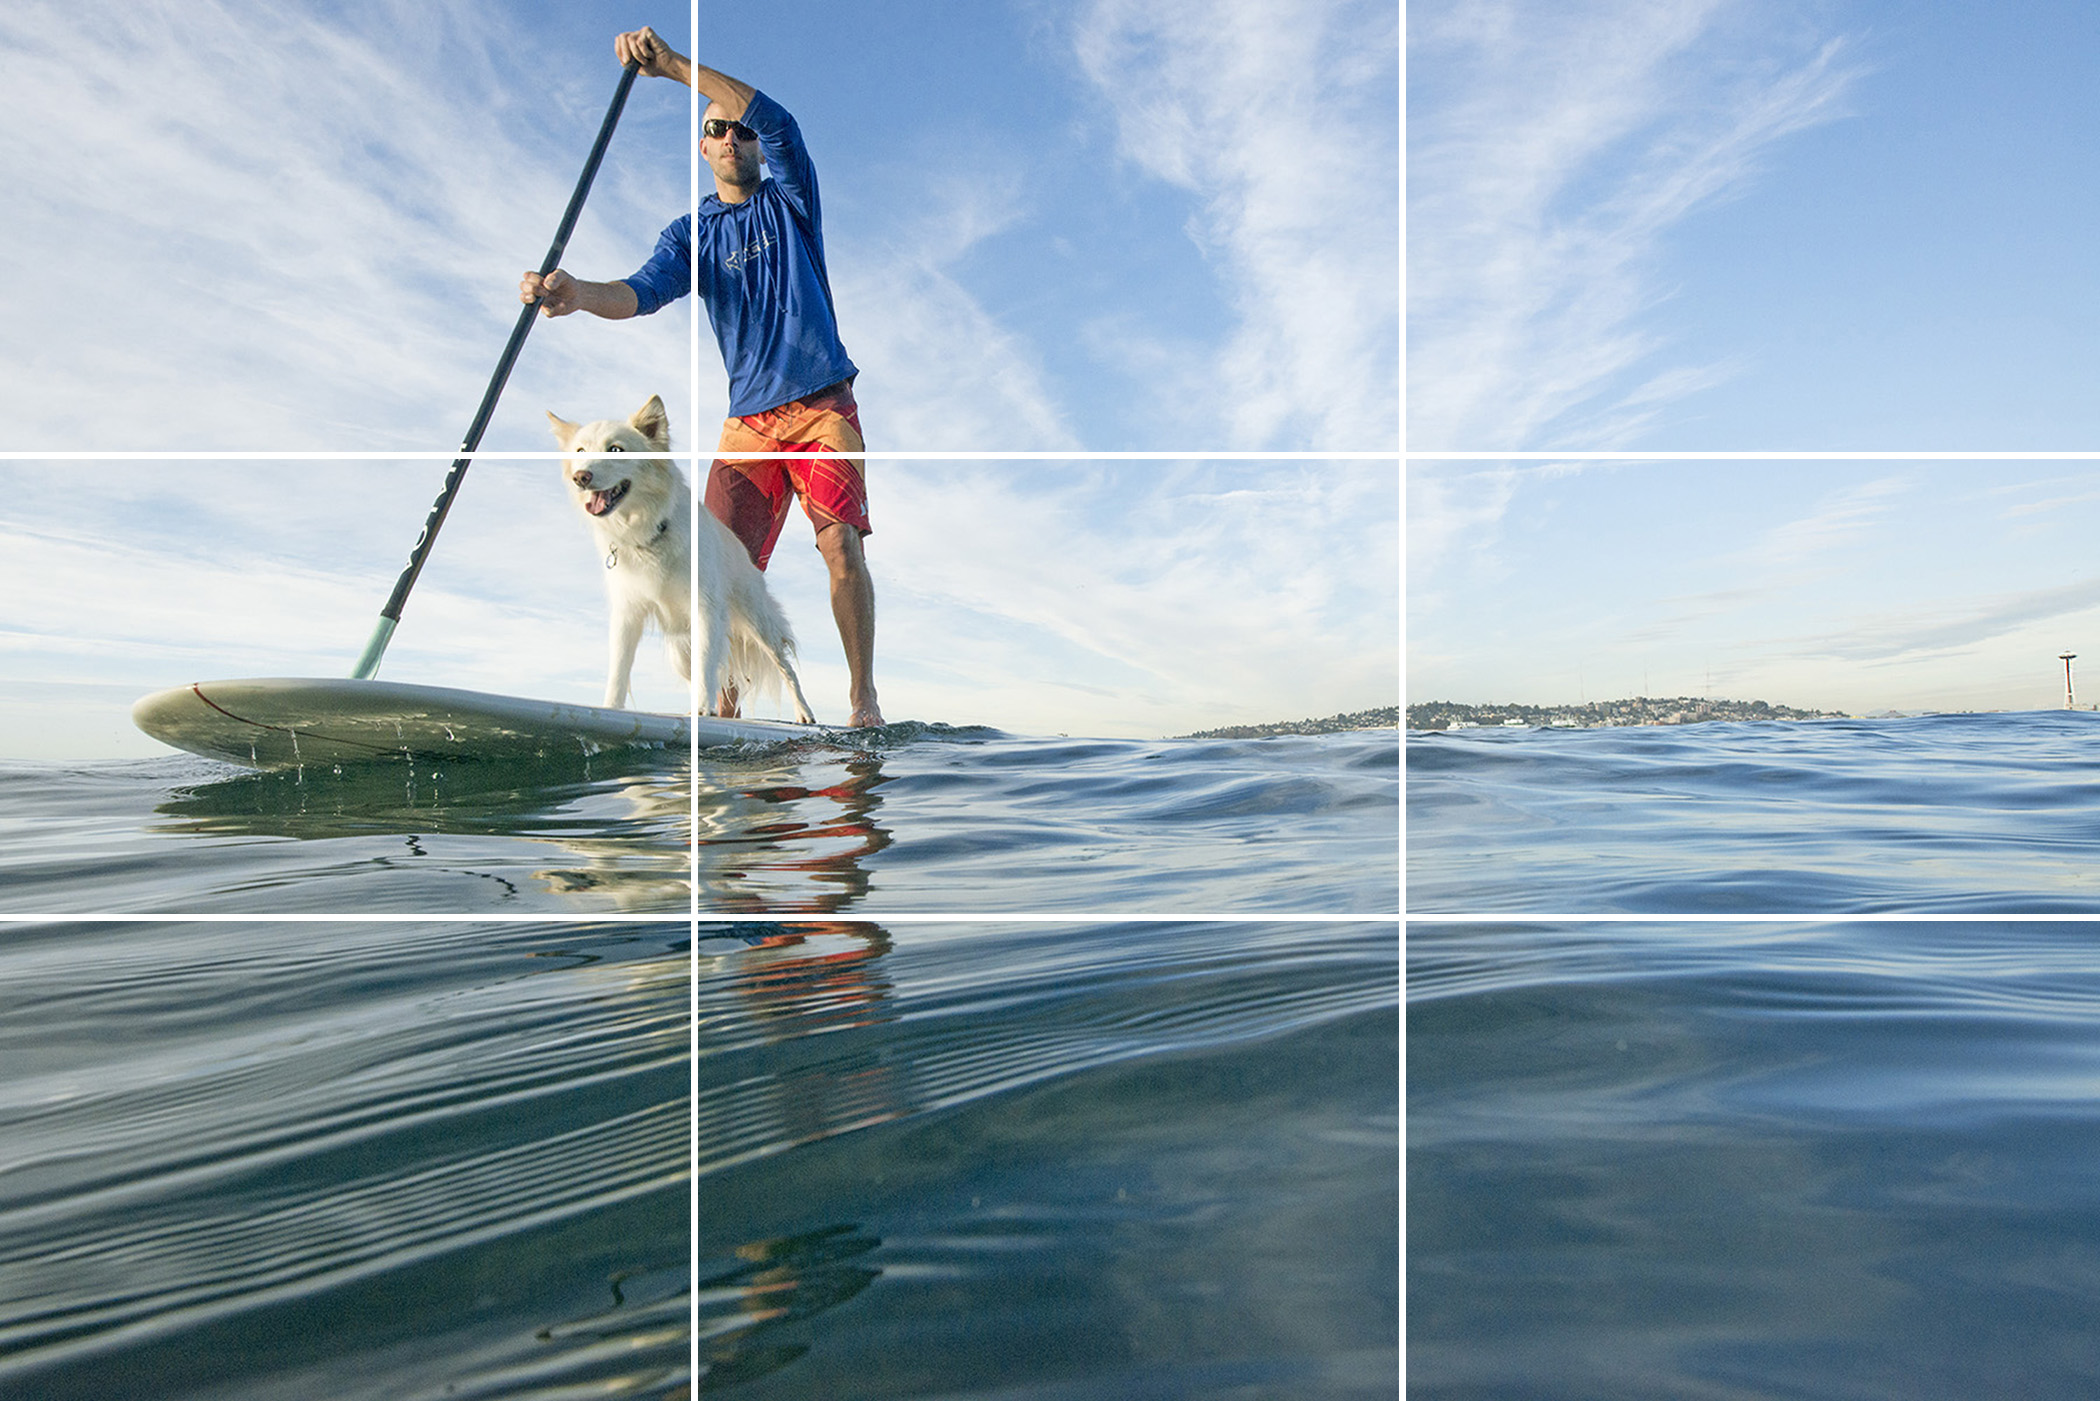
(Rule of thirds – explained)
How do you know if your photo is exposed properly? There’s a quick tool on almost every camera that will tell you how your photo has been exposed, called the histogram. Enable that viewing option on your menu to see how you’ve exposed your photo.

(Histogram – Explained)
The histogram is a graph of the information captured in your exposure with pure black (shadows) on the left side and pure white (or highlights) on the right. The peaks in the graph represent the intensity of that value in your image. To properly expose your image, shoot so that the peaks in your graph are in the middle of the histogram. If your image peaks on the far left, your image is underexposed and there is no information in your blacks. If your image peaks to the far right, your image is overexposed and there are no details in your whites. (sometimes a peak is so over- or underexposed that you have to look to the absolute limit of the graph—far left or far right).
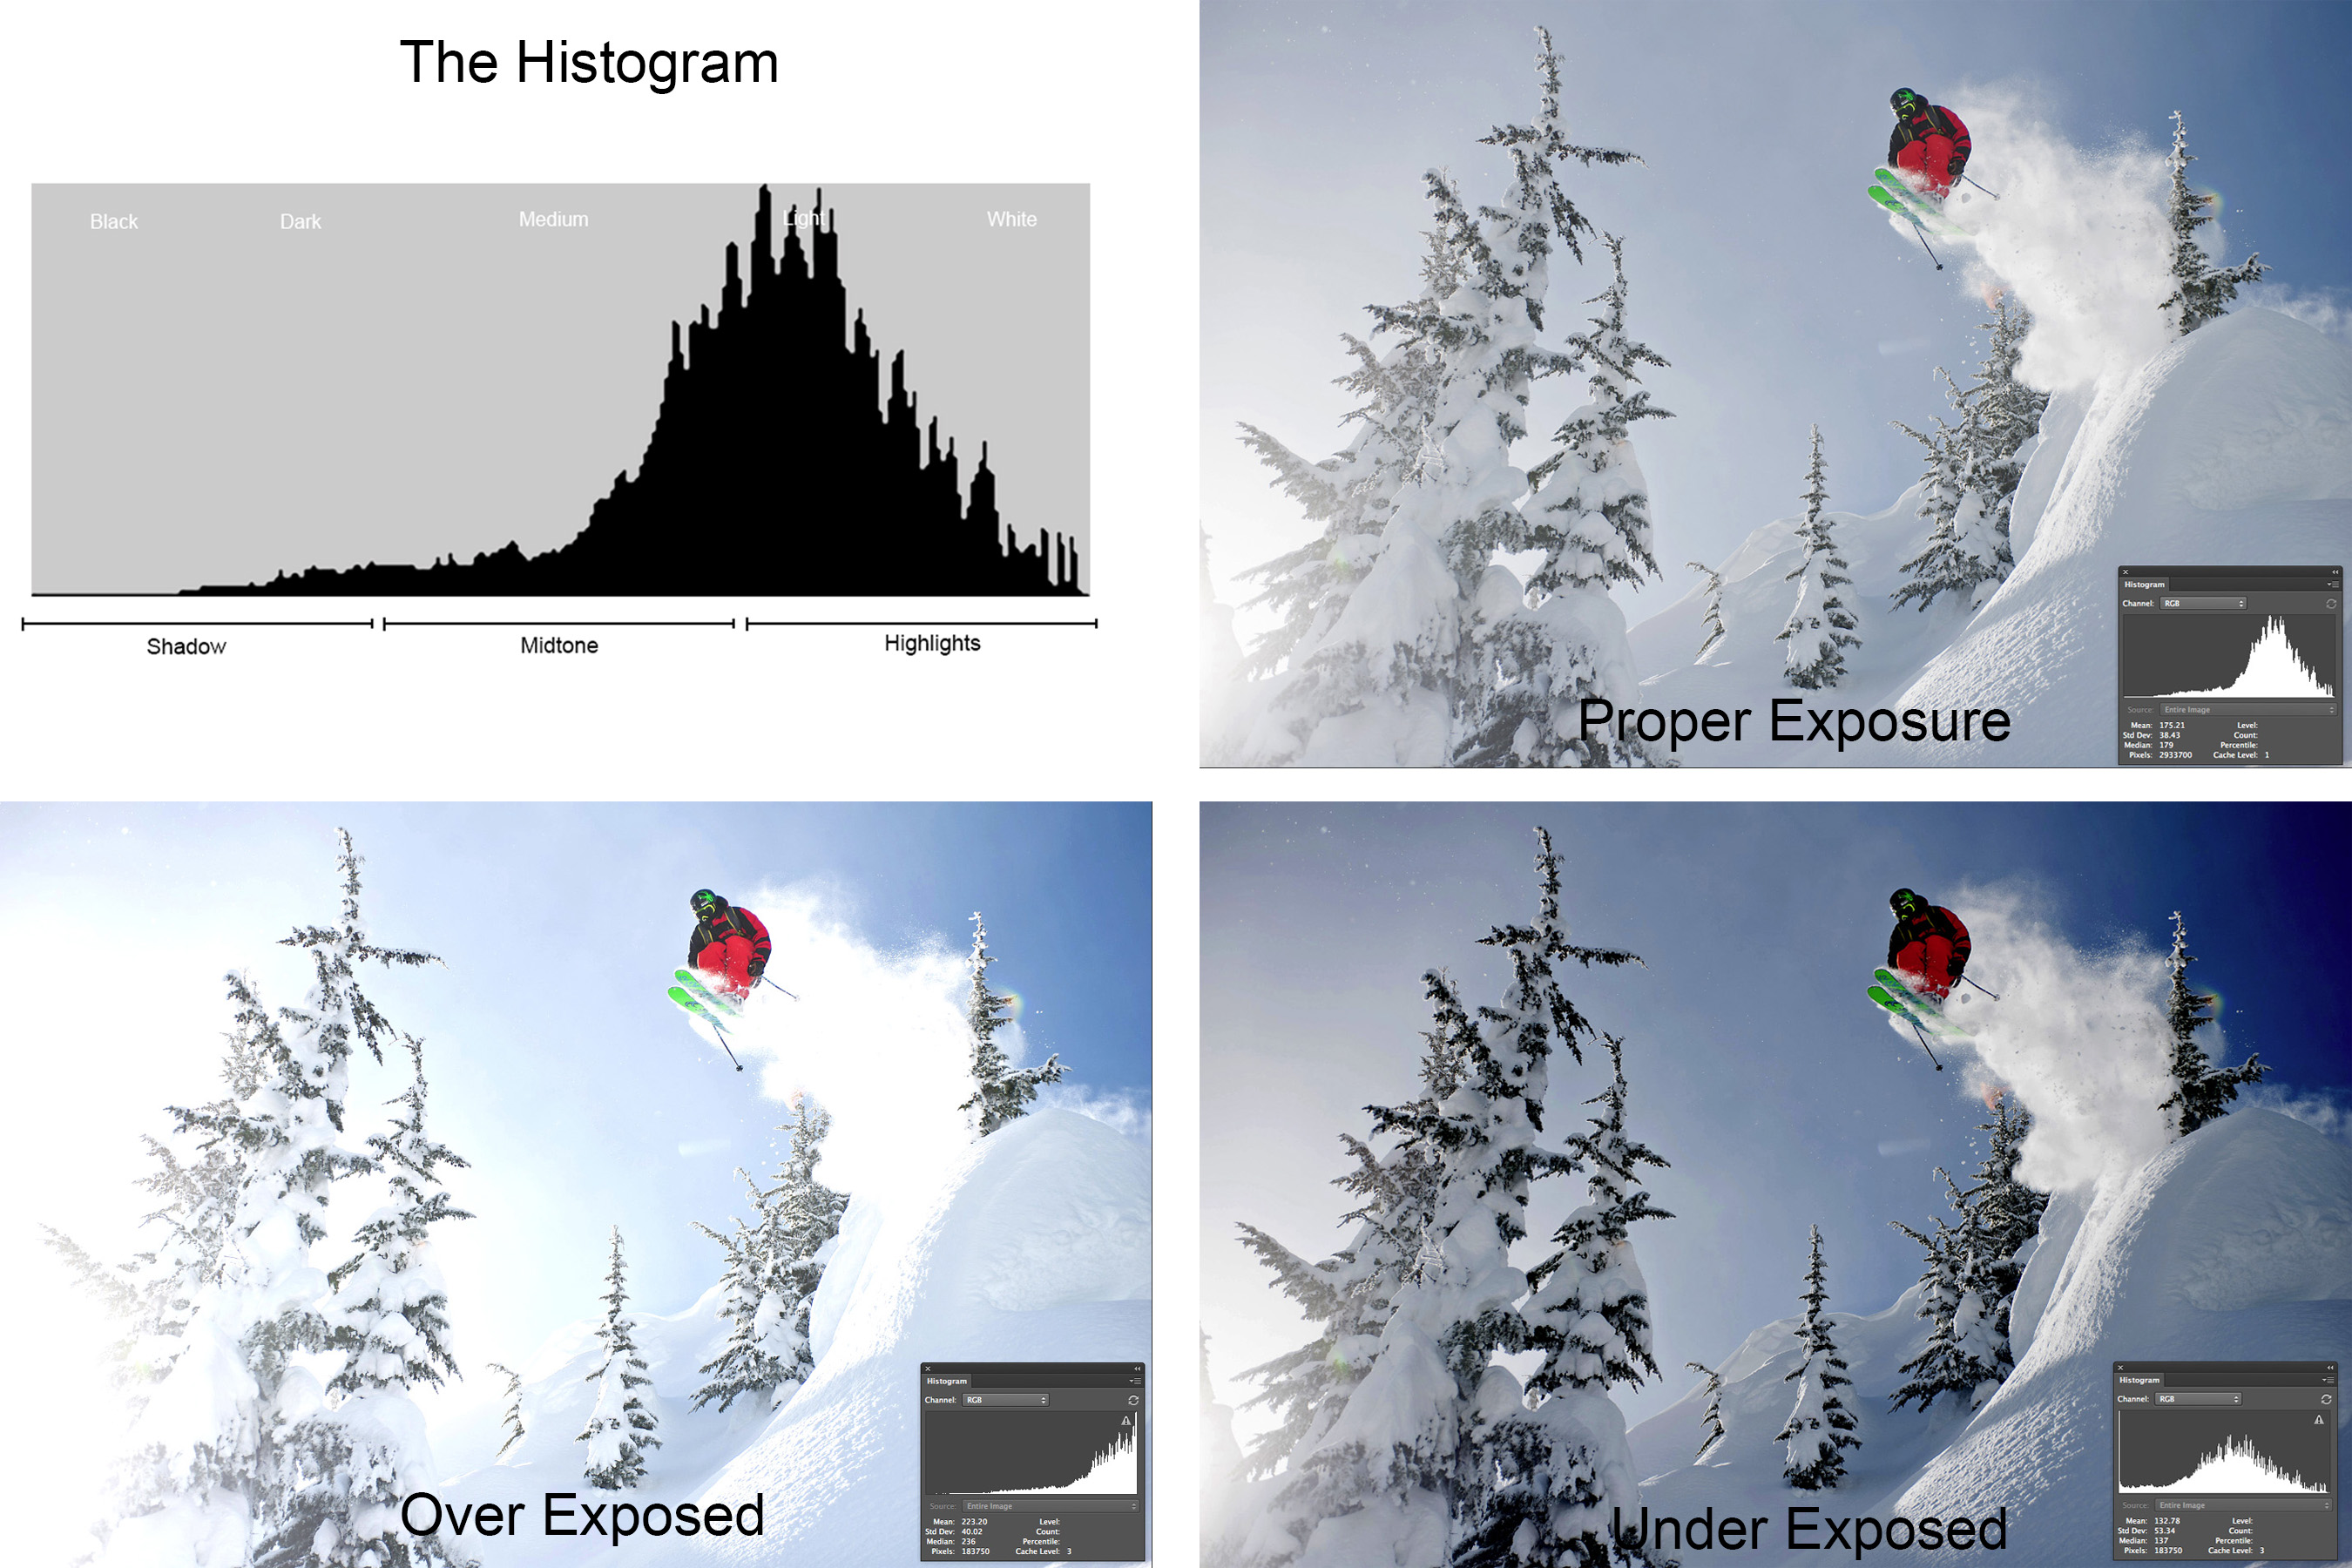
(More Histogram)
What’s the best angle to take a photo from? It depends on what you’re shooting. For portraits and candid shots of people, it’s best to shoot at around their eye level. Looking up at someone or down on someone can be unflattering. For action or scenic photos, try to break away from shooting everything from a standing position. Crouch down (or lie down) to get foreground details. Or get to an elevated spot to look down on what you’re shooting to give it a different or unusual perspective.

(Camera Angels: Get low)
Play around with depth of field. What is depth of field? It’s the amount of your photo that is in focus or out of focus based on the focal point of your photo. In order to make adjustments to your depth of field, you’ll adjust your aperture (or f/stop). A small aperture (large f/stop number, such as f/18) will give you a deep depth of field where most everything in your photo is in focus (from the close up objects to the objects in the distance). A large aperture (small f/stop number, such as f/3.5) will give you a shallow depth of field (where only the object focused upon is sharp and everything else appears blurry). Deep depth of field is good to use for scenic images, while shallow depth of field is ideal for close-ups or portraits. A lot of cameras will have an aperture priority mode (represented in most cameras by “A”) where you can set the desired aperture and the camera will set your shutter speed and ISO.
(Depth of Field – Shallow Depth of Field for Portraits creating a blurry background)
Experiment with shutter speed. Shutter speed is the length of time your shutter is open. Fast shutter speeds (1/1000th or faster) are great for freezing the motion of a quick-moving subject. Slow shutter speeds (1/60th or slower) are great for blurring objects. It might seem that you’d always want to shoot with fast shutter speeds, but that’s not always the case. Try shooting at a slow shutter speed and panning with a fast-moving subject. Do it right and the subject will be sharp and the background will be an artistic blur.
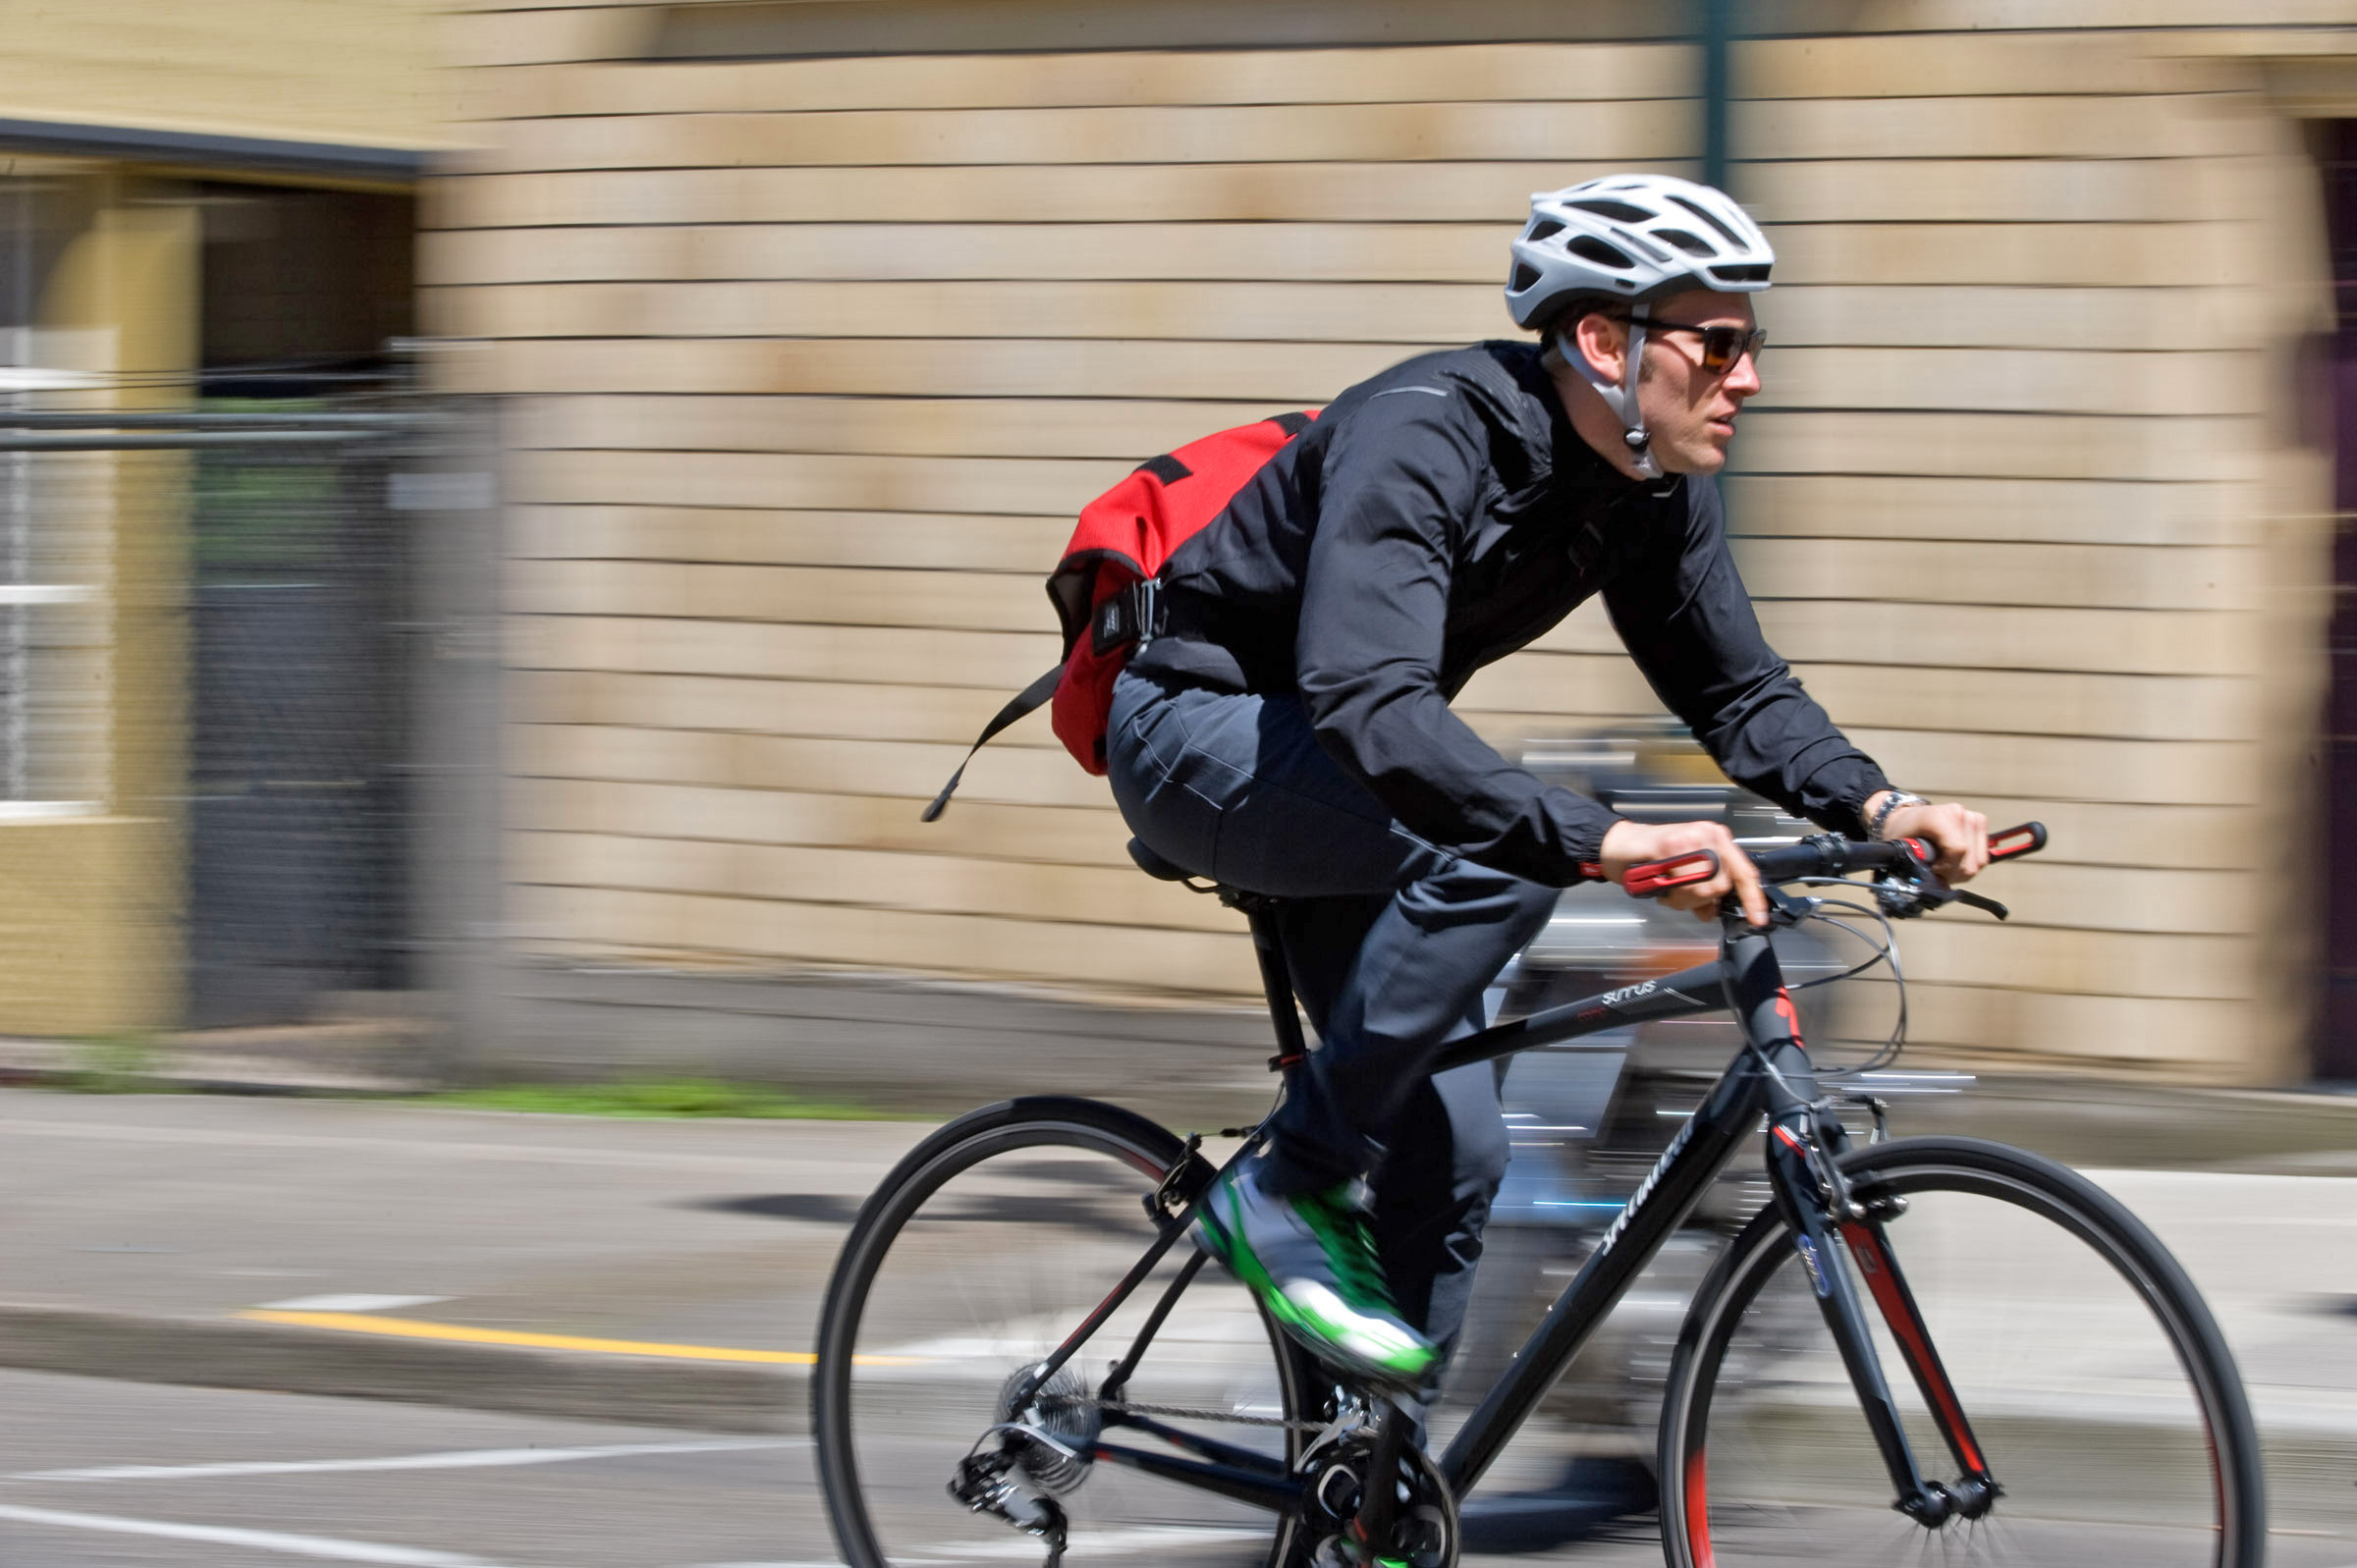
(Slow Shutter Speed – To create motion blur)
Now go out and start experimenting. And stay tuned for more posts on how to improve your action sport and outdoor photos. Cheers!!!
(Originally written and created by Ian Coble for REI. See the original article HERE)


Sorry, the comment form is closed at this time.