

Photography Tips: Shooting at Night Tutorial
Ever wanted cool night shots from an adventure, but you didn’t bother because you couldn’t figure out your camera? Well, keep reading, follow these easy tips, and you’ll be surprised at how easy it is to get an inspiring nighttime image.
That said, whether you have a point-and-shoot or a professional DSLR camera, the first thing you’ll need to do is switch your camera from automatic (designated by a “P” on most cameras) mode to manual (designated by “M”). Even if you’re using your smartphone, there are apps that you can use that will allow you to shoot at the slower shutter speeds needed for nighttime photography.
You’ll need to shoot on clear nights without clouds in the sky. And remember to shoot in the darkest locations possible, away from cities and the light pollution they emit. Be observant of airline flight paths as well.
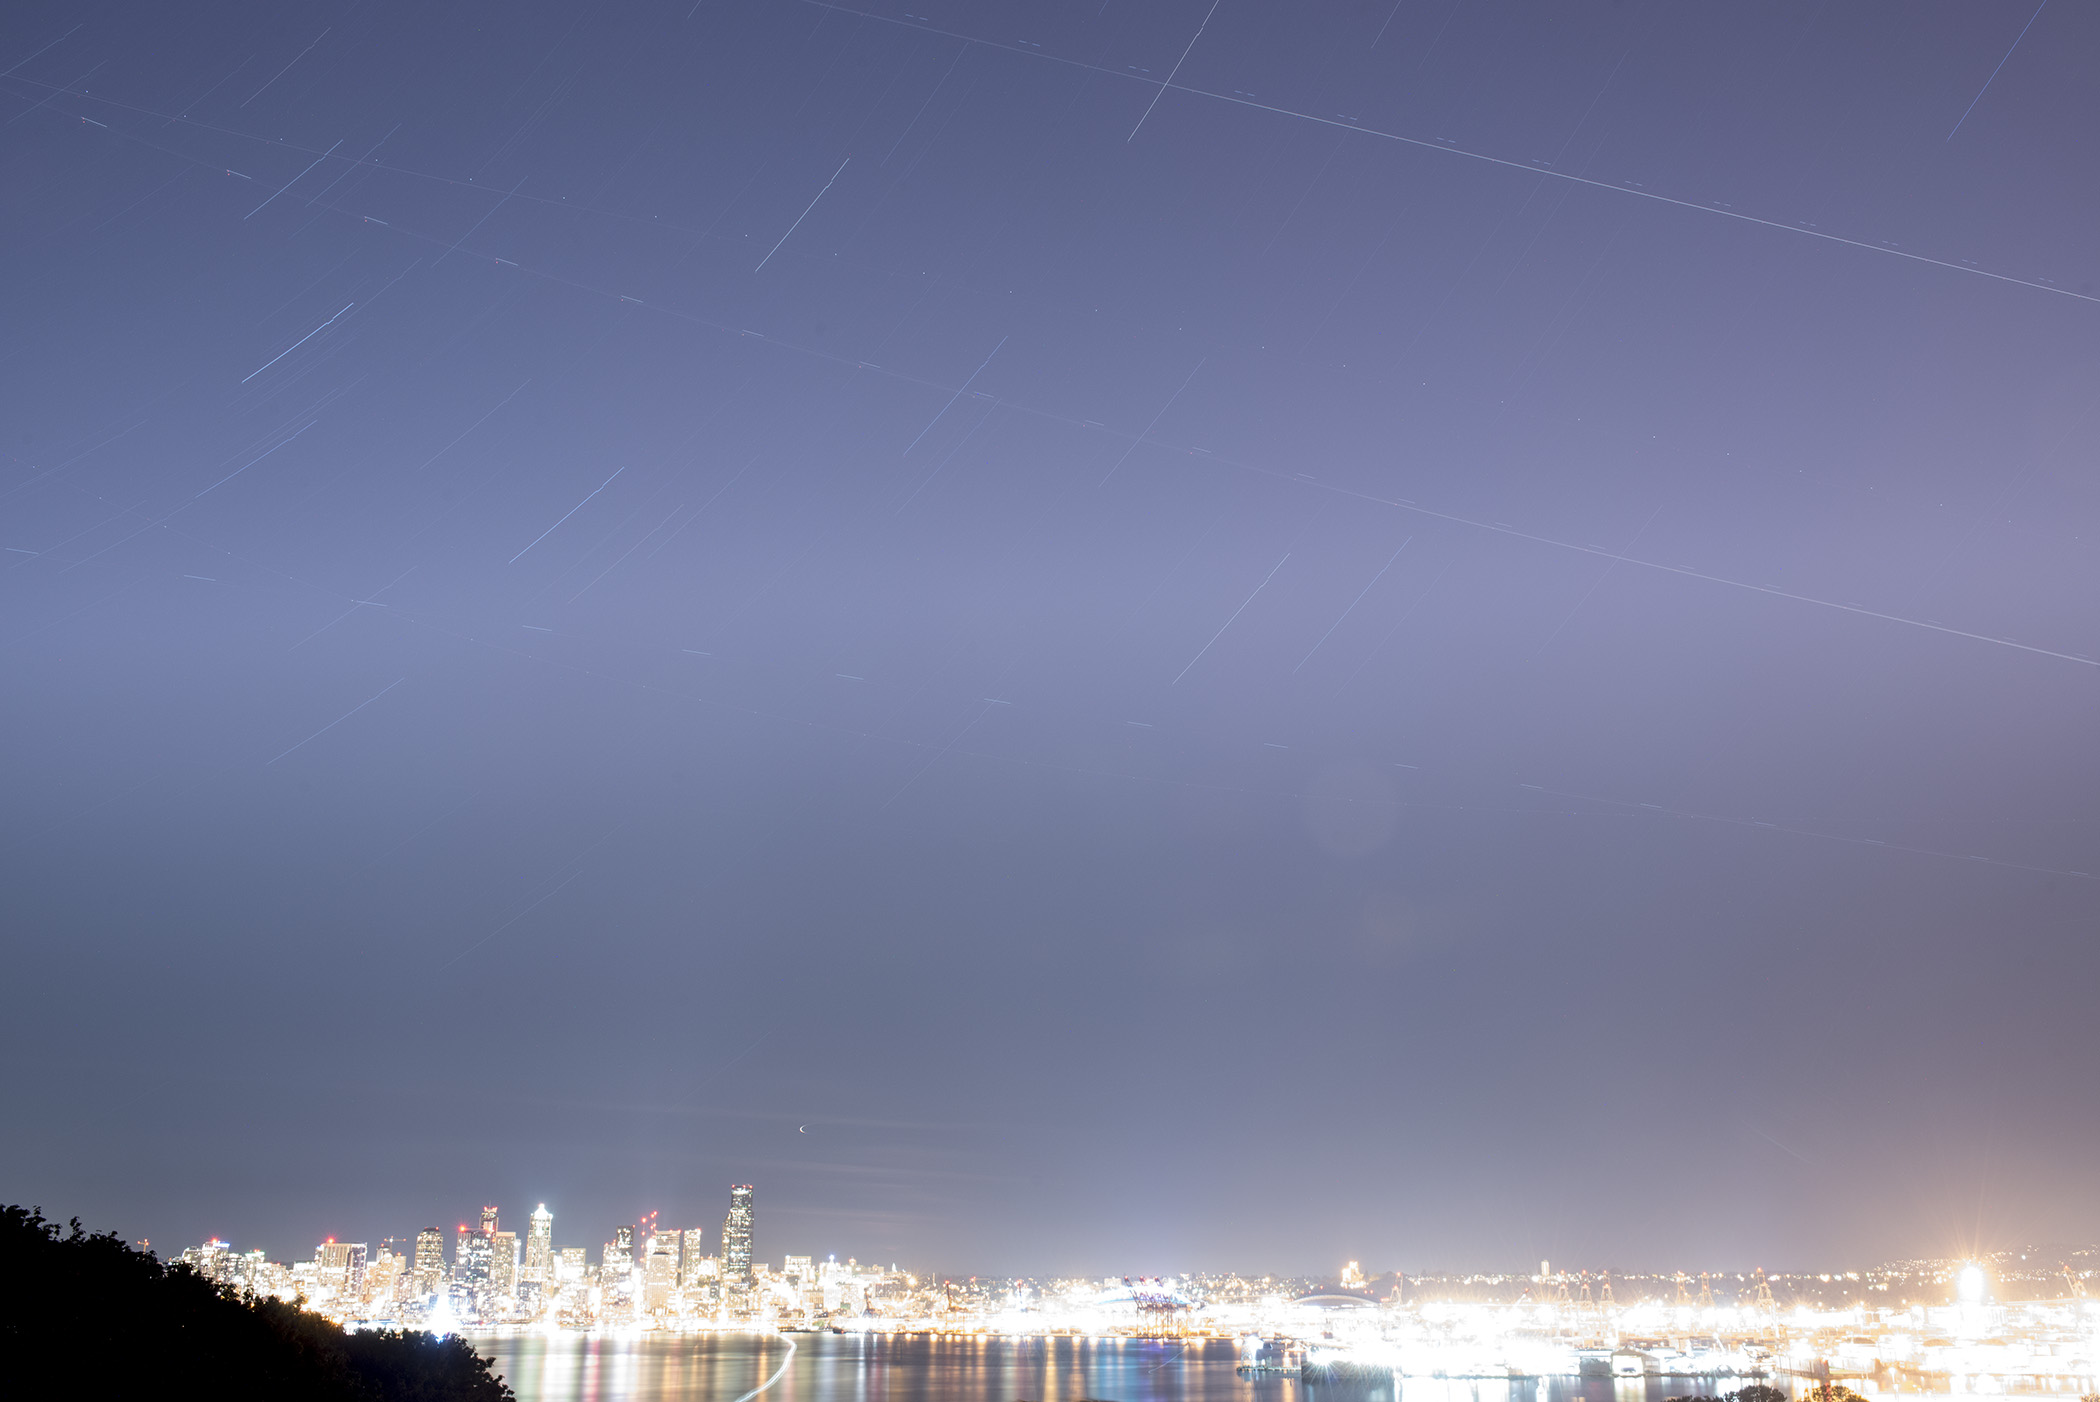
This is an example of what happens when there is too much light pollution or flight paths. You do not want your photos to look like this.
Also, try to shoot when the moon is below the horizon or when it’s at its smallest phase to avoid the light it produces.
Because you’ll be shooting in a dark location, it’s going to be nearly impossible for your camera’s autofocus to work. Switch your camera (or lens) to manual focus and set it to infinity and lock it off.
You’ll need some basic equipment (in addition to your camera) to achieve good nighttime photos. A stable tripod is an absolute must. But don’t feel that you have to buy a $1,000 carbon-fiber tripod. Even a simple backpacking tripod will suffice. As long as your camera is 100% stationary, you’ll be able to achieve good results.
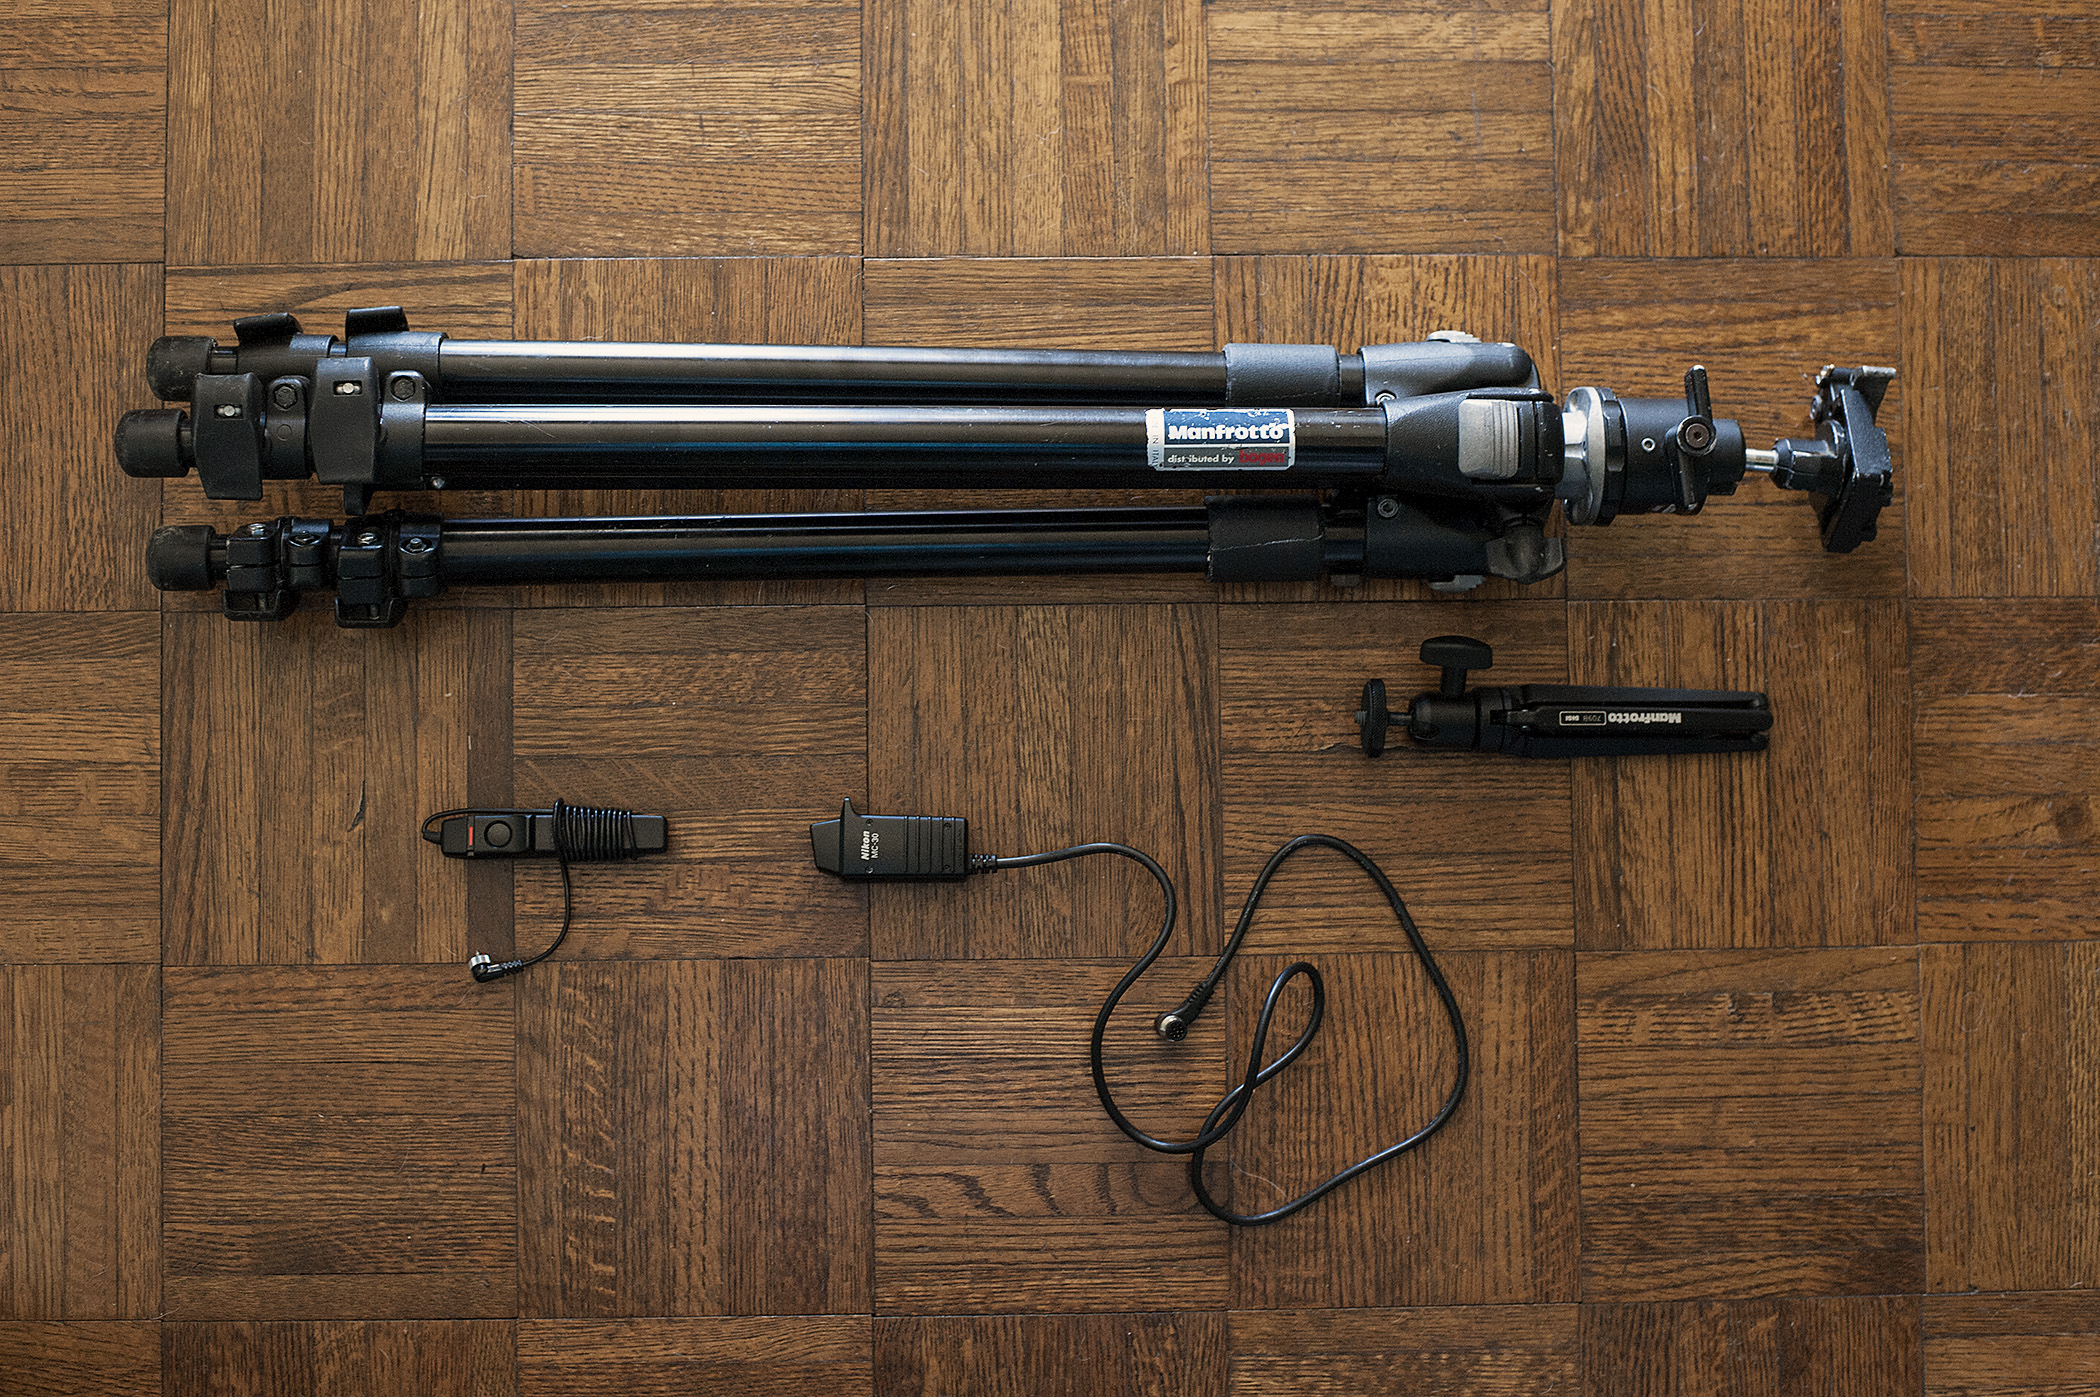
If your camera will accept one, think about picking up a cable release to trip your shutter. Like tripods, you can get an inexpensive one ($15 price range) or you can spend a few hundred dollars. In all honesty, it’s worth the investment to buy one. Even the vibration caused from your finger depressing the shutter can be enough to ruin a photo. And for any exposure lasting more than a minute, you’ll definitely need one.
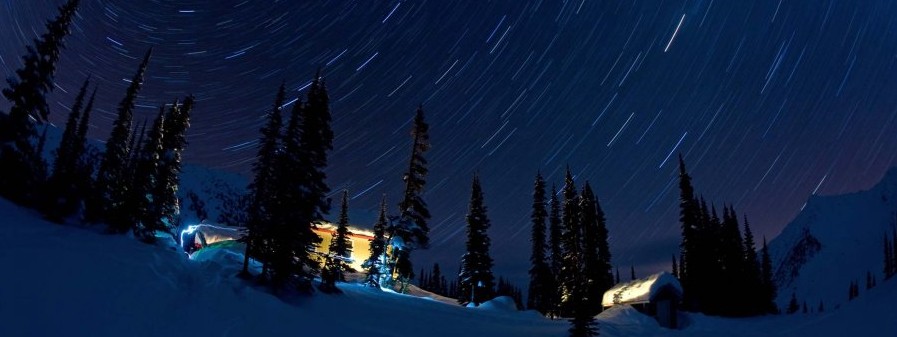
If you want to shoot star trails (where the stars streak across the night sky), you’ll need to keep your shutter open for a minimum of 30 minutes. But experiment with this duration. While 30 minutes will start to create trails, the longer you leave the shutter open, the longer the trails will be. In order to achieve these long exposure times, turn your camera’s shutter speed to “bulb.” Plug in your cable release and trip the shutter. Continue to depress the trigger on your cable release and engage the “lock” button. As long as the cable release is locked, your camera’s shutter will remain open.
Long exposures drain your camera batteries quickly, so make sure your batteries are fully charged and turn off any noise reduction capabilities that might be built into your camera. Consider wrapping your battery with a chemical hand warmer; warm batteries hold a charge longer than cold ones. Or consider keeping your camera plugged in if you’re near a power source.

On cold nights, consider wrapping your lens with some insulation to prevent your lens from fogging inside.
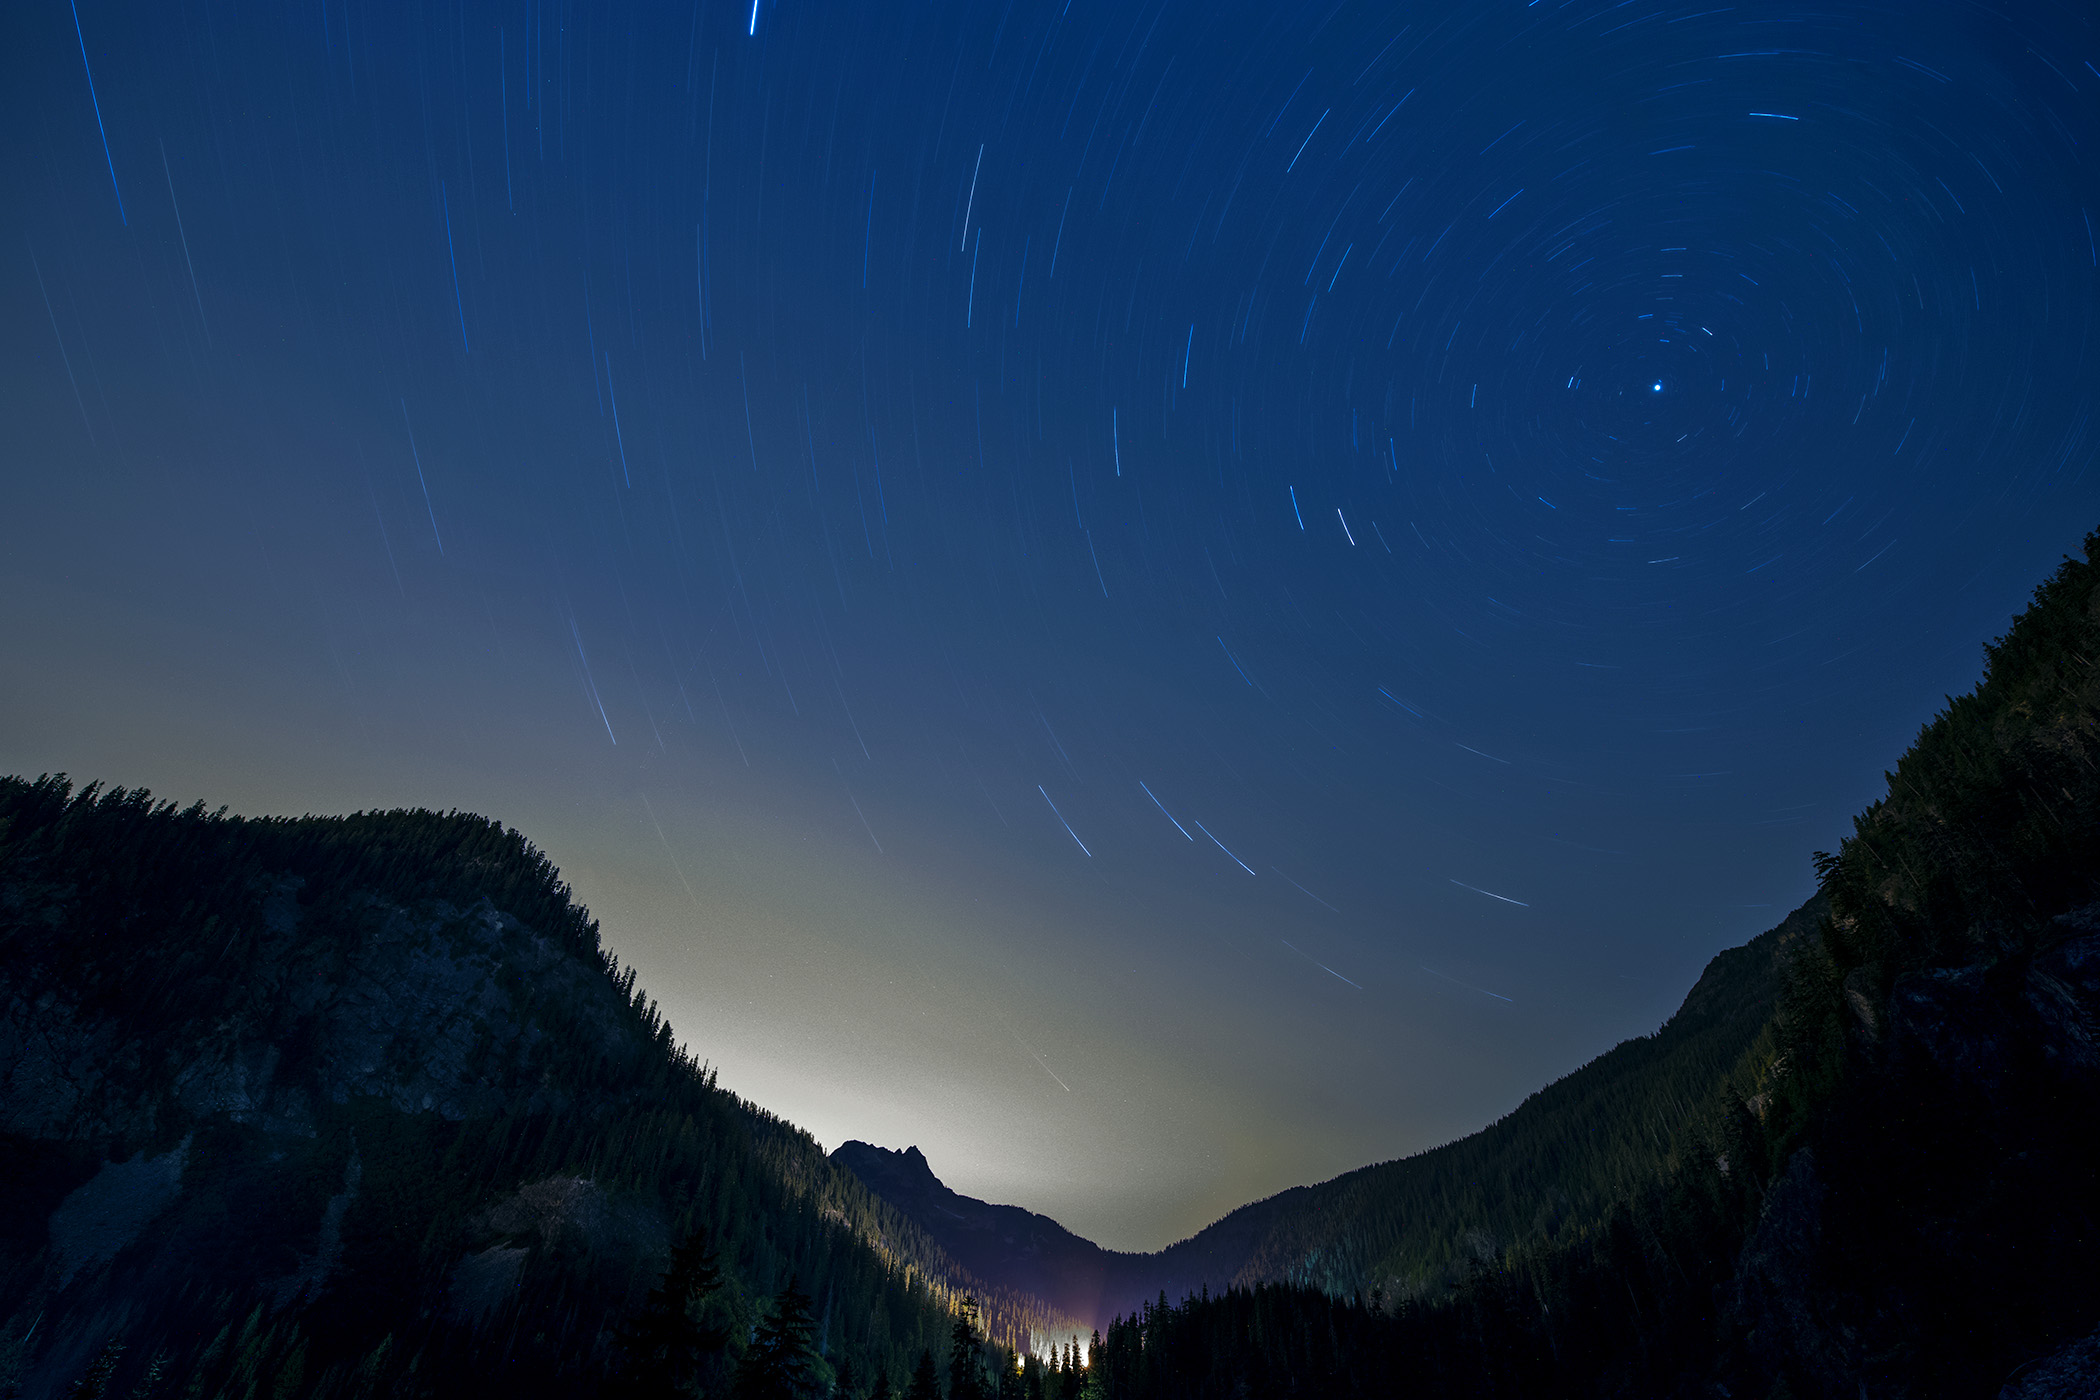
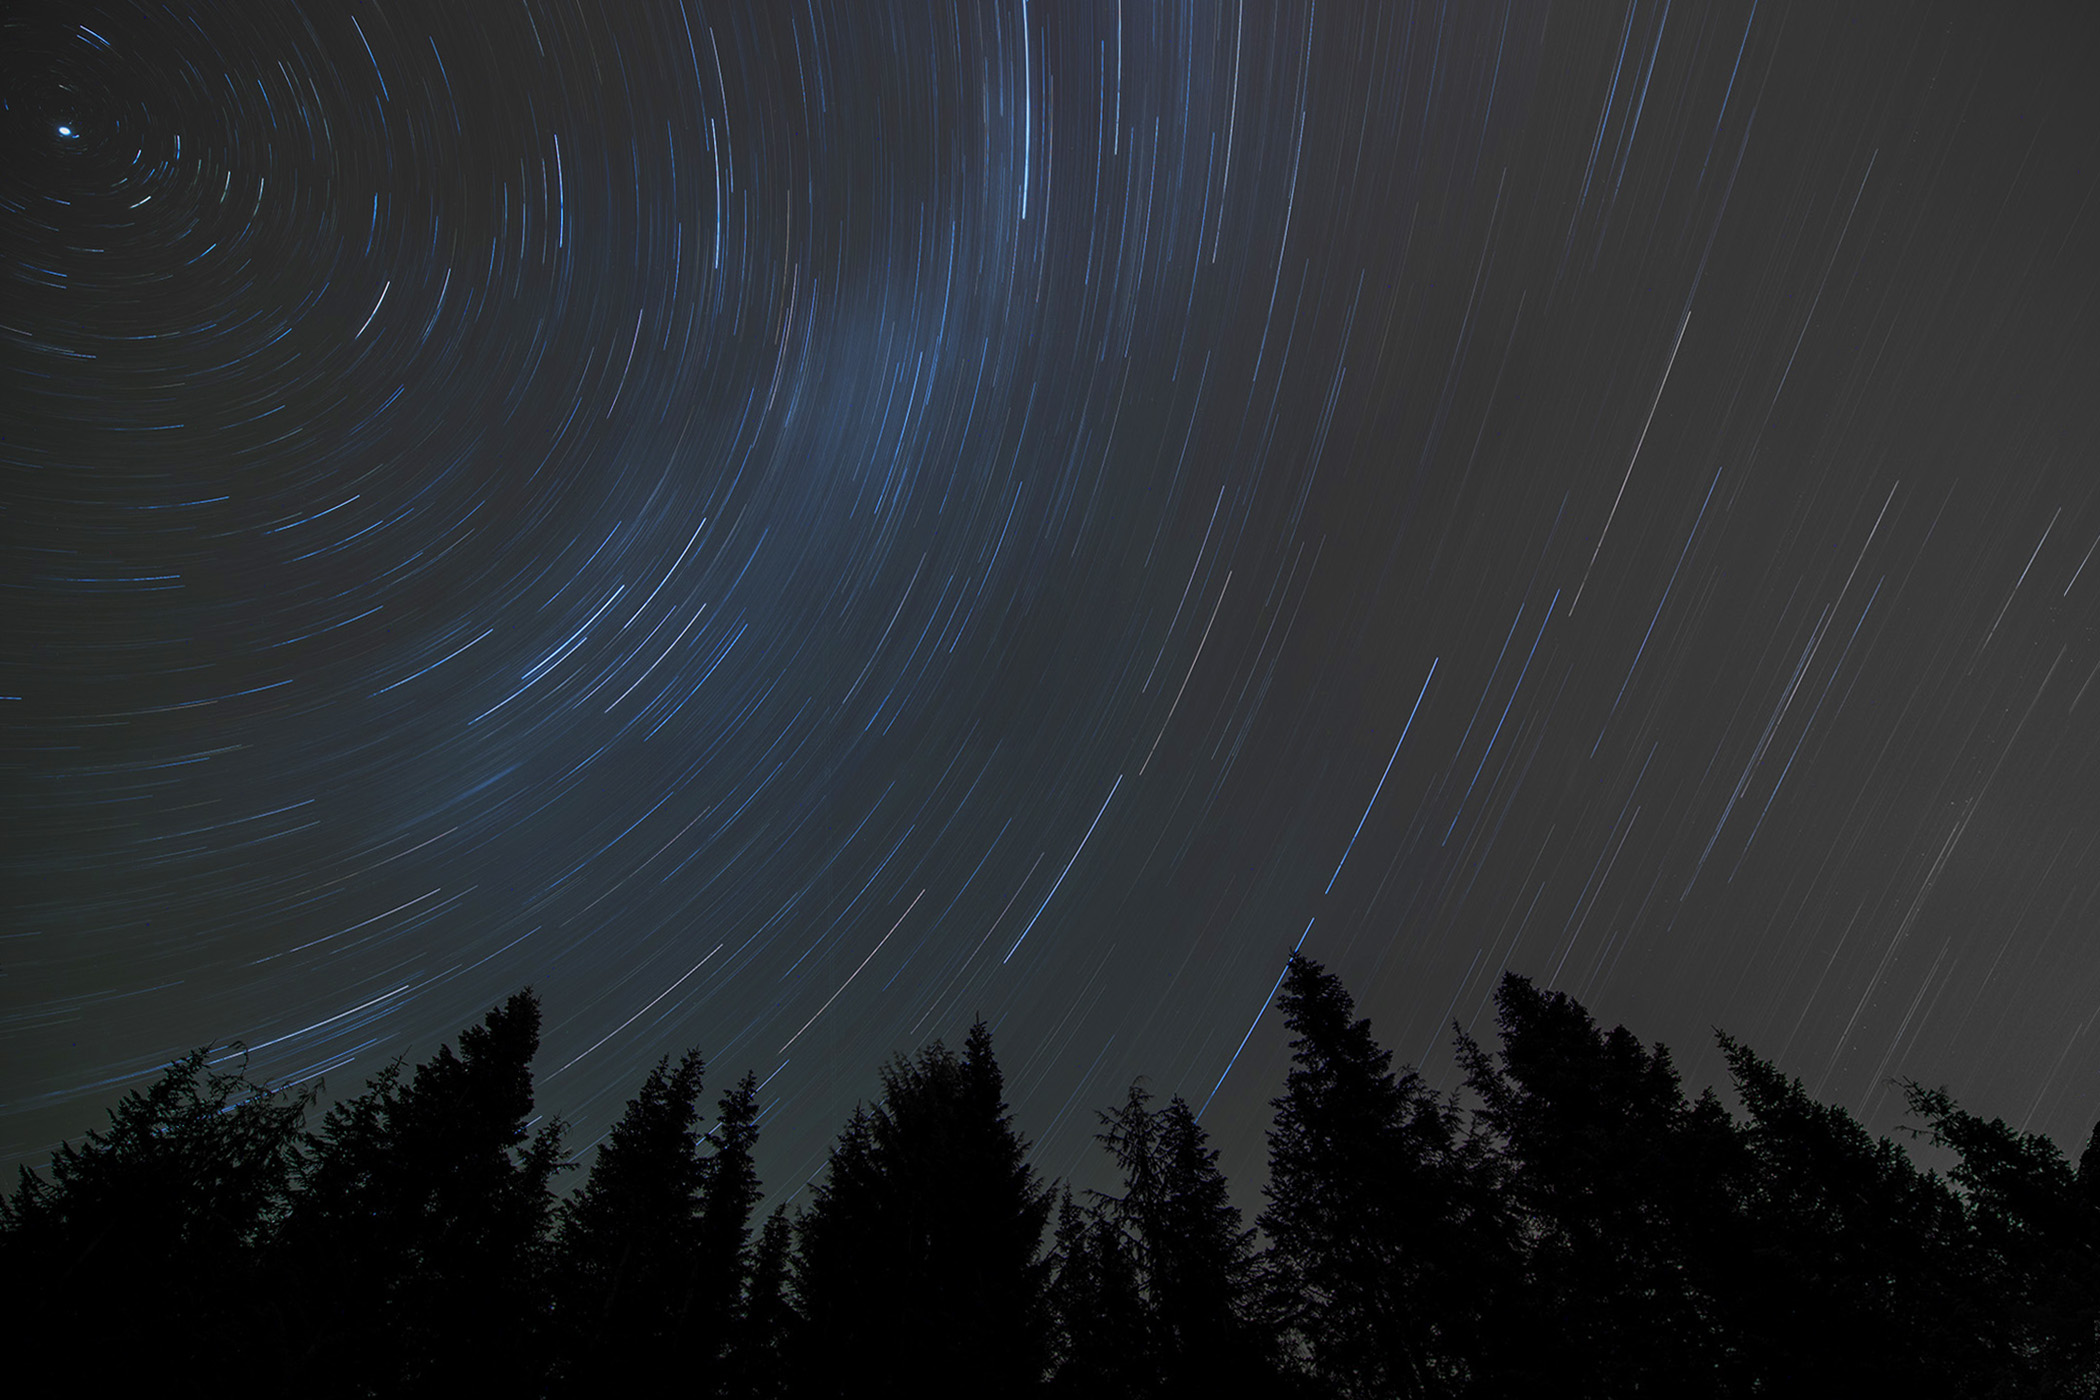
Stars rotate around the North and South Poles. If you want your star trails to rotate around a central point, locate the North Star (Polaris) for the Northern Hemisphere or the South Star (Sigma Octansis) for the Southern Hemisphere and compose your exposure around that point. A star app for your smart phone can help you in this.
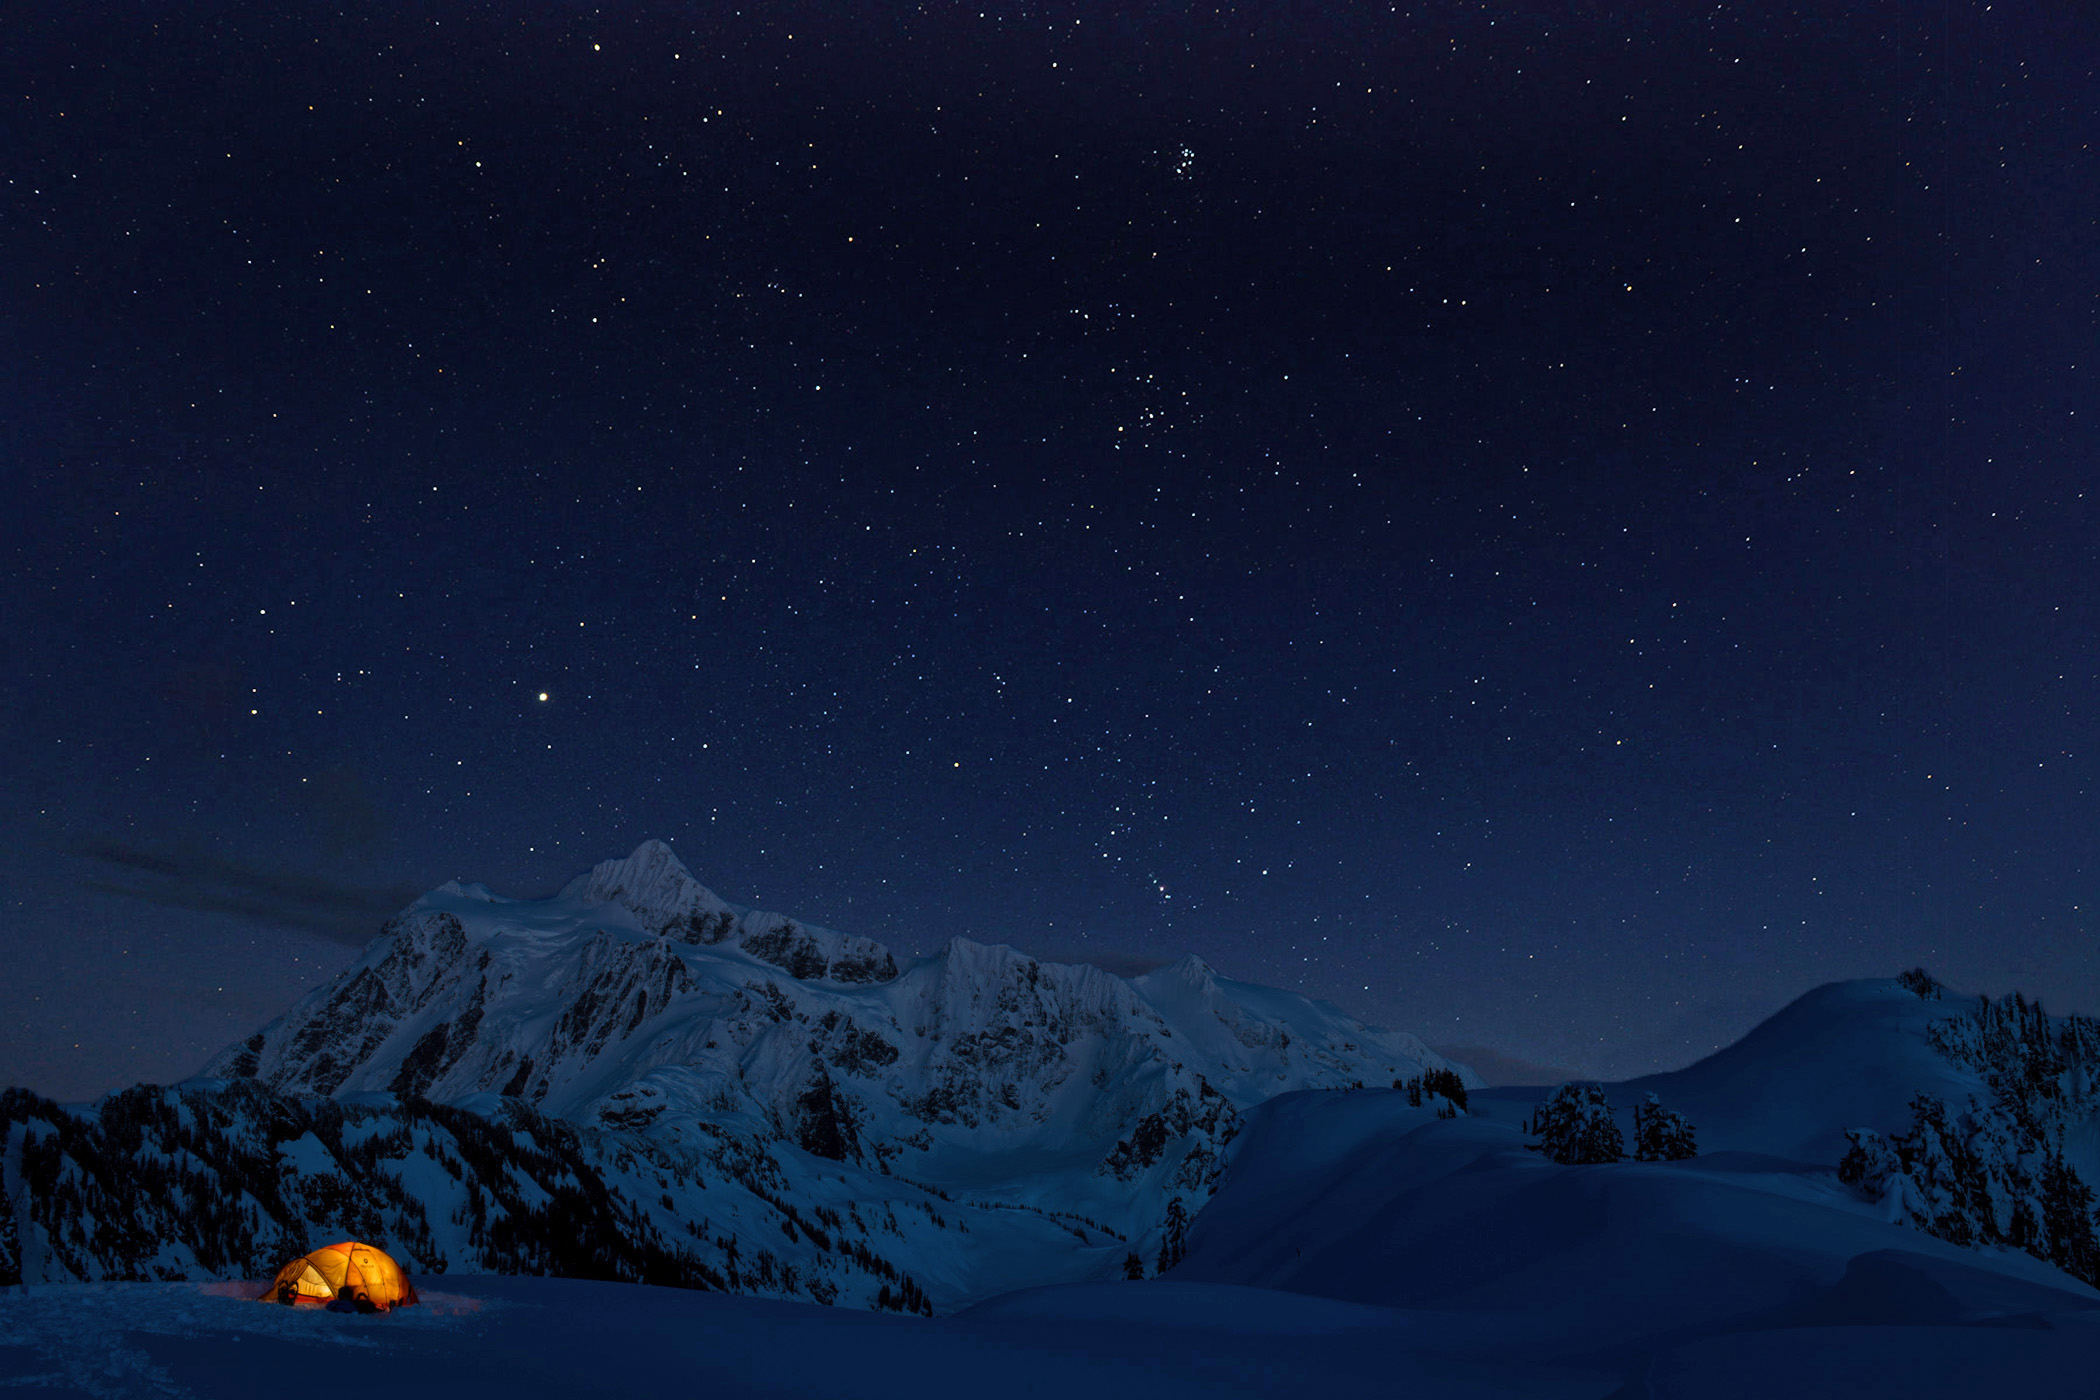
If you want to freeze the stars (and show them as points of light), you’ll need to keep your exposure (shutter speed) shorter than 30 seconds. Anything over 30 seconds and the stars will begin to show movement.
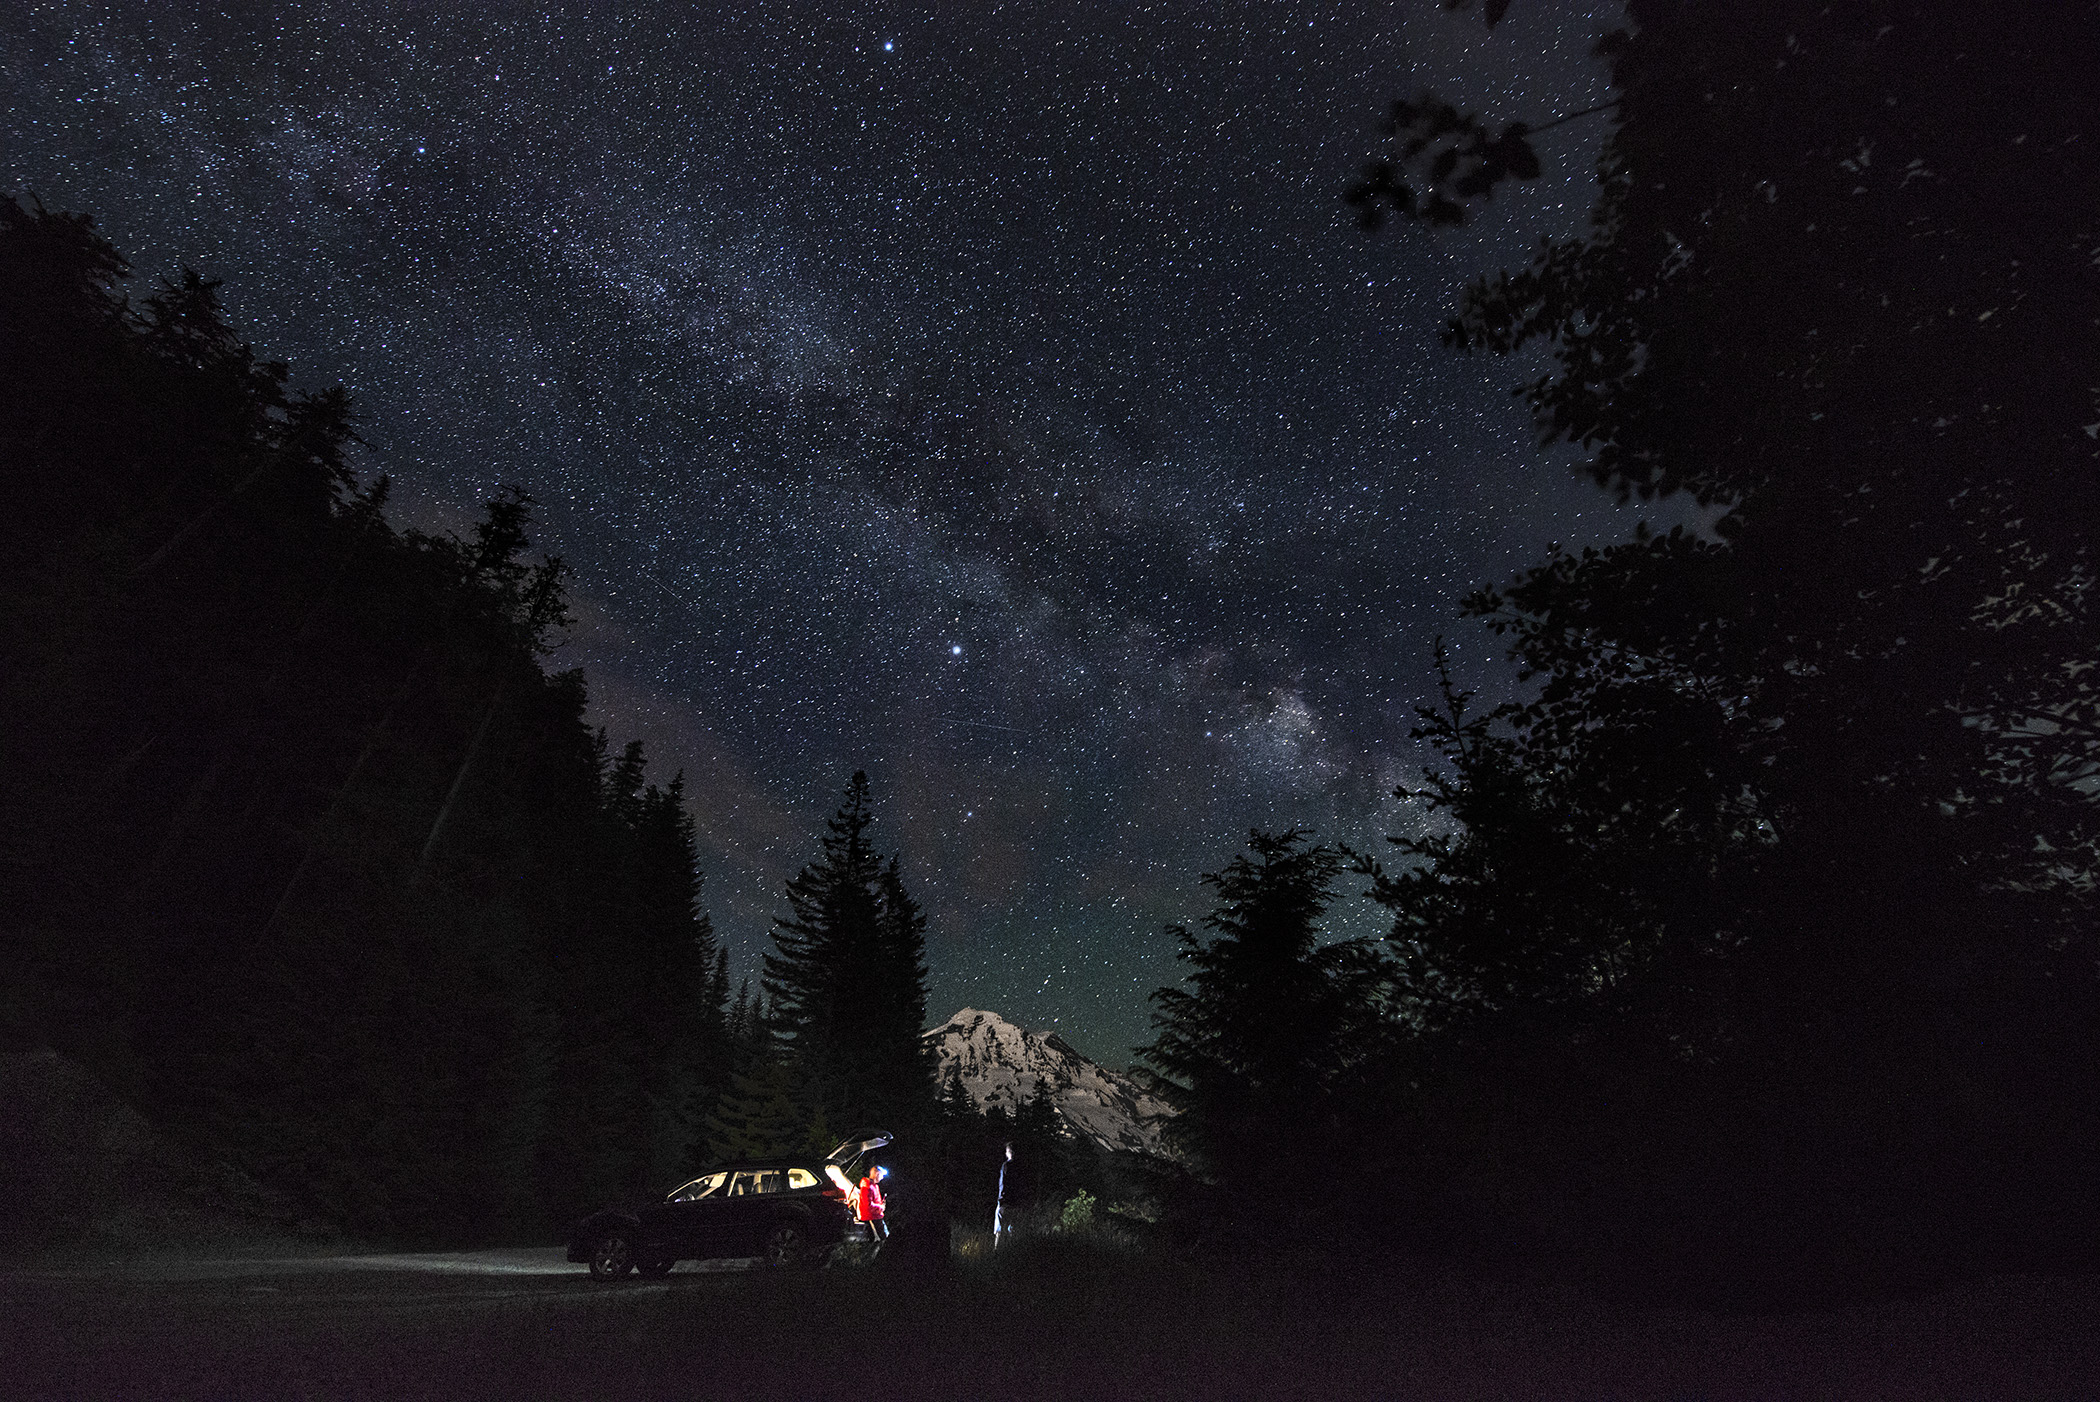
The higher your ISO (your camera’s sensitivity to light) the more of the tiny stars and Milky Way you’ll begin to see. But don’t go too high or your images will begin to get noisy and grainy. Experiment and find the ISO that your camera performs best at.
Experiment and have fun!
Stay tuned for more photo tutorials on how to take better action sports and outdoor photos. Cheers!!!
(Originally written and created by Ian Coble for REI. See the original post HERE)


Sorry, the comment form is closed at this time.