

Photo Tips: How to shoot landscapes – Tutorial
I feel that we, as outdoor enthusiasts, are blessed when it comes to our hobbies. They take us to some of the most beautiful locations on the planet.
For me, that’s definitely one of the driving forces that keeps me going back for more—the desire to see more of this beautiful third rock from the sun. But it’s not enough to just witness what a beautiful landscape looked like at a moment in time: I want to be able to capture it with my camera.
When I first started shooting professionally, I remember all too frequently getting home from a trip and looking through my images and being underwhelmed by them. The sunset looked prettier in person, or the mountains were more striking than how they showed up in print. It took some time, and a lot of experimenting and research, but over the years, I’ve been able to find ways to overcome some of these issues. In this blog post, I’ll go through the most common issues that I’ve encountered—and that I get asked about by others.
Gear: As with all photography, there are infinite choices of cameras, lenses, tripods and accessories that you can carry with you when shooting landscapes. I’ll go into what I carry in my basic kit.
- DSLR camera: If you don’t have one, at least get a camera that lets you control aperture and shutter speed, and hopefully one that shoots RAW image files.
- Wide-angle lens: While you might want other lenses to capture details of a landscape, your primary tool of choice will be a wide angle, which lets you capture a large amount of your surroundings. I carry a 14mm–24mm as well as a 28mm–70mm for these purposes.
- Tripod: I occasionally use a tripod for shooting landscapes, but only for long exposures or when I’m shooting with filters. Others will proclaim that you need a tripod to shoot any and all landscape photos. I’m not that guy. I find that tripods are bulky and cumbersome and often slow you down. I prefer to shoot without them whenever possible; that frees me up to travel with less gear and spend more time shooting, instead of setting up.
- Cable release: You only need one of these if you’re shooting long exposures. If that’s the case, it’s definitely a must-have. If not, leave it at home.
Filters: These could be placed in with the previous gear topic, but considering our subject matter, I think they deserve a little more attention. I’m usually not a huge advocate of filters. They’re expensive, and they take time to use properly. However, if you’re shooting landscapes, they can drastically increase the quality of your photos.
The primary use of filters when shooting landscapes is to darken the scene, selectively or overall. Let’s look at the primary types of filters you might want to invest in:
- Neutral Density (ND): This filter darkens the overall scene. You can purchase them in different intervals, but a 2- or 4-stop ND filter is an invaluable tool. Put one on midday and it will allow you to shoot at slower shutter speeds (such as when you want to blur water).
- Graduated Neutral Density: This filter darkens part of the scene and transitions gradually from dark to light. These filters are great for darkening the sky of your landscape and giving more detail and colors to your clouds and skyline.
- Polarizing: This filter slightly darkens the overall scene, but more importantly removes glare. This is great for getting more detail out of clouds in the sky, and also for removing surface glare from water (allowing you to see what’s beneath the surface more easily).
The ideal goal of shooting with any filter is to create an image that requires minimal retouching once you import it into your computer. However, if purchasing filters isn’t an option, or you just don’t want to be burdened by them, you can rely on technology to help you out. There are software options you can purchase that will create the same filter affects to your images after you’ve already shot them.
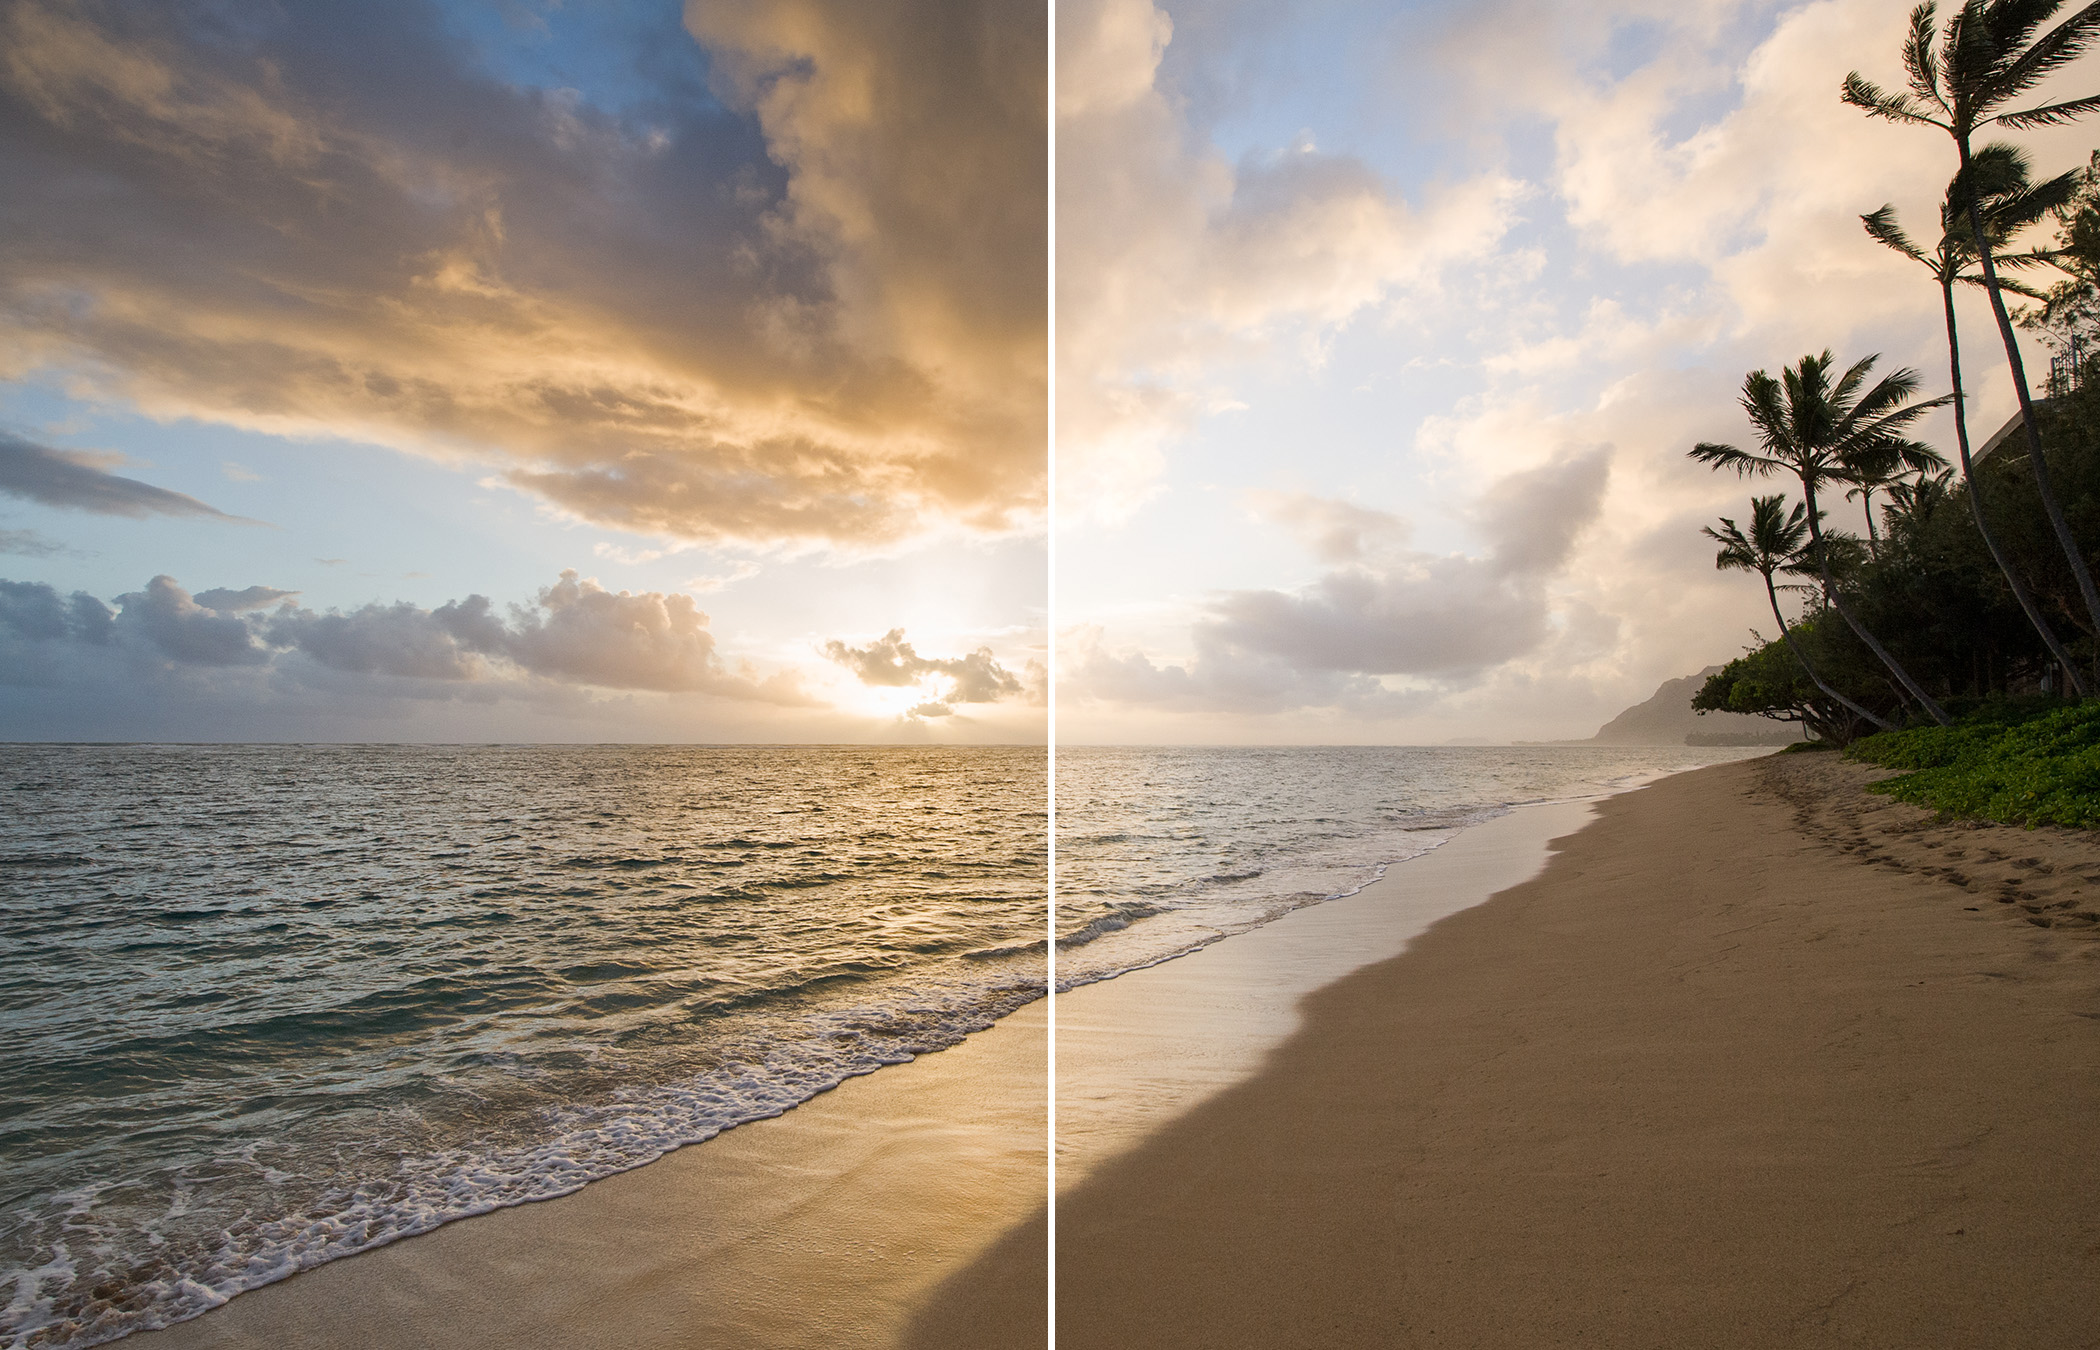
(Left image shot with a 1-stop graduated neutral density filter. Right image shot without any filter.)
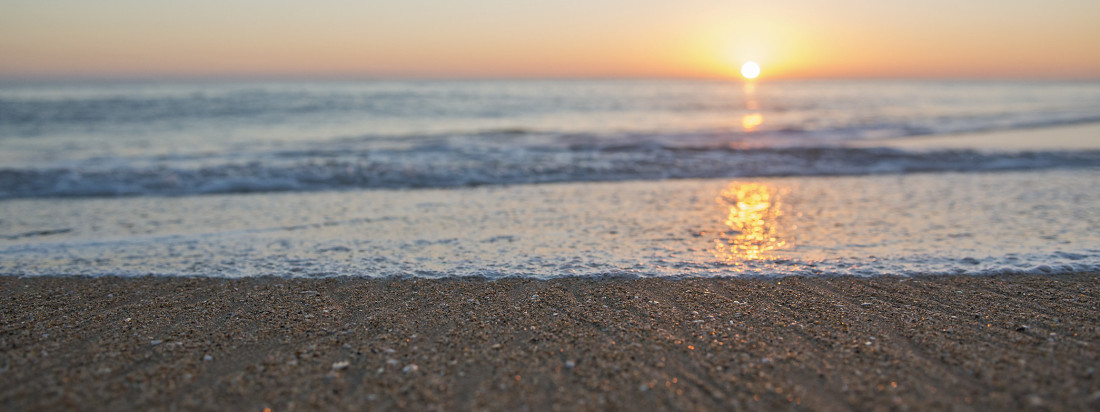
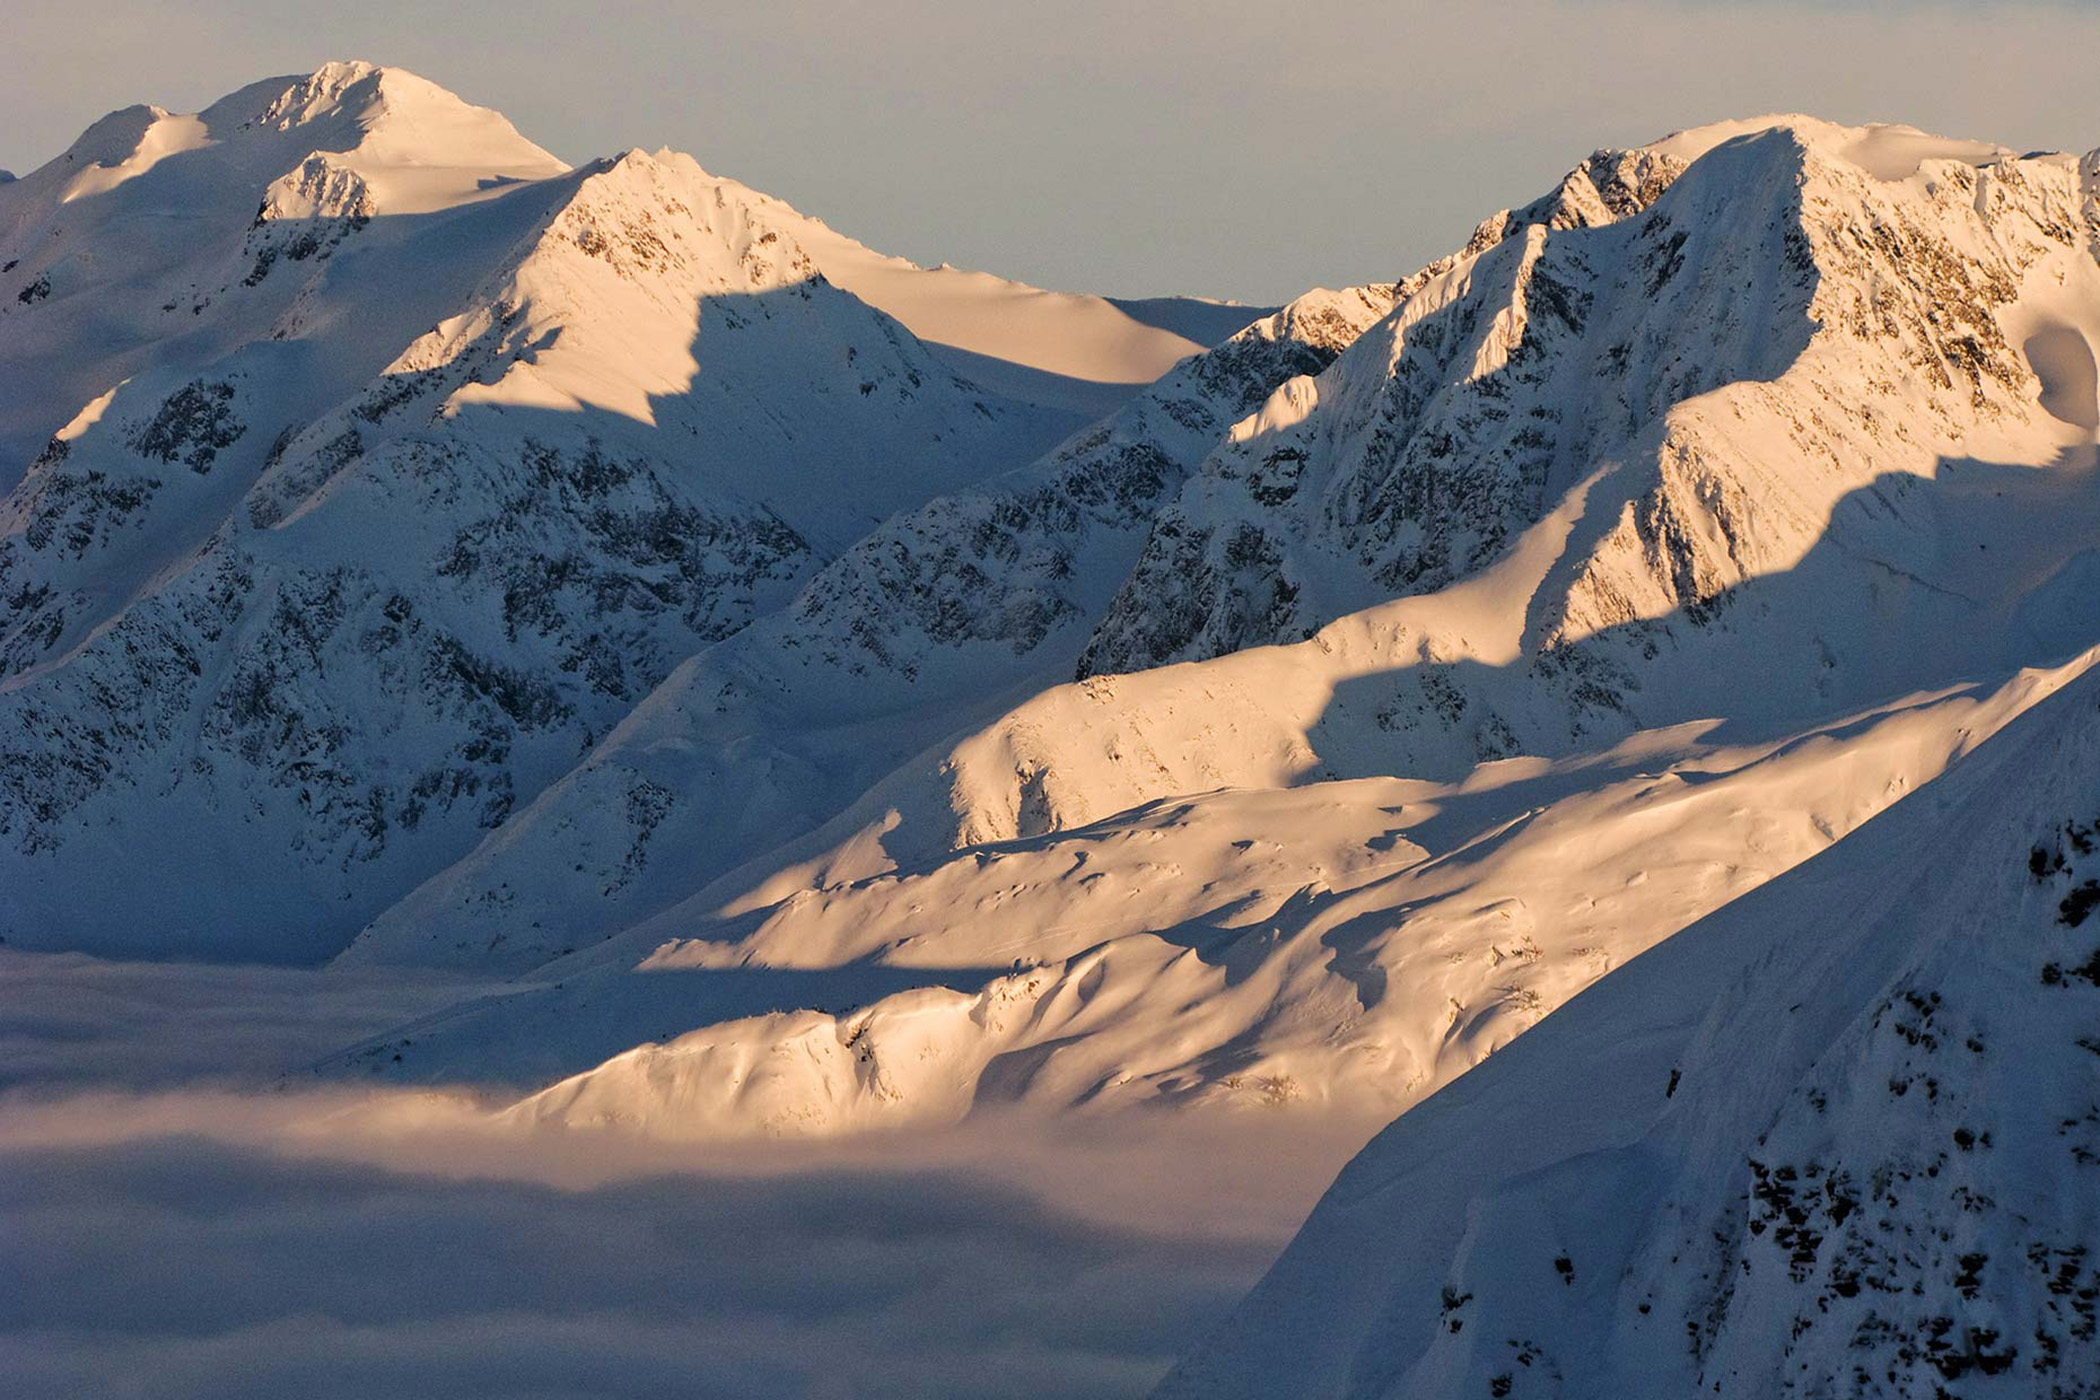
Time of day: Now that we’ve discussed gear, let’s dive into shooting. When I first started photography, I would shoot my landscapes whenever I stumbled upon a scene. The results were usually harshly lit images shot in the midday that weren’t appealing. In time, I realized that the light created when the sun is at its peak is incredibly bright and unpleasant. Instead, it’s better to shoot when the sun is just rising or just setting—the “golden hours.” Now when I’m shooting landscapes, I will get to my location one hour before sunrise or sunset. The light when the sun is just at the horizon is usually the best light for shooting. However, stick around after the sun has gone below the horizon. The light will fall off quickly, but the lack of shadows and the cool temperatures of light produce amazing results.
Composition: As with all photography, composition plays a huge role in shooting landscapes. Avoid center weighting the focal point of your image. Instead, place it off to the side or top (See Rule of Thirds)
But beyond basic composition, consider the layers of your photo (foreground, mid-ground and background). A good landscape photo should tell a story and draw your eye on a journey through the frame. To achieve this, consider framing your shot so that there are elements in all three layers. Pay special attention to the foreground. Placing something close to the camera will force your eye to focus on that object and then draw it to the background. It’s hard to describe, but try it out.
Depth of field: Most landscape photos are shot with a large depth of field (where almost everything in the frame is in focus, taken with a small aperture such as f/22). This is great for wide vistas where you want your photo to be crisp from foreground to background. It’s what most landscape photographers shoot at.
However, don’t get forced into always shooting with a large depth of field. Stepping outside this box and shooting at a large aperture (f/2.8) will produce a narrow depth of field that will focus your attention on one point of the frame while allowing everything else to fall out of focus. This is great when you’re trying to highlight the details of a scene as it takes away the distractions that your eye might otherwise focus on.

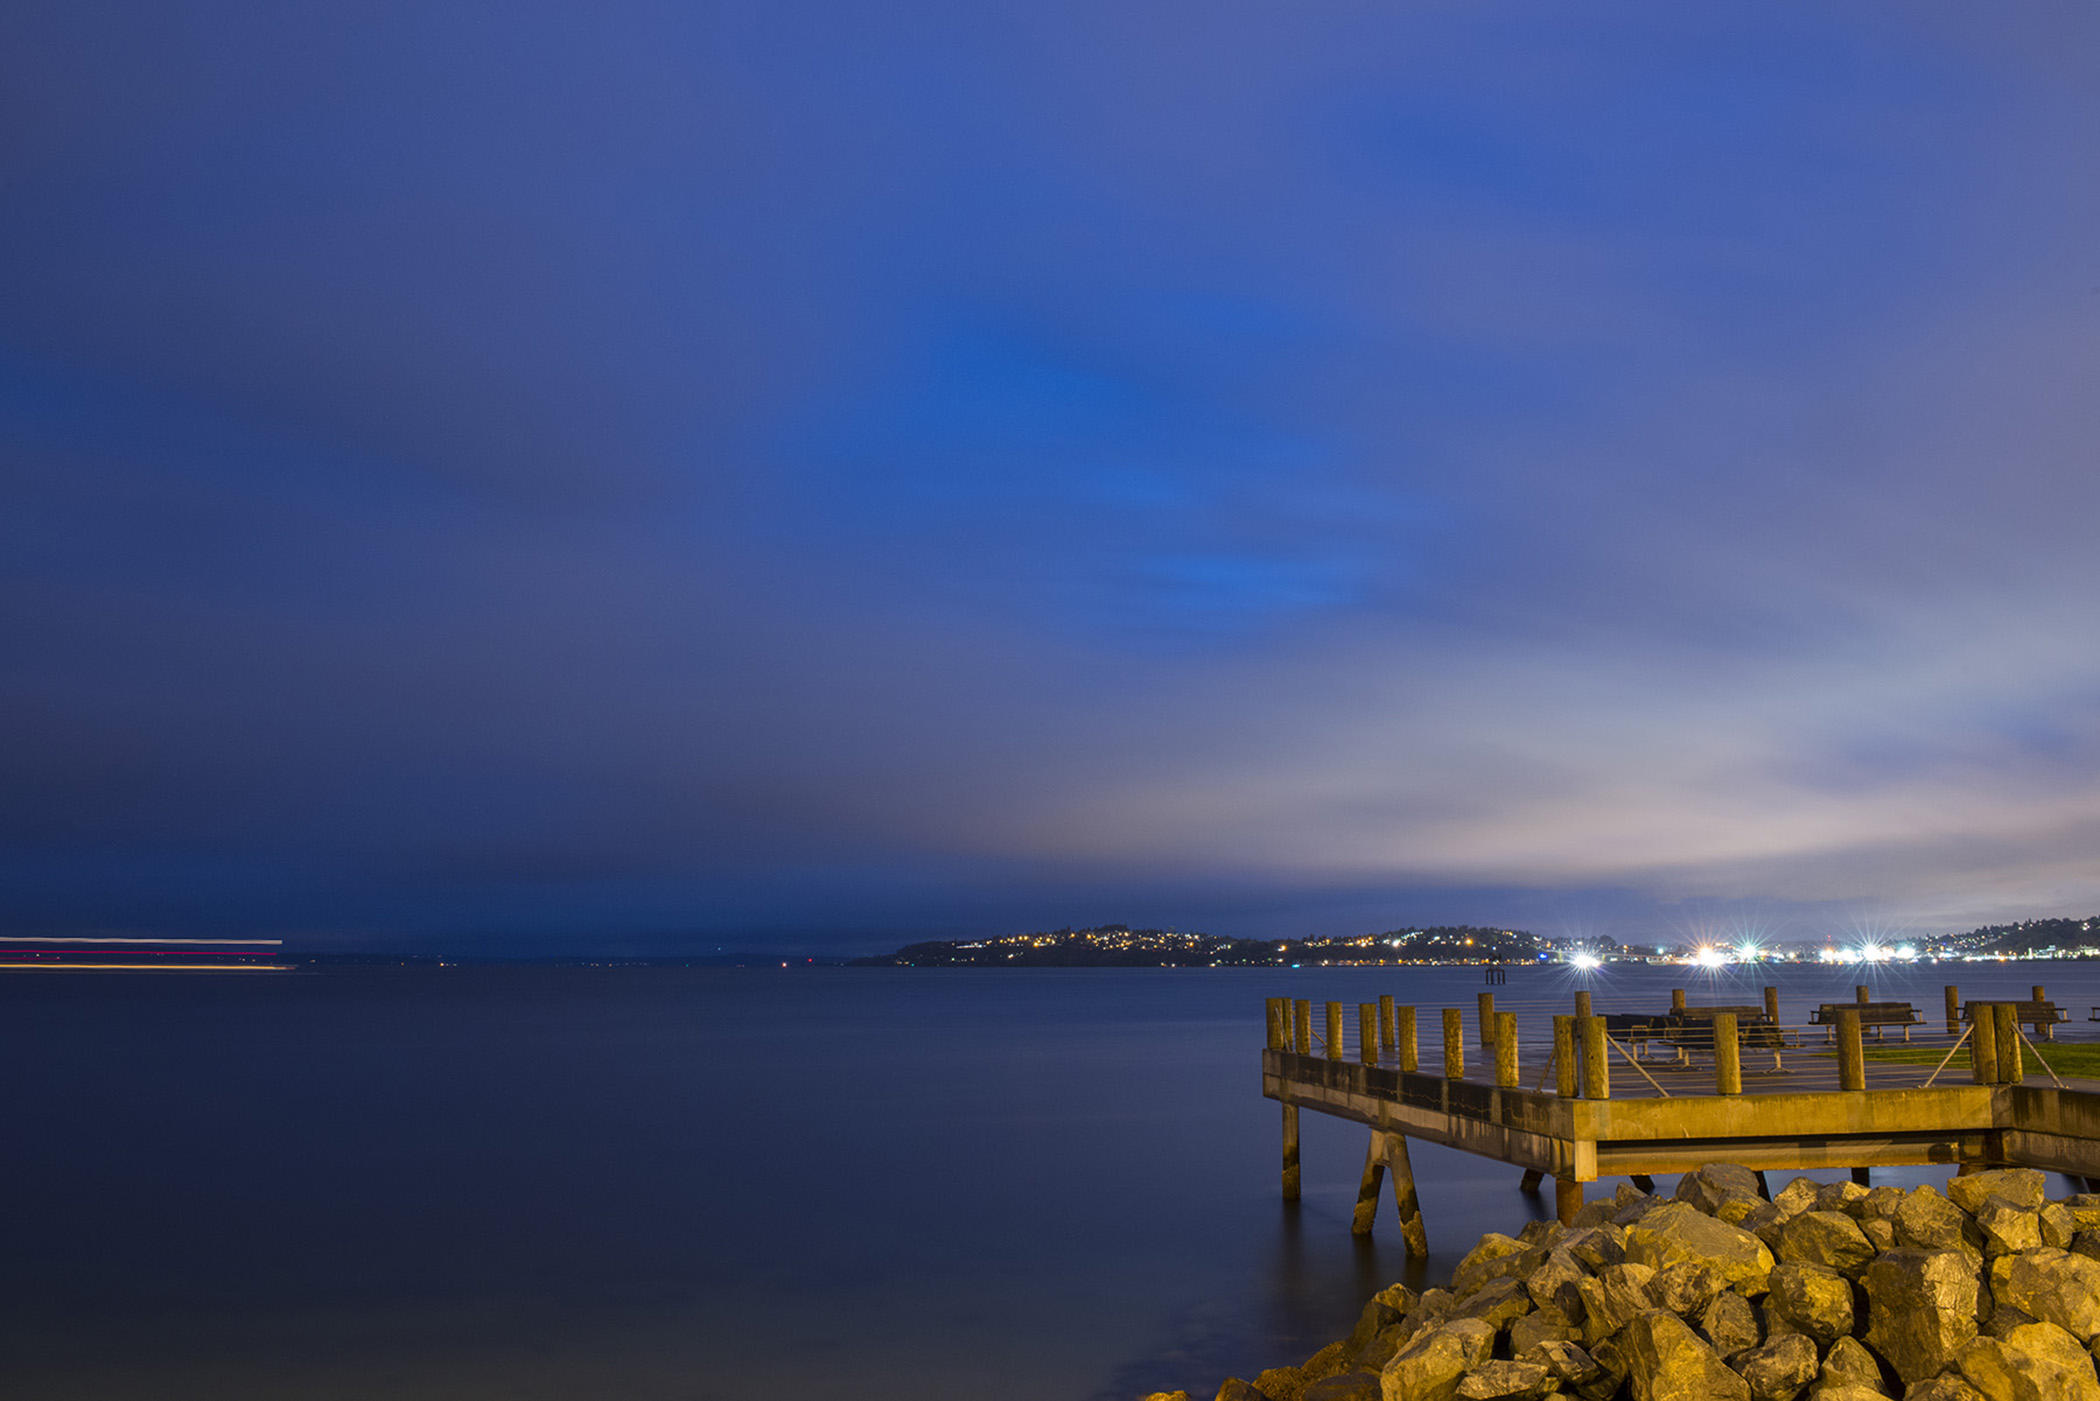
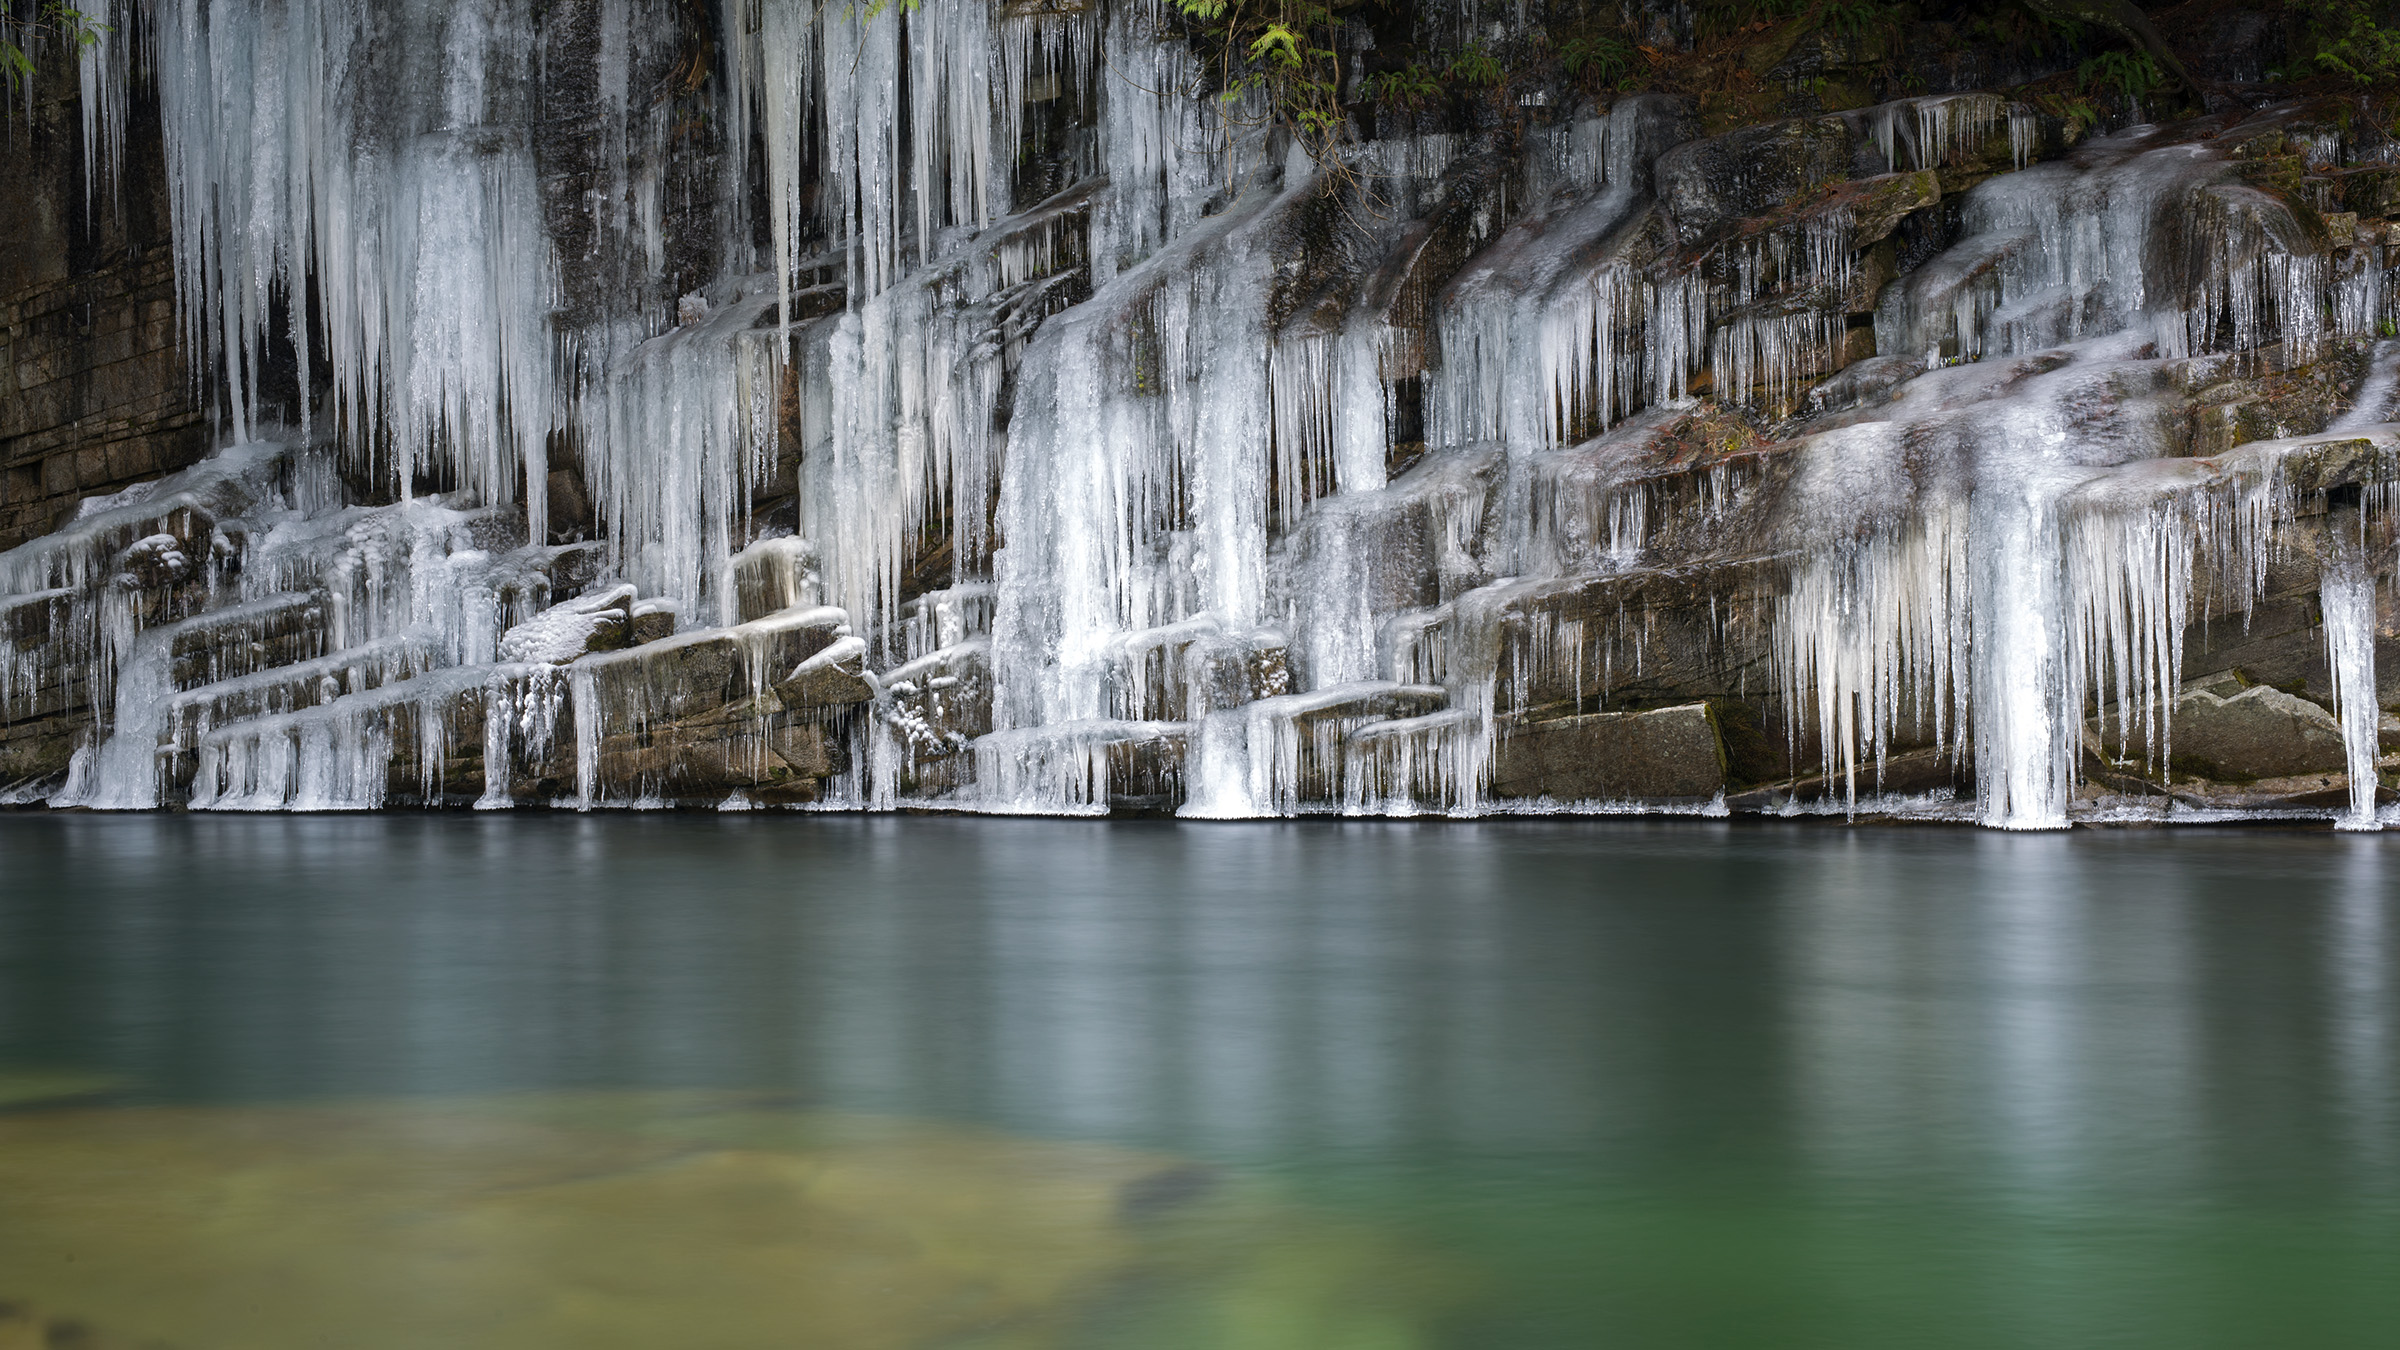
Shutter speeds: In short, you’ll want to shoot most of your landscapes at a fast enough shutter speed to freeze any motion in the scene (trees blowing in the wind, moving clouds, etc.). The exception to this is with water. Blurring water with a long exposure (more than one second) creates a silk-like look to the water that is visually appealing.
Sense of place: While a beautiful landscape will always be a beautiful landscape, sometimes it helps to add a person (or other standardized object) to the scene. By doing so, it gives the photo a sense of place and scale. Without this standardized measure of size, it can sometimes be difficult to tell how large a scene may actually be. By adding this, your viewer can more easily tell the scale of what they’re looking at.

HDR (High Dynamic Range): With this technique, multiple images of the same scene are stacked together to create a single image that has wider range of detail in the shadows and highlights. Look at most popular landscape photographers and their work and you’ll find that they are using some form of HDR. It creates an almost surreal look to the overall scene.
I admit that I’m not a huge fan of HDR. Some people like it, some people love it; I’m personally on the fence and find that often it makes an image look too fake. However, there are certain instances when I think it’s a valuable tool. I especially like it for black-and-white work.
That said, while some newer cameras have an HDR setting, you can also achieve this type of look in your photos in several other ways. The first option is to shoot three or more photos of your scene while your camera is on a tripod. Your photos will begin with a base exposure of the scene (properly exposed) and then a series of shots that are incrementally underexposed and overexposed. Once back at your computer, you will blend these images by using an HDR software program.
The second, and slightly easier option, is to shoot just one properly exposed frame of the scene in RAW mode. Take that file and create your bracketed image series from that one file and then import to Photoshop or your HDR software. This will save you memory on your cards, and also prevents alignment issues when stacking your exposures (as objects tend to move between exposures, even if just a little).

(Left image shot without HDR processing. Right image with HDR processing.)
While these rules apply to most shooting situations, it’s impossible to say that any rule is always applicable to every situation. So when you’re out shooting, pay attention to this advice but don’t get hung up on it. And remember, rules are meant to be broken (when it comes to photography at least). When we step outside of what we’ve been told, we sometimes create some of our best work.
Enjoy!!!
(Originally written and created by Ian Coble for REI. See the original post HERE)


Sorry, the comment form is closed at this time.