

Photo Tips: How to add light to your night time photos – LightPainting Tutorial
What is light painting? It’s a technique used in night photography to add additional light to the ambient scene. But what does that really mean?
Well, this article will attempt to answer that question and show you a few tips and tricks that you can easily add to your repertoire to make your nighttime shots a little more interesting.
Let’s start with the basics. If you remember our photographing stars at night post, you’re going to need a stable tripod and a cable release to hold your shutter open for an extended amount of time. Because of the lack of ambient light at night, we have to rely on long shutter speeds to allow any available minimal light to expose our scene.
As far as camera settings, I personally like to shoot with my aperture wide open to allow as much light in as possible. For shutter speeds, I try to keep my shutter open for 20-30 seconds for most scenes that have the sky in them, to keep the stars sharp. (Longer exposures will begin to show the movement of the stars, which gives them a blurry look). As for your ISO (or film speed), try to keep that number as low as possible to avoid excessive noise in the file. Set your shutter speed and aperture and you’ll be able to dial in your ISO pretty quickly. In relatively dark areas, an ISO of 800 is usually sufficient.
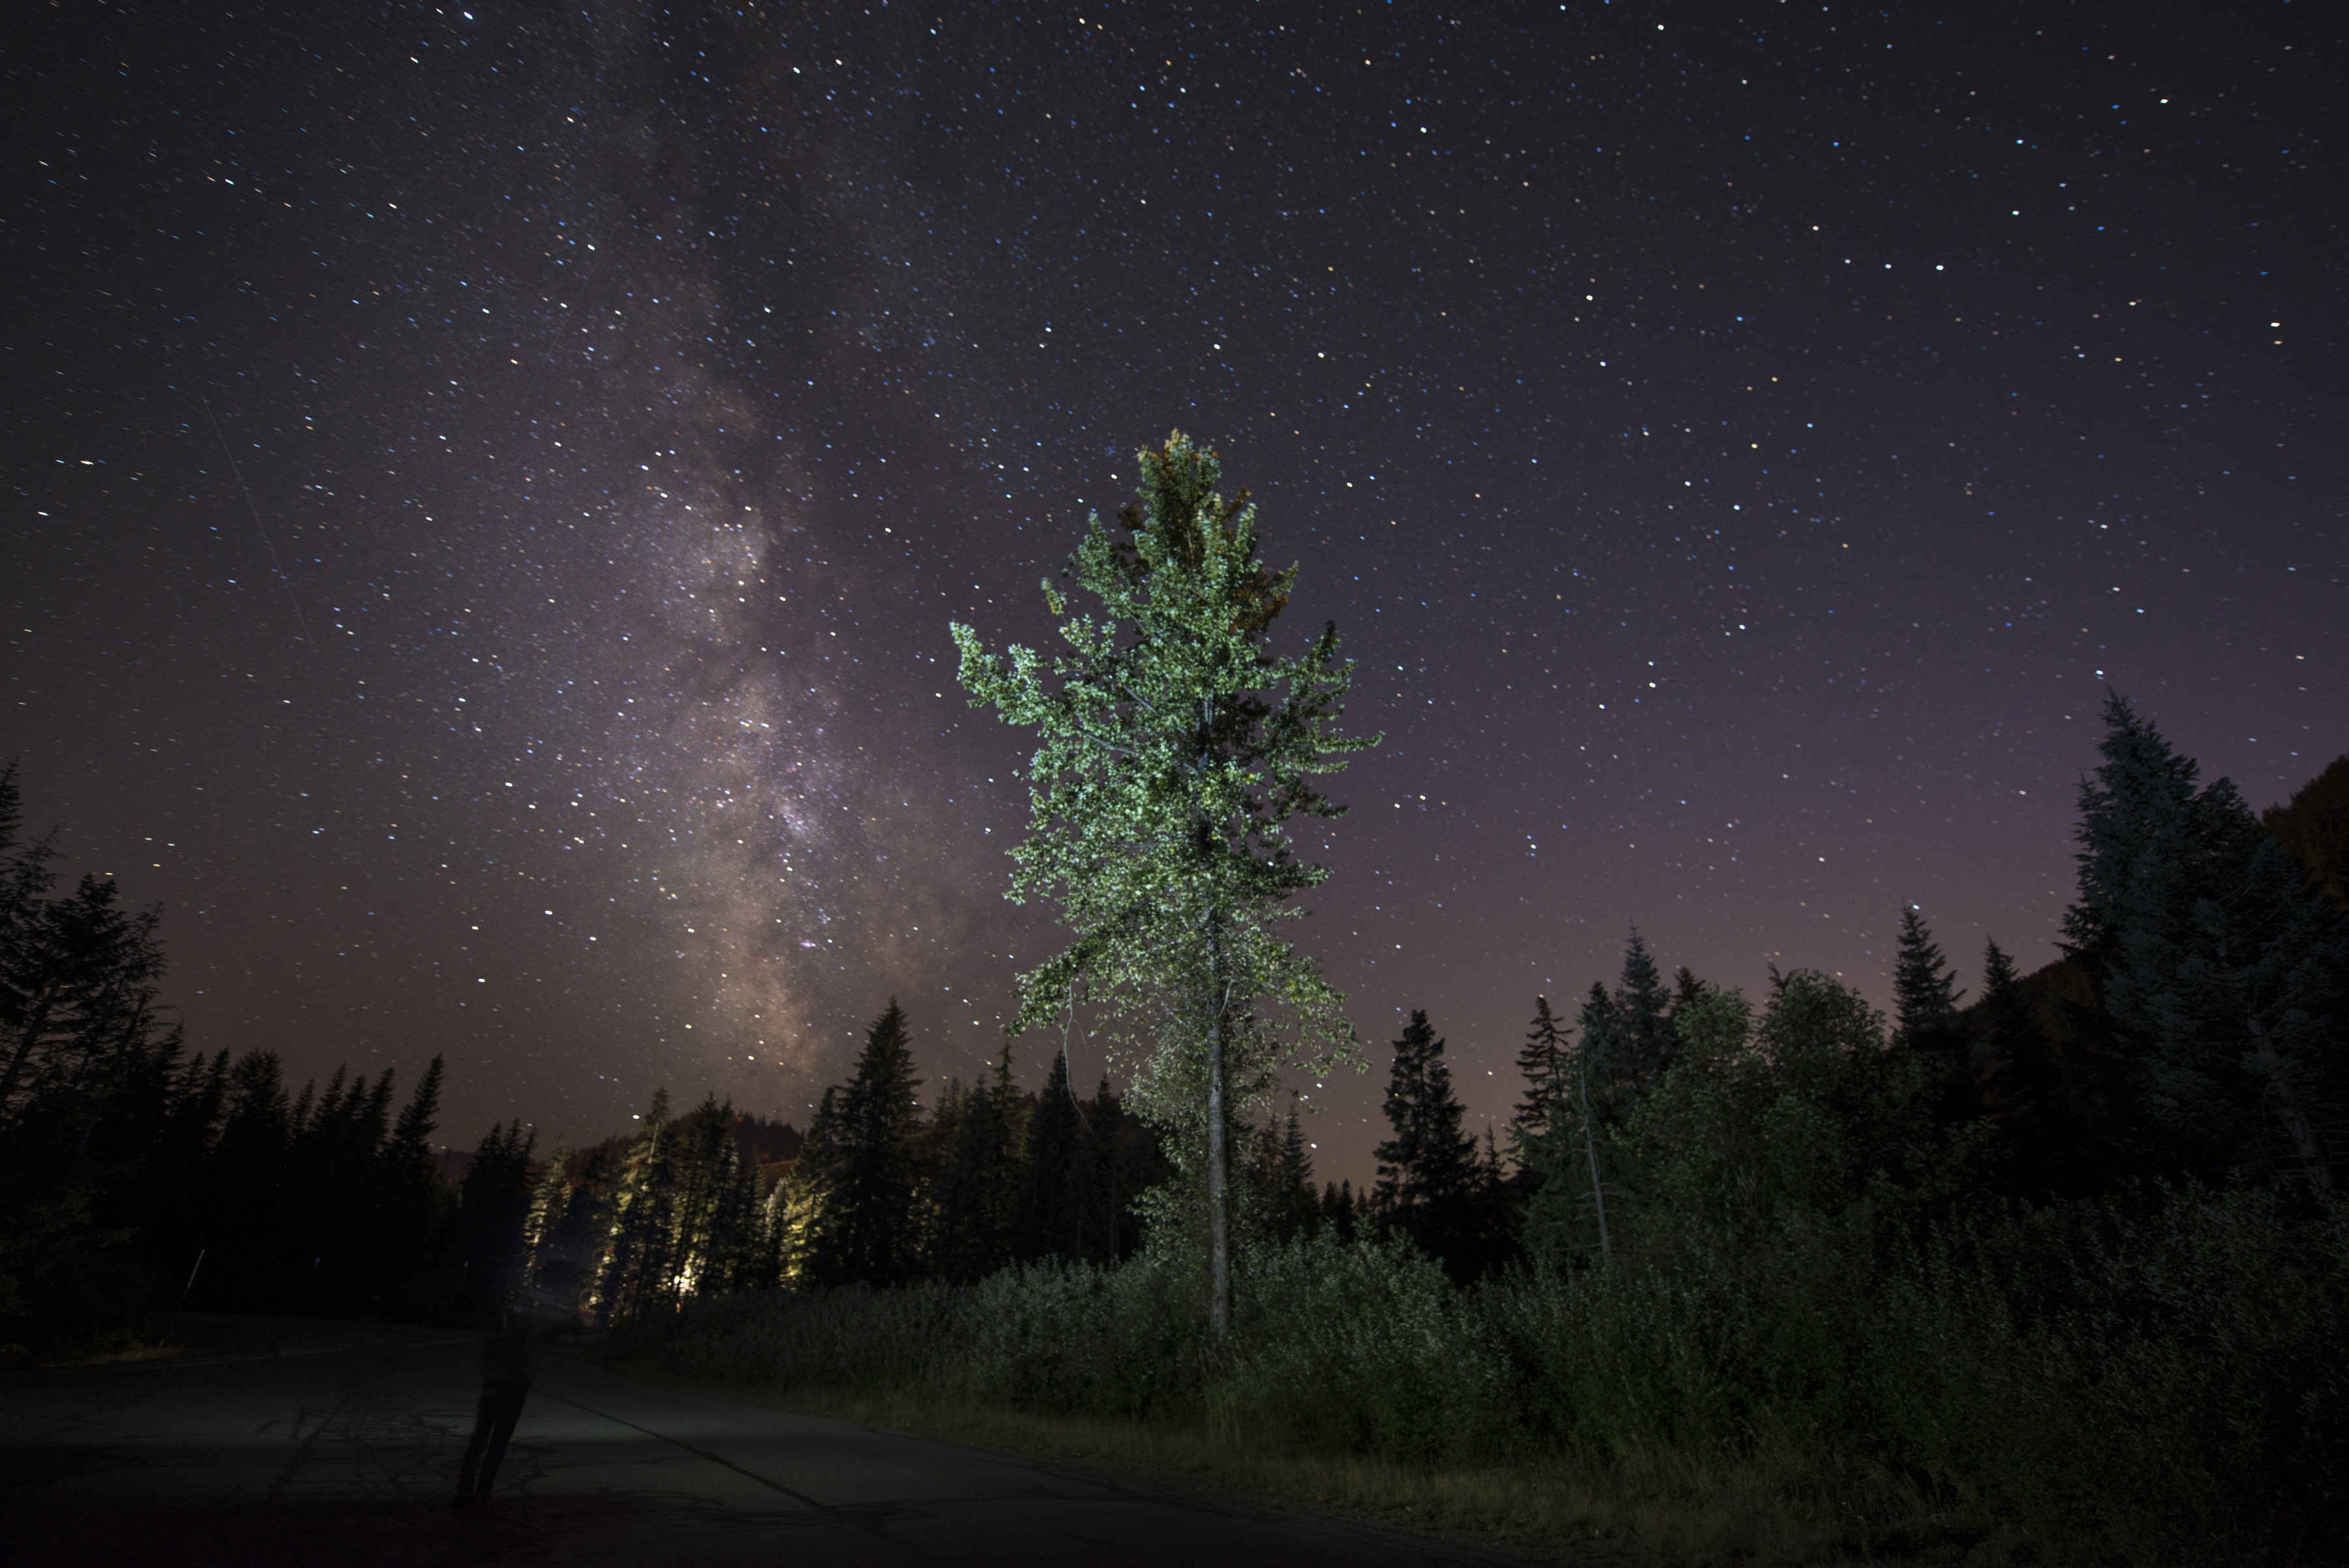
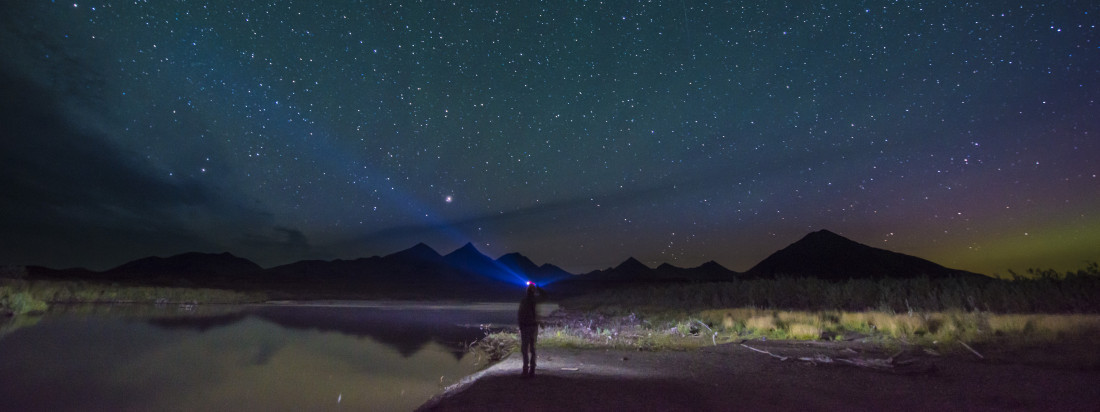
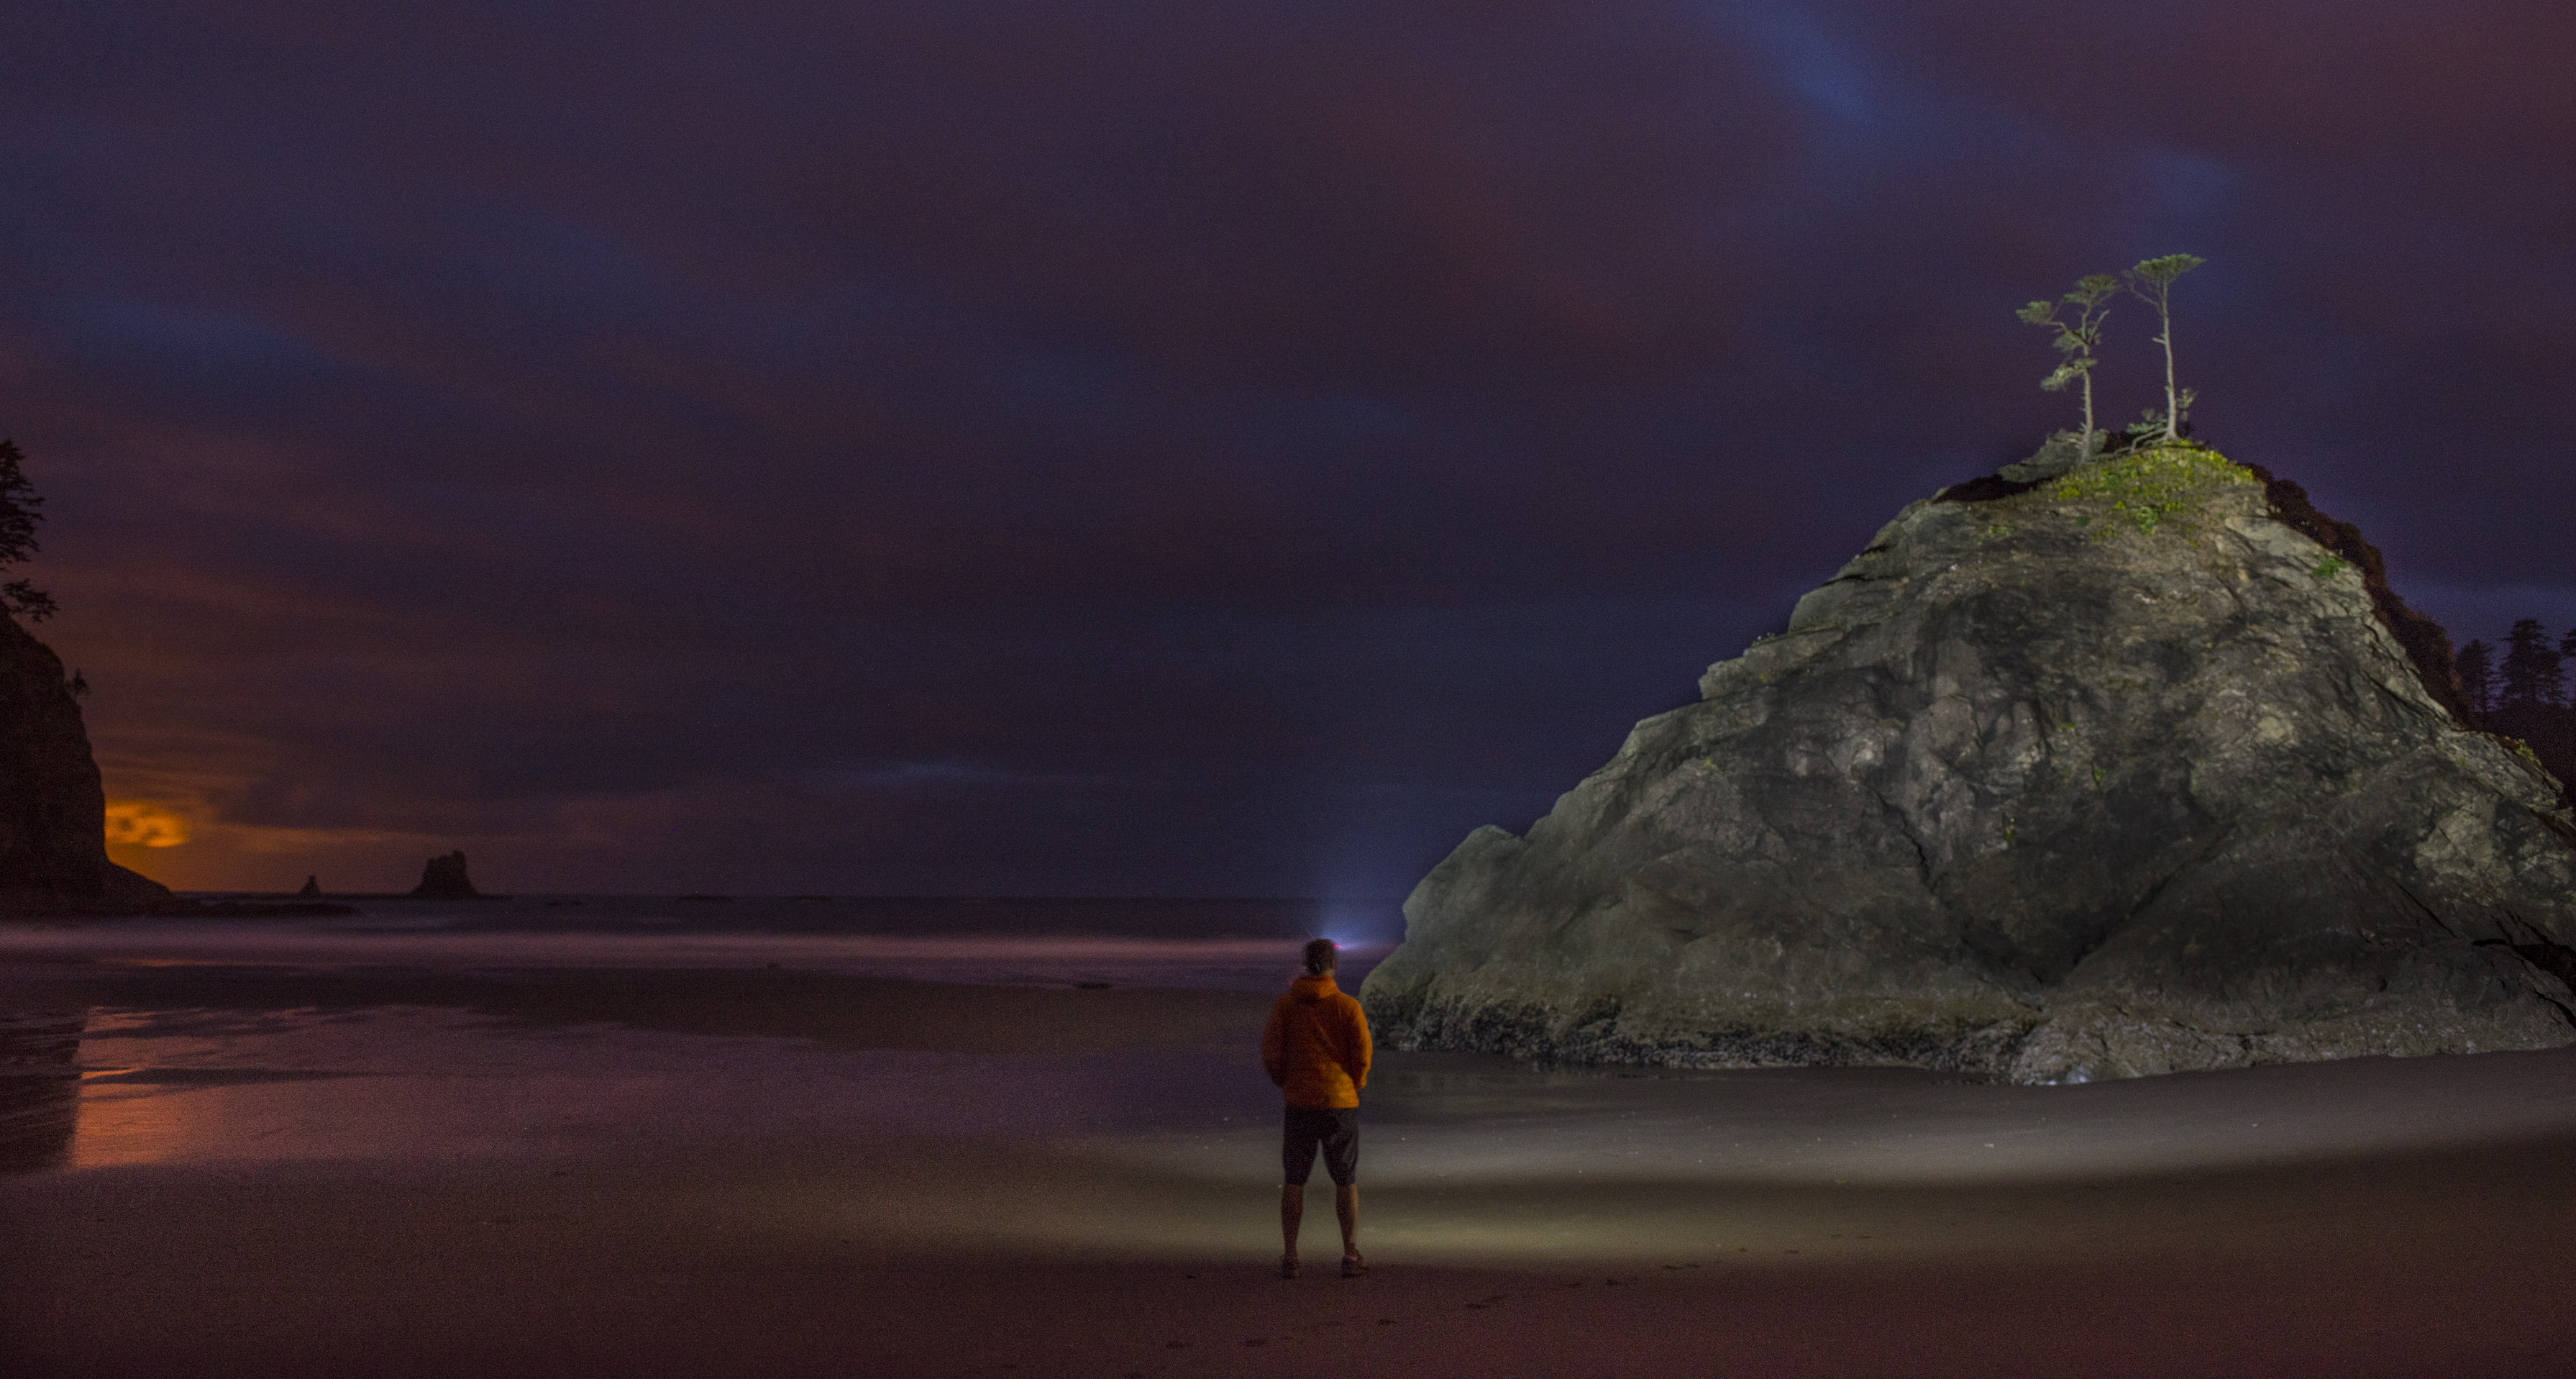
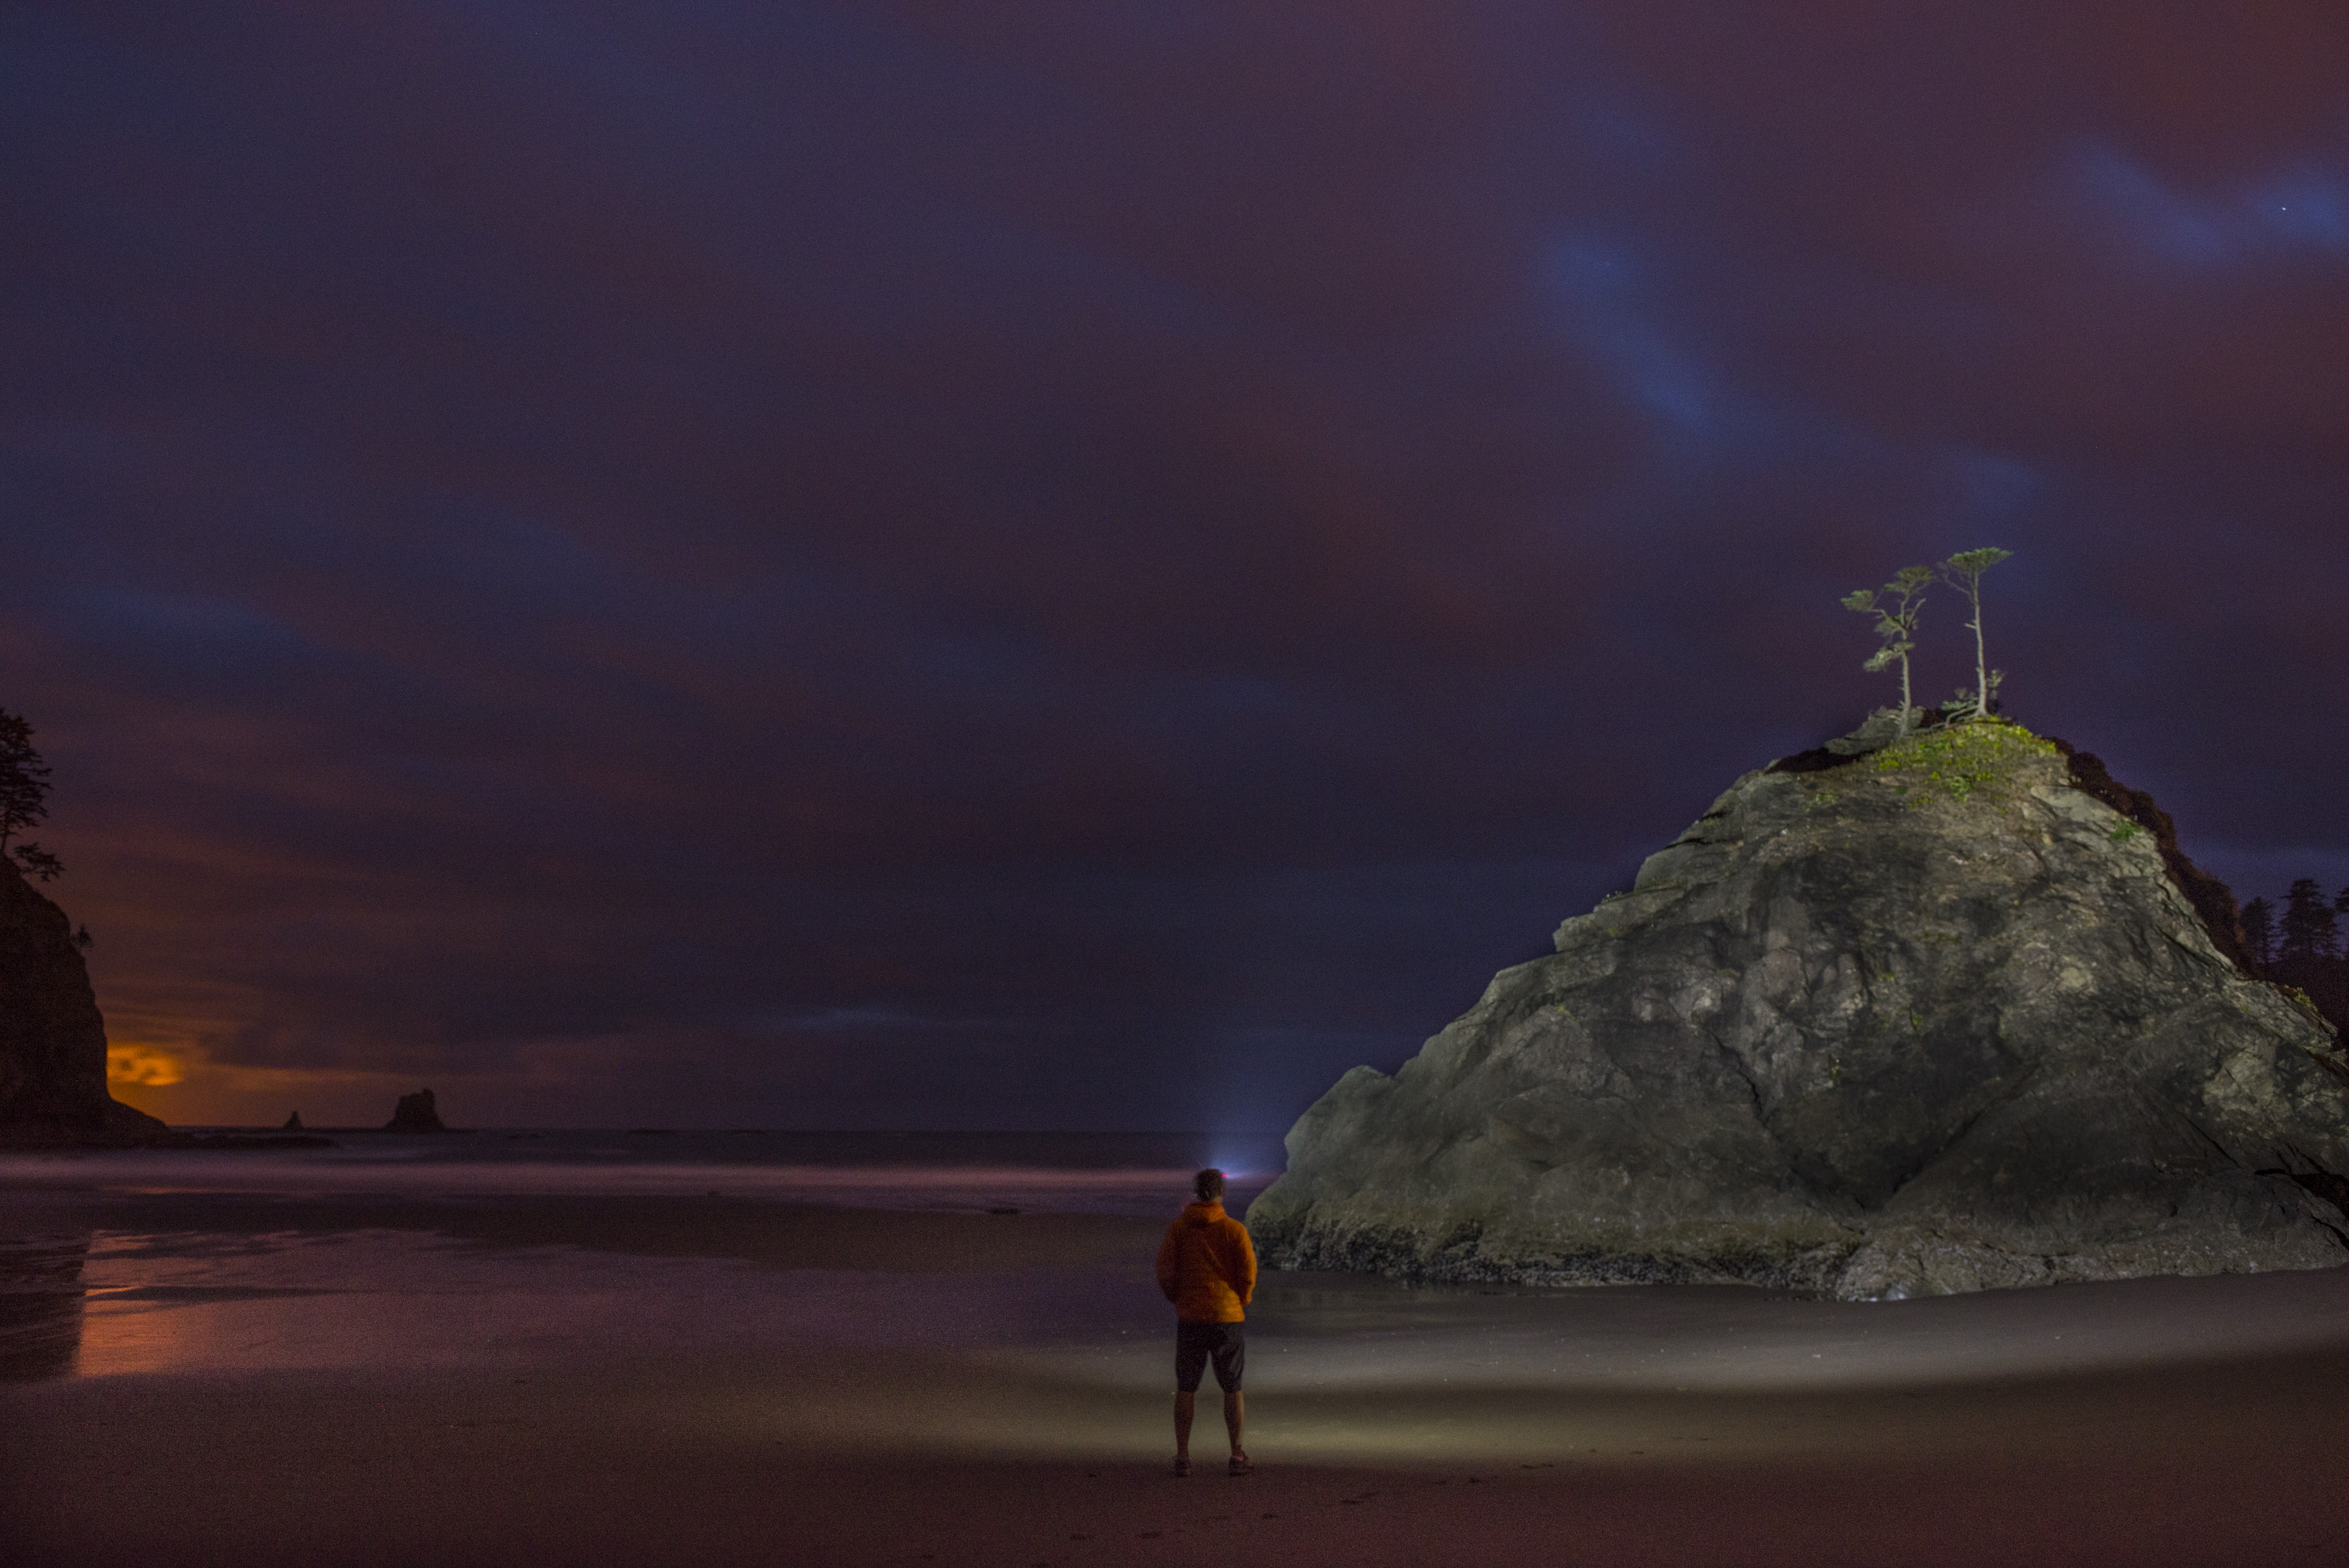
In normal night photography, we would click the shutter and stand idly by while the available ambient light gradually burns onto the image. With light painting photography, however, we are adding additional light to the image. This can take several forms. One such application (and how the technique got its name) is to literally “paint” light onto the scene with a flashlight or headlamp. Standing off-camera (or in-frame if you like that look) we take our flashlight and shine it onto areas of the frame that we want to appear lighter.
For example: You’ve got an open stretch of road and you want to capture the starry sky above it. But the road is so dark, it doesn’t provide any detail in your image and leaves the bottom of your frame with an empty feel. To fix this, you can shine your flashlight on the road (or the trees lining it) to bring a bit of detail into those areas.
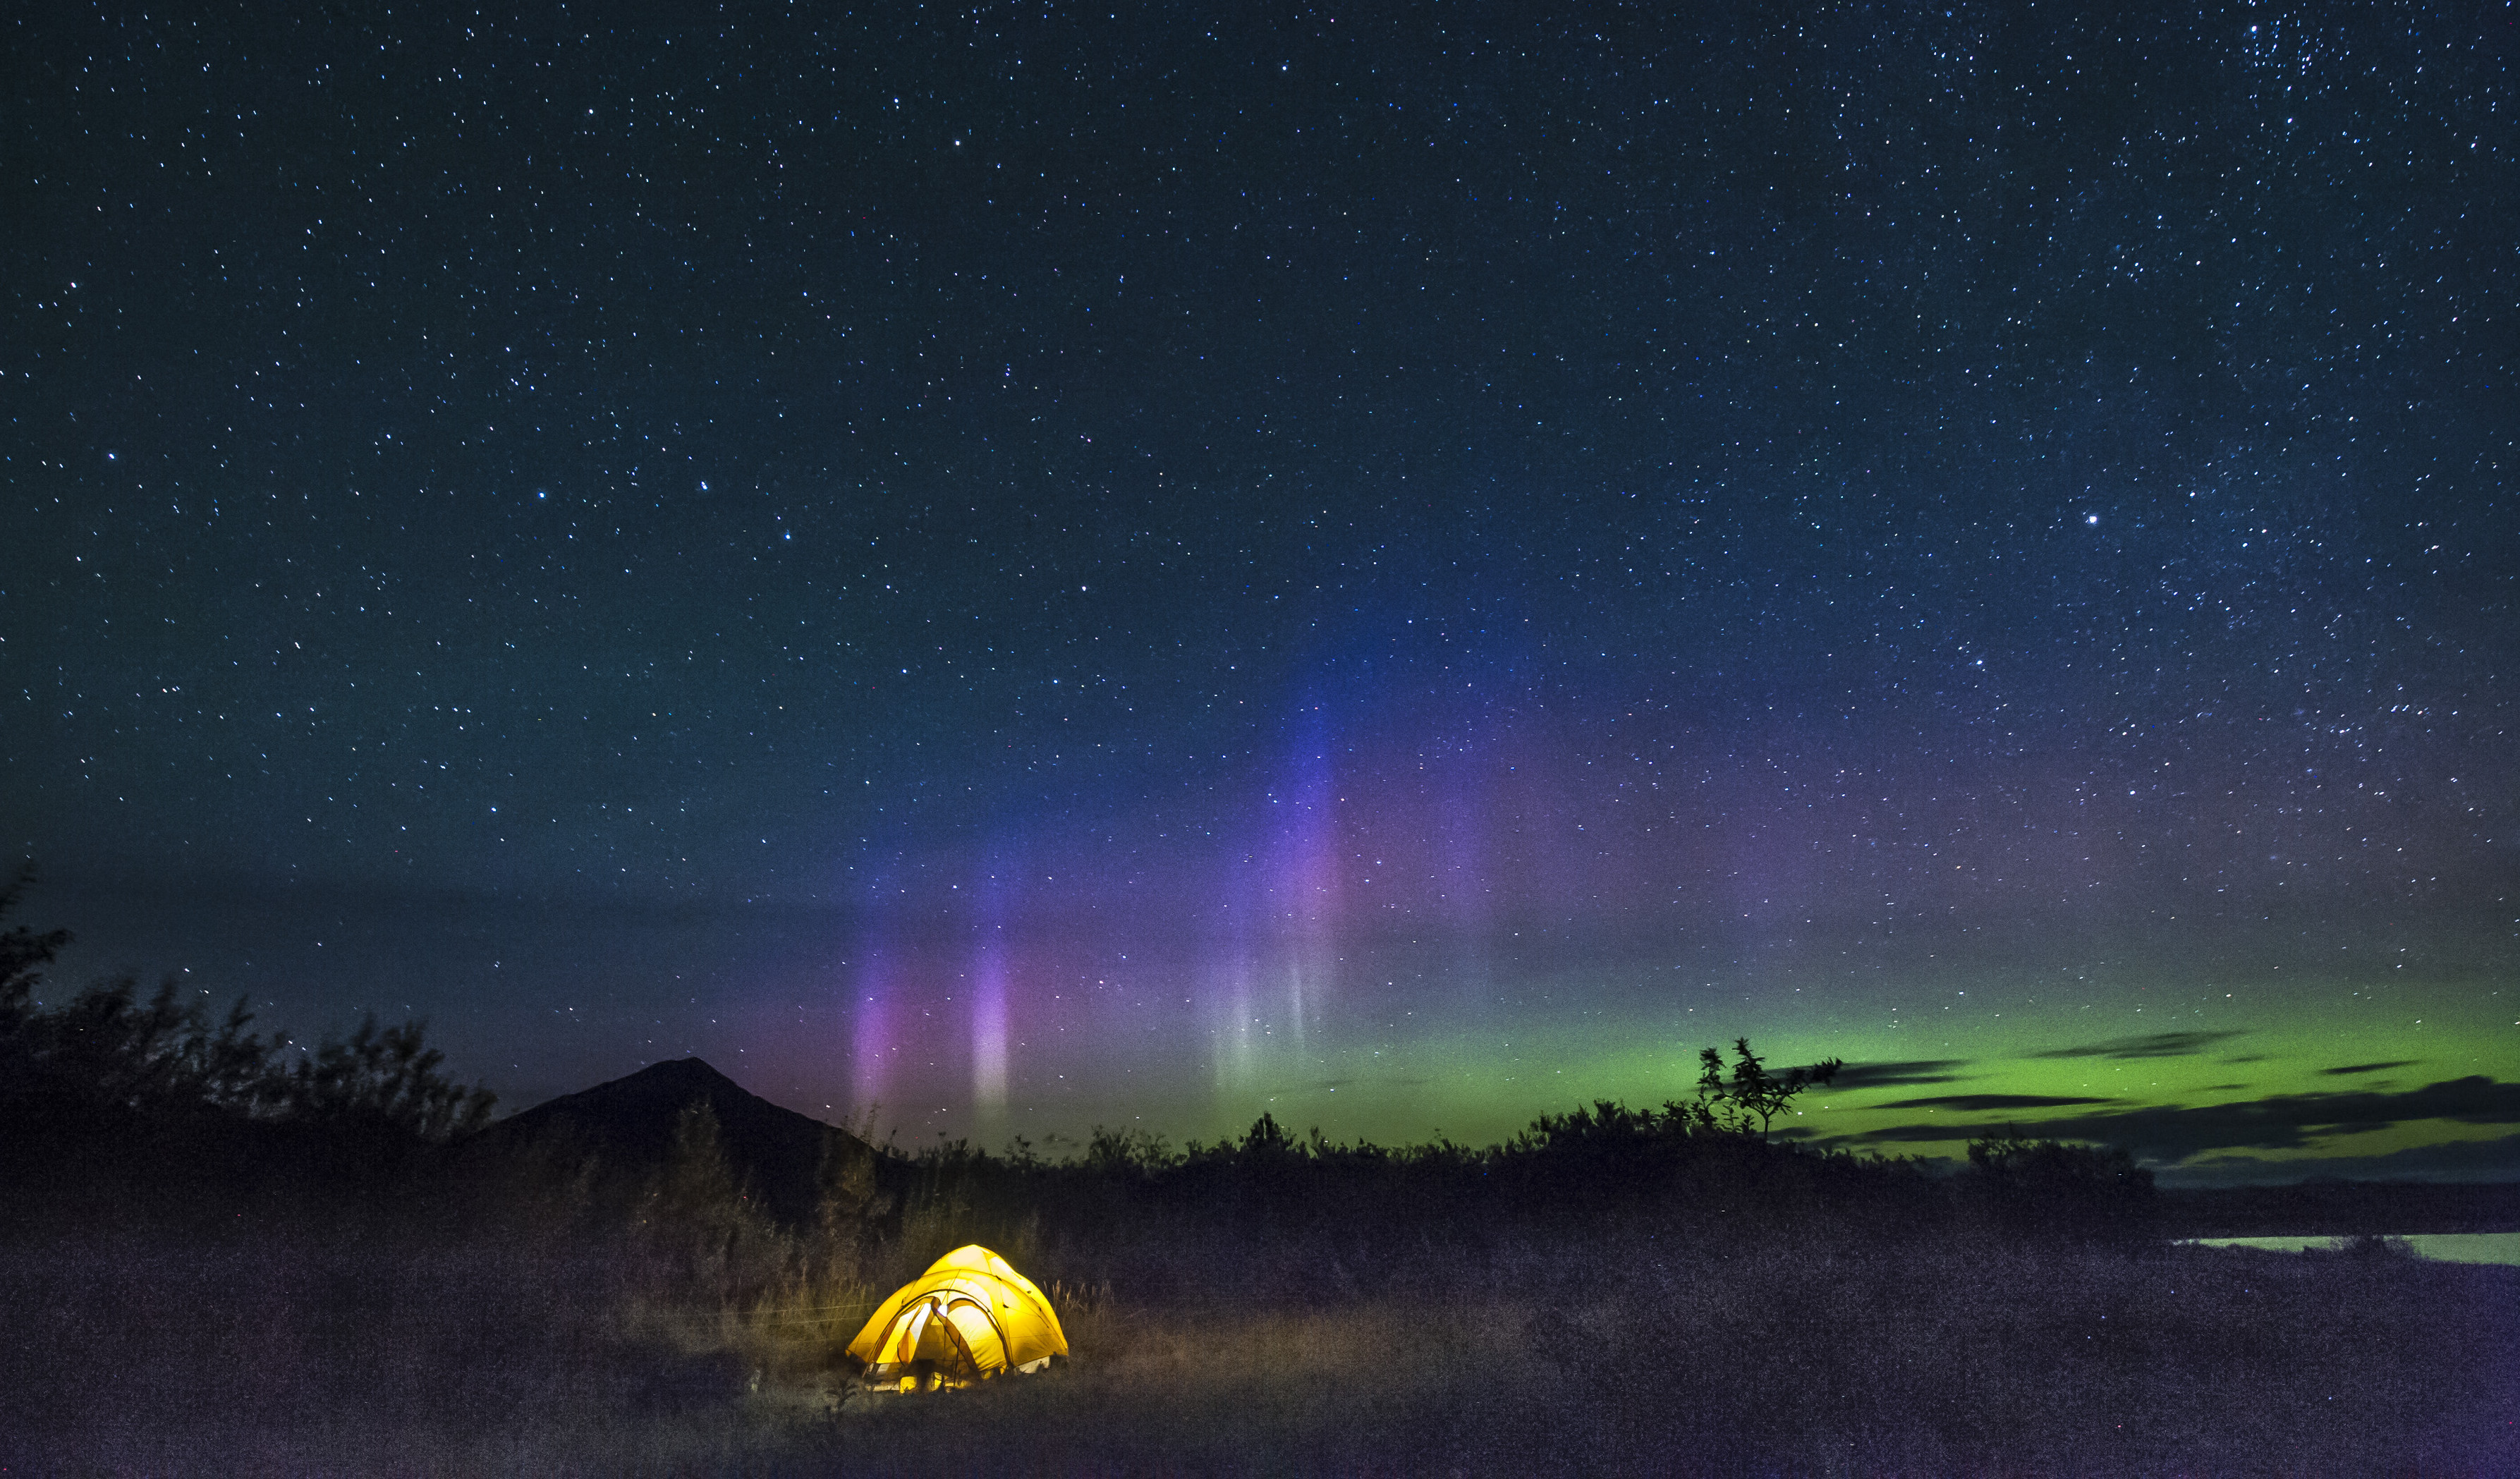
 This technique is widely used in night photography shots where photographers illuminate their tent at night to show the glow of an occupied tent. Want to know how to do this? Put a friend with a flashlight inside your tent. While you’re shooting, have the friend shine the flashlight all around the tent interior.
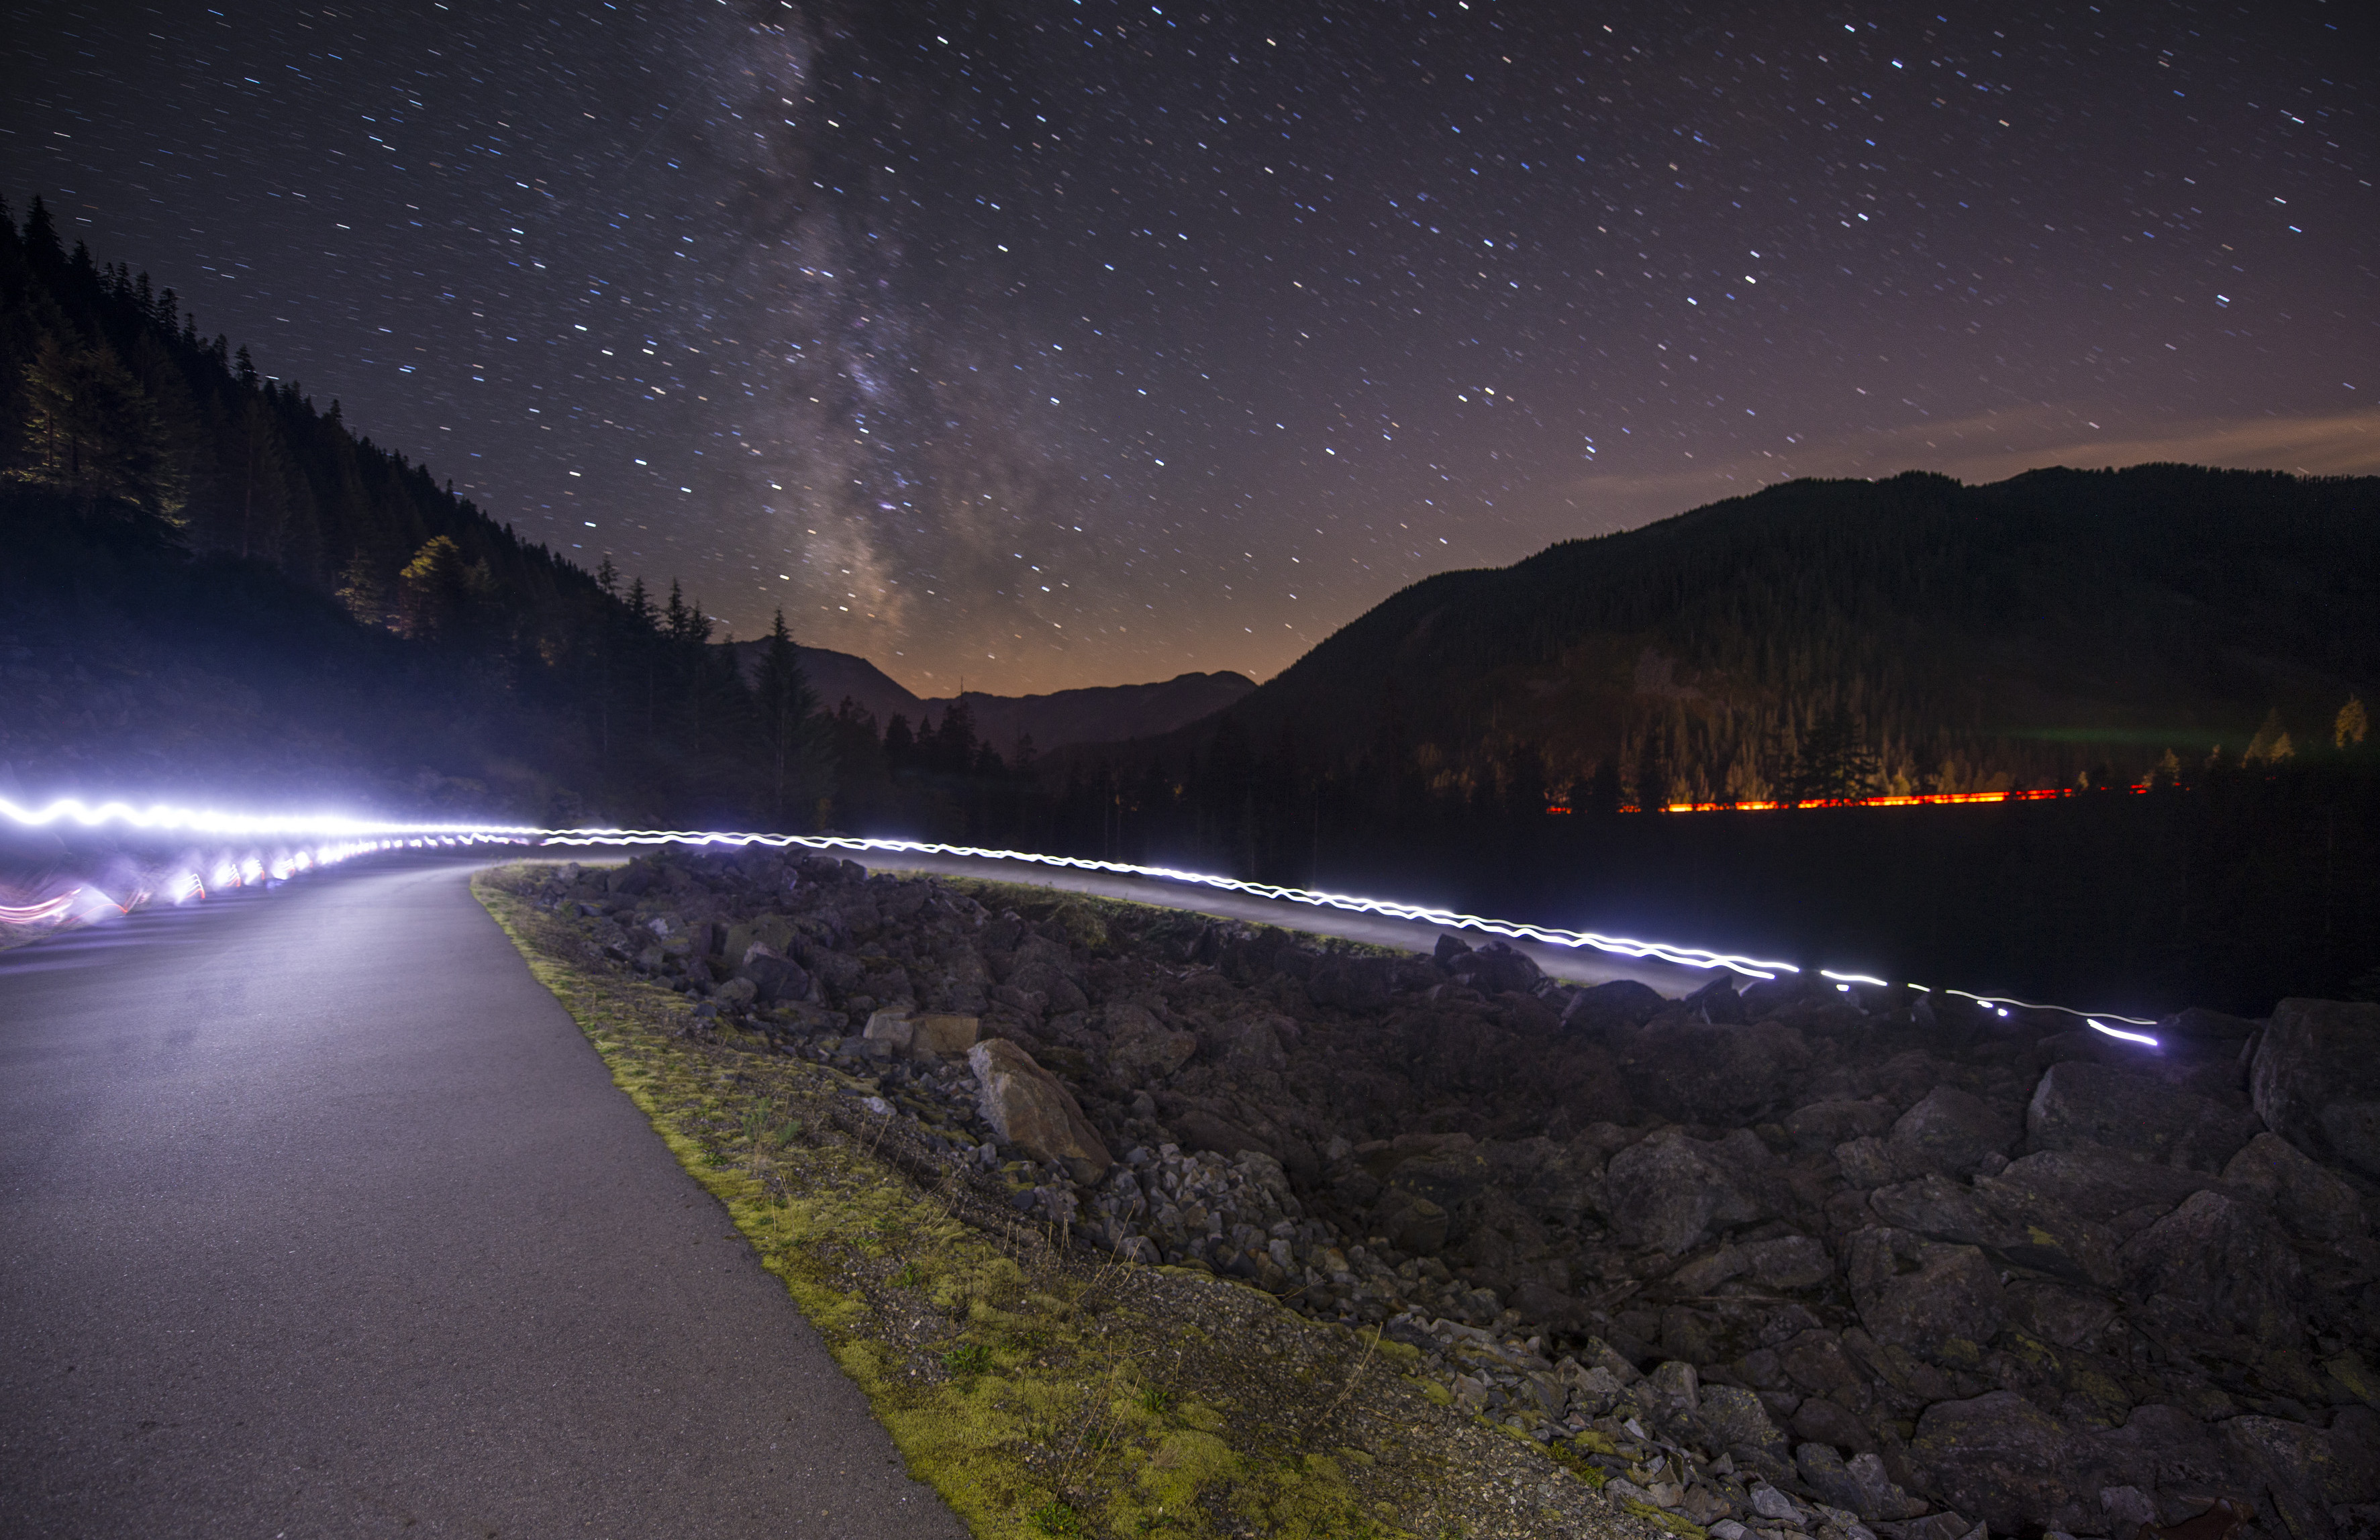
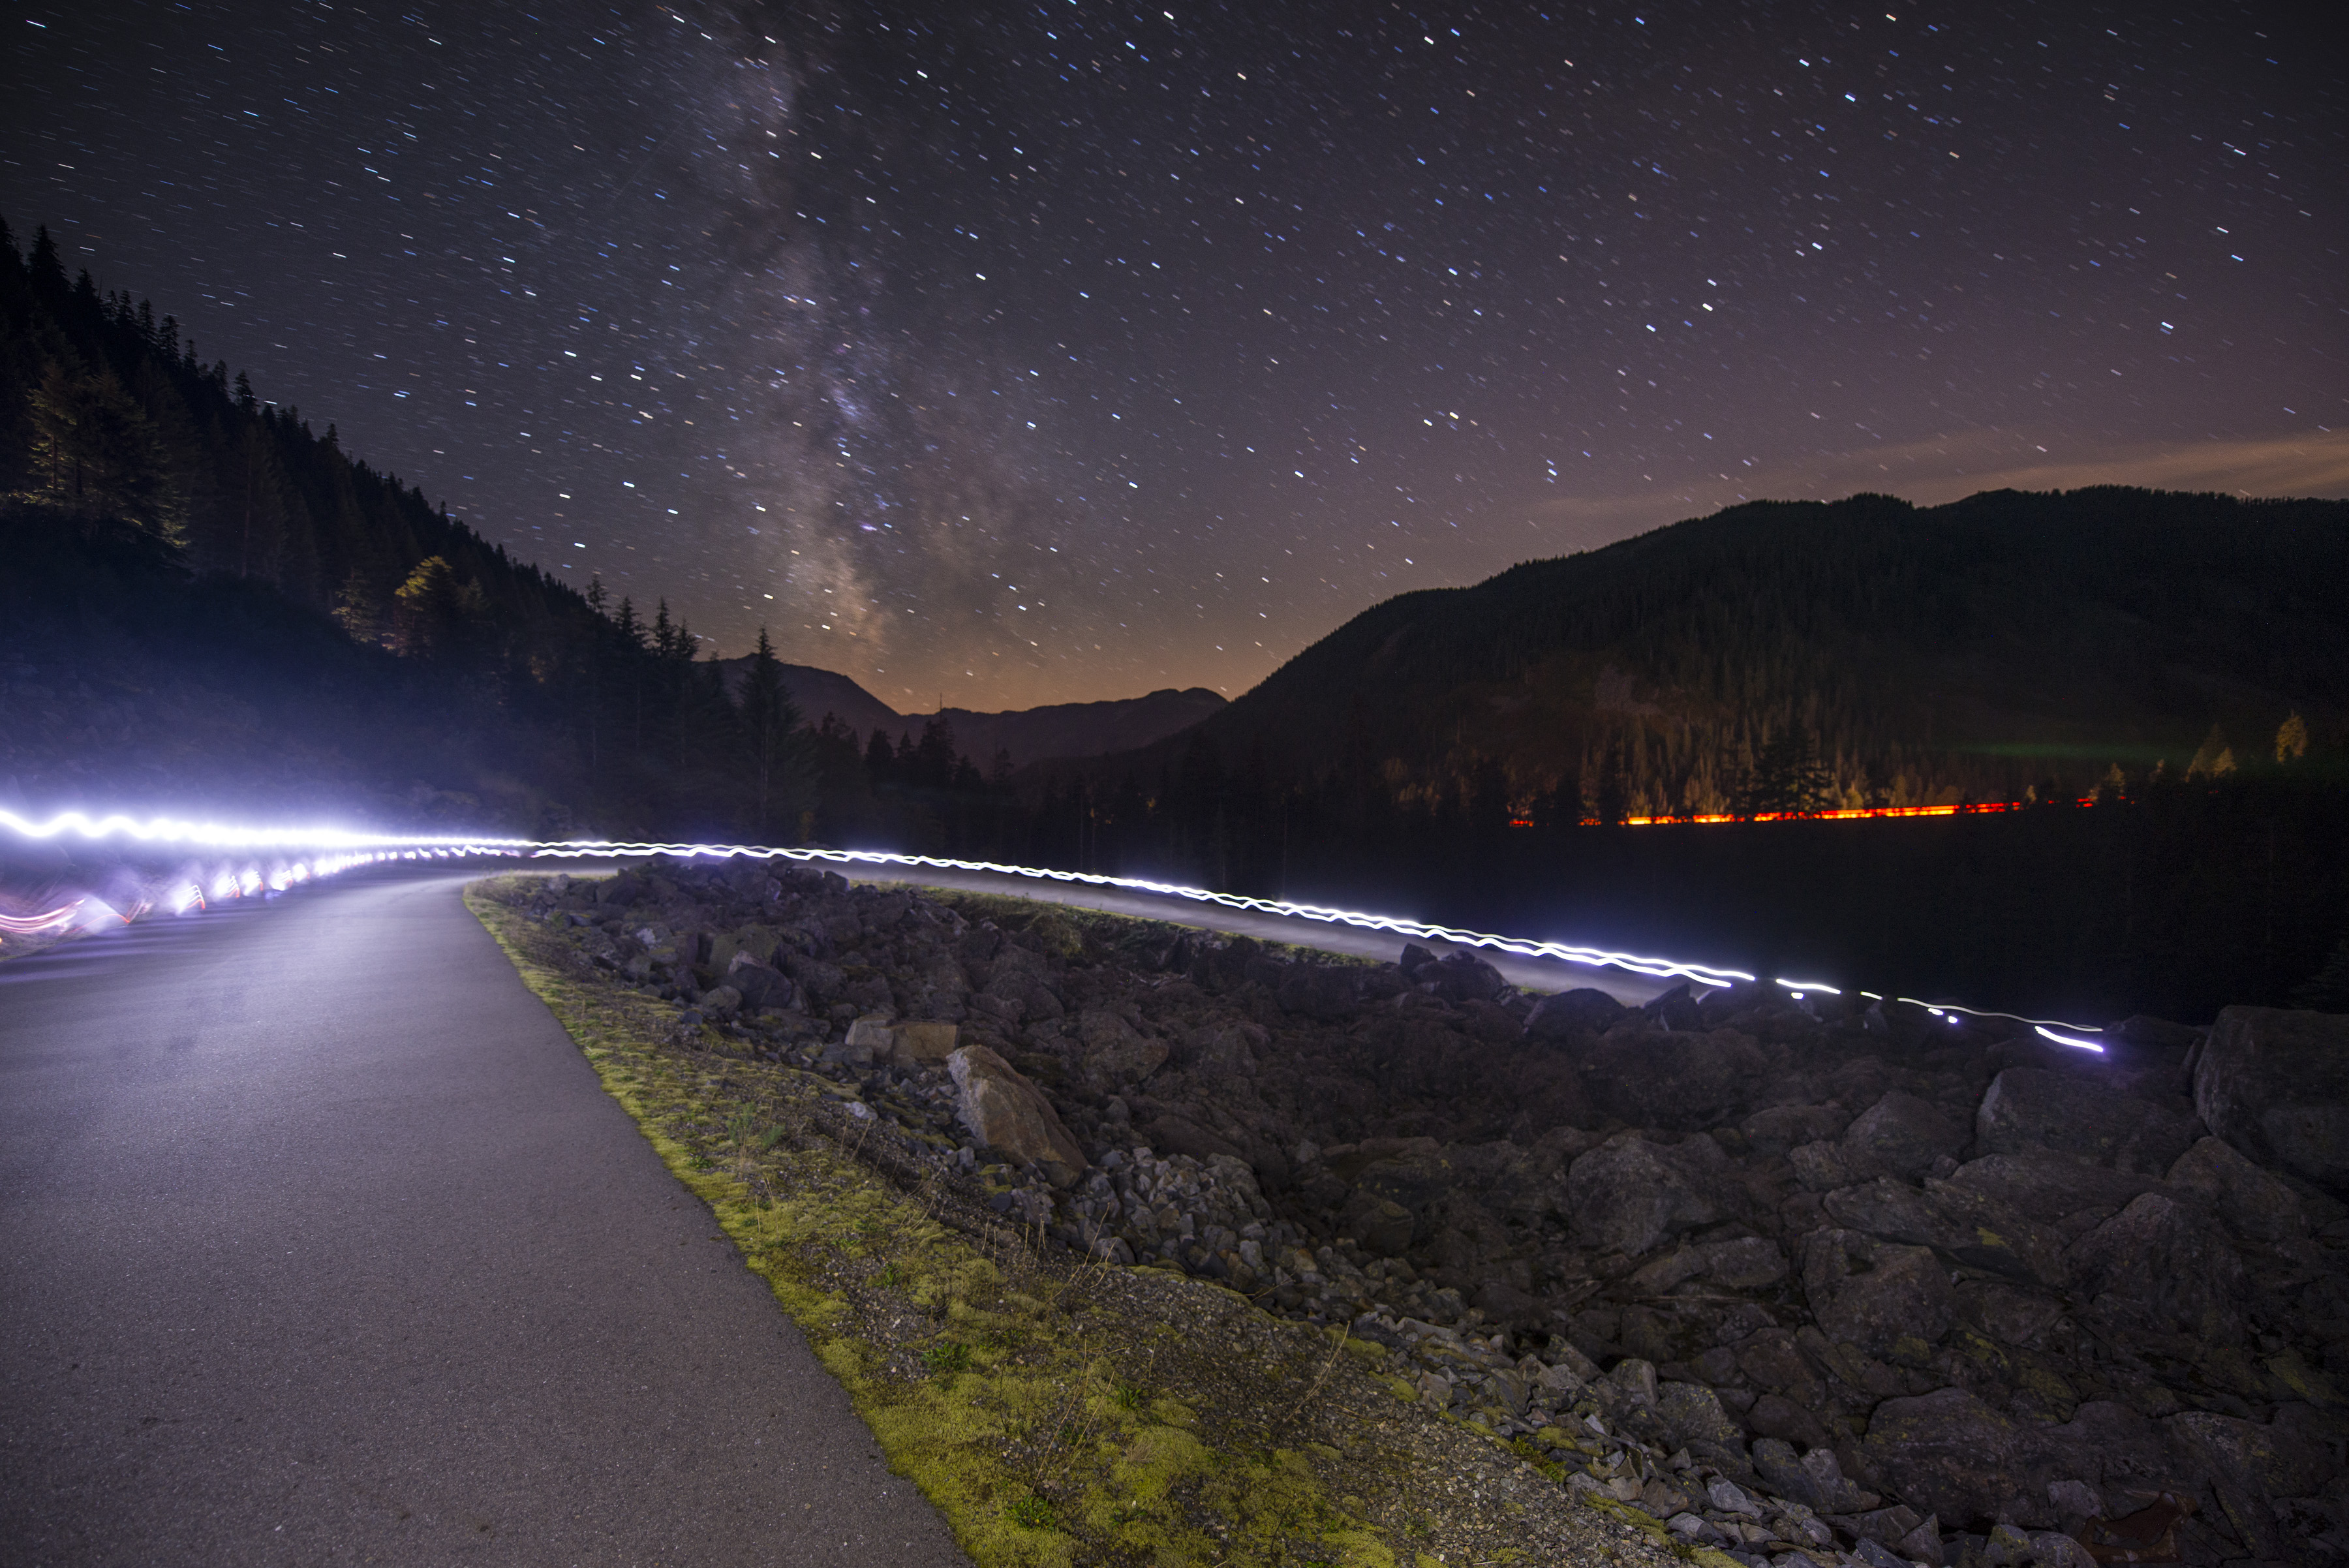
Another example of light painting is to add an element of motion or give a sense of where someone has been. With your shutter open for a relatively long period of time, one can walk around the area being photographed with a flashlight on. The movement of the light leaves bright trails in the finished image.
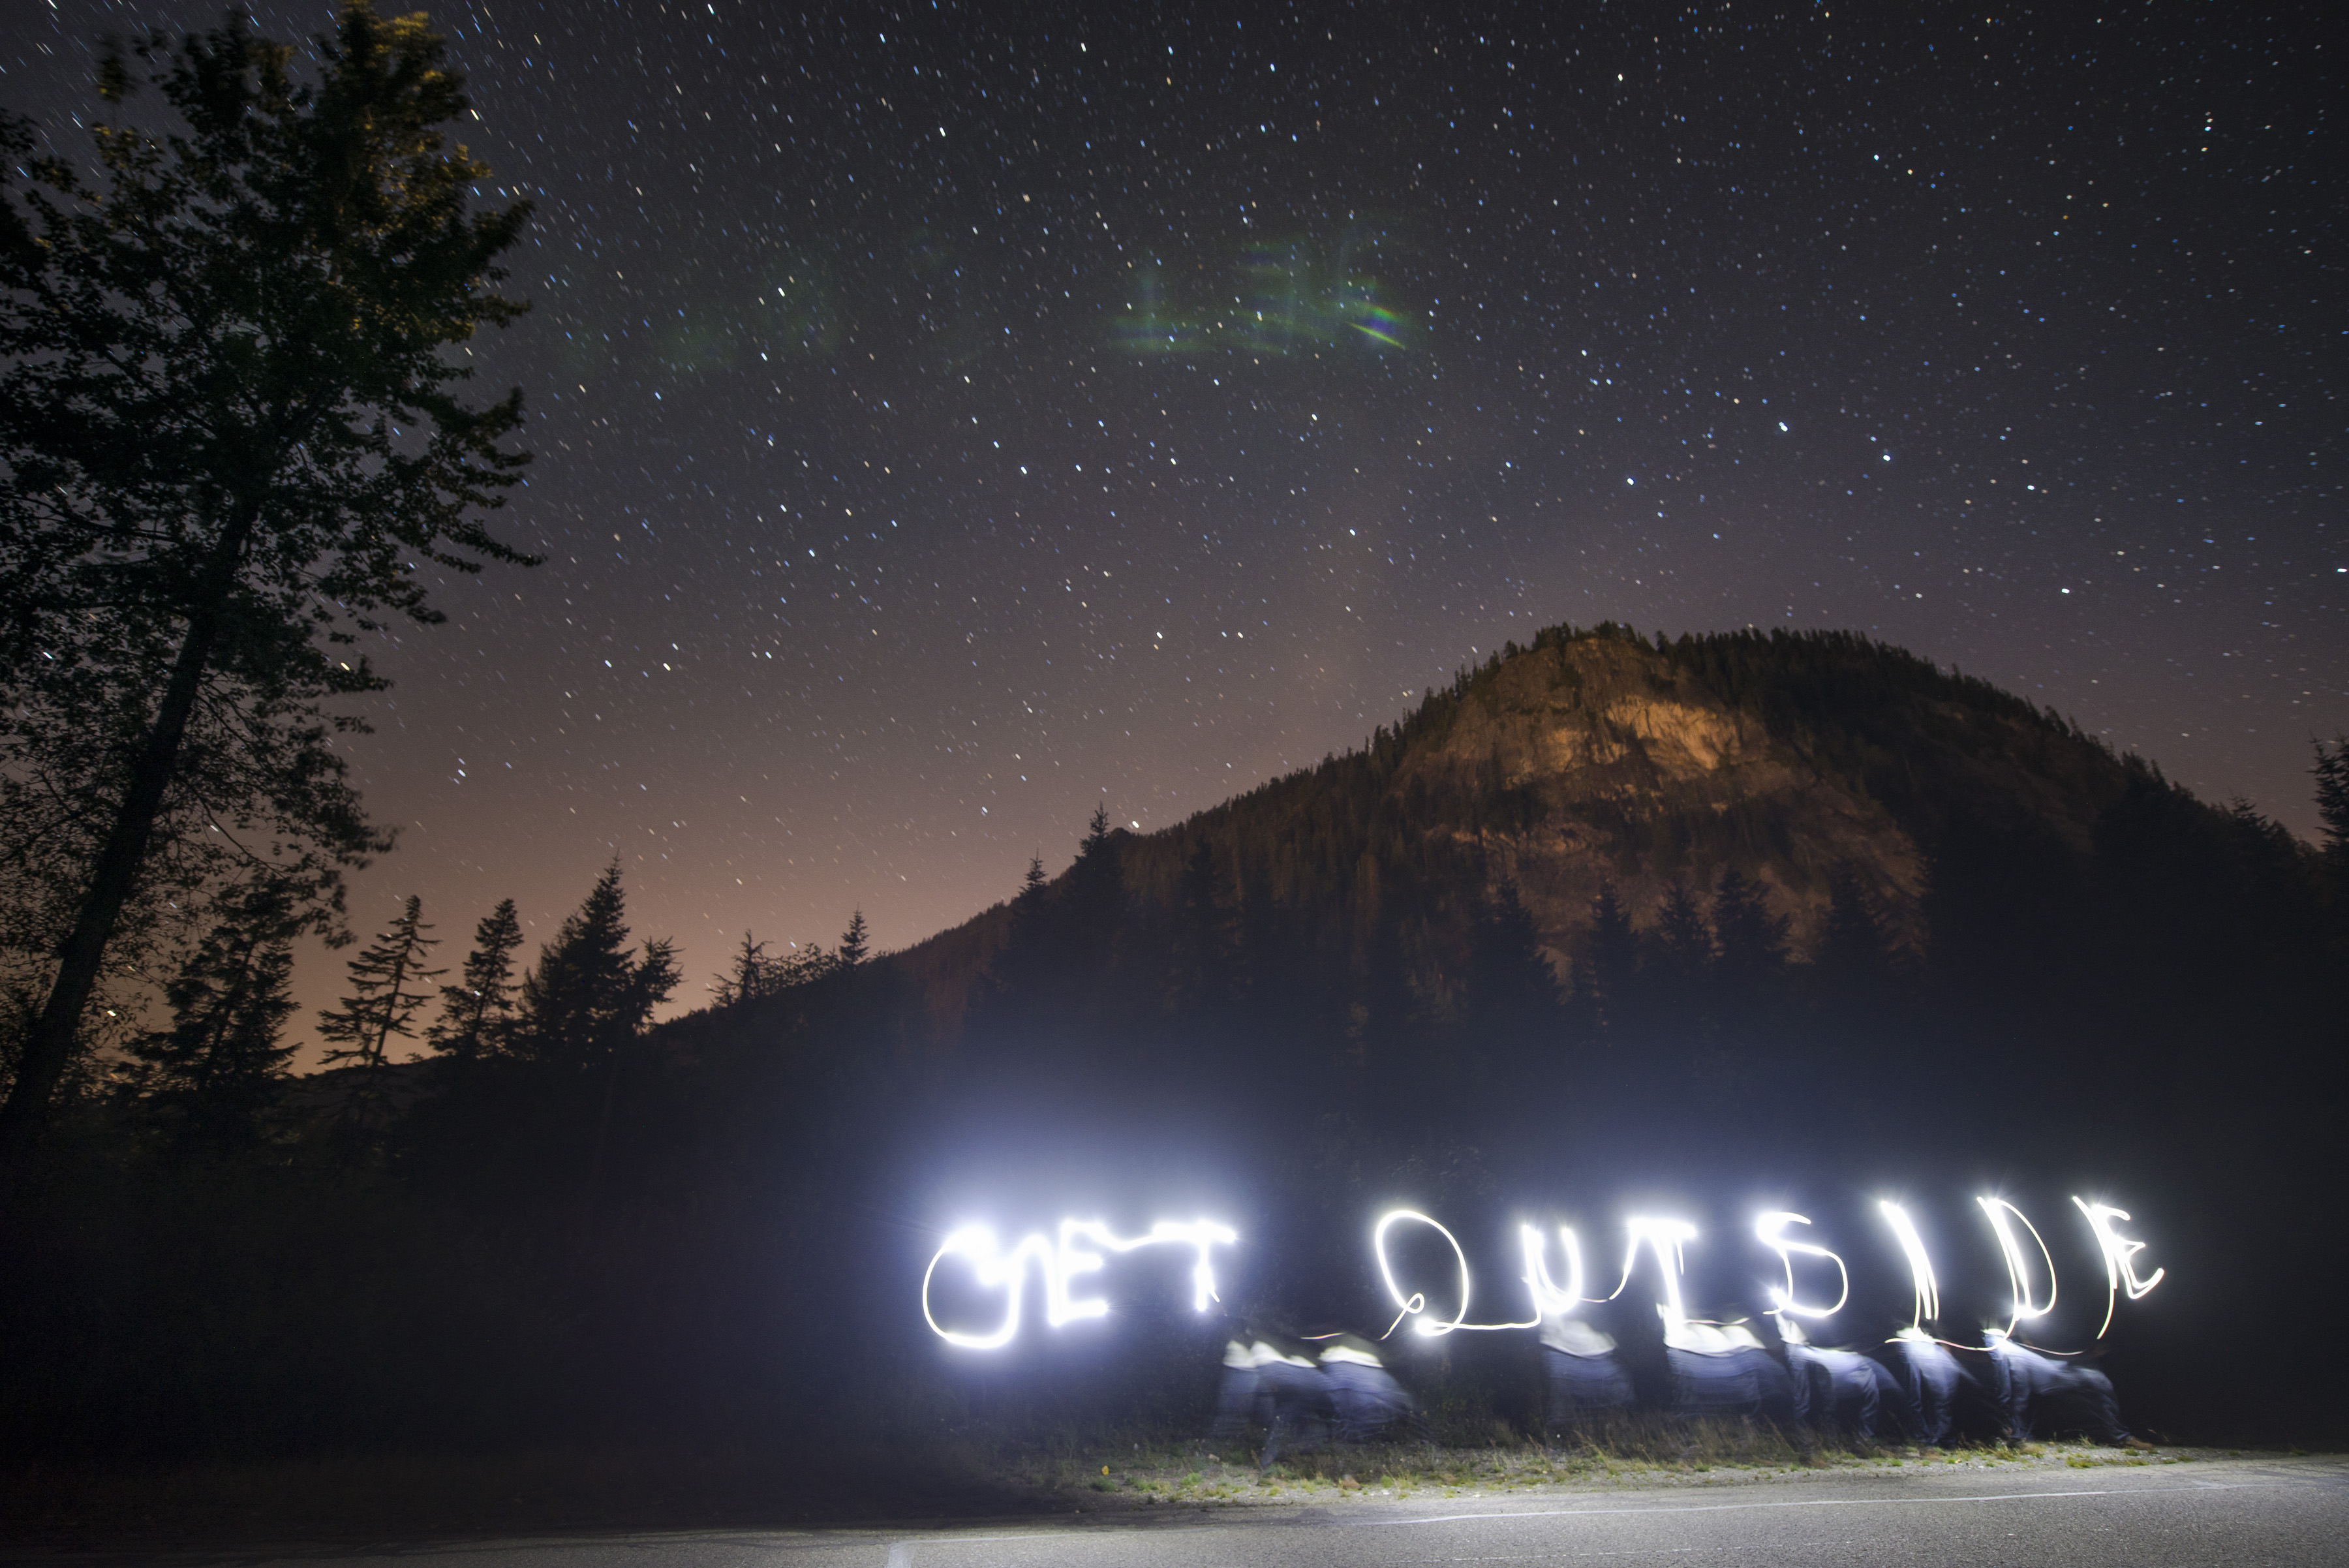
A final example of this application is to use a light source to write or design patterns in the frame. Again, because the shutter is open for an extended amount of time, we have time to slowly trace a pattern or text into the sky. Get creative—write words or draw designs or pictures—the sky is the limit here.
Some tips to consider when shooting: If you don’t want to appear in the finished image, wear all black. You’ll be able to move freely around the frame without leaving any ghost-like versions of yourself. If you wear lighter colors, you’ll see little traces of yourself wherever you pause.
Don’t limit yourself to just flashlights or headlamps. Go out and experiment with other lighting sources, such as colored LEDs, lighter flames or sparklers, that may provide unique or different effects.
Enjoy!!!
(Originally written and created by Ian Coble for REI. See the original post HERE)


Sorry, the comment form is closed at this time.