

Photography Tips: How to shoot a time lapse – Tutorial
So far, we’ve only covered still photography in the Blog photo tutorials. But for this post, we’re taking a slightly hybridized spin to still photography and adding some motion to the mix with time-lapse videos.
I’m personally very partial to still photography. However, there are some stories and scenes that a still photo just can’t convey. Time-lapses are a perfect instance of this. Additionally, while I love being able to display an awesome photo on my wall or social media channels, there’s something cool about having a collection of time-lapse videos from a trip that you can play on loop on your screensaver or home television.
While time-lapse sequences are incredibly rewarding pieces of art to create, they are very complex. It would be impossible to cover every aspect of shooting them in a single blog post. This tutorial will be a basic tutorial of how to start out and what common problems you may encounter.
Ok, where do I start?
Cameras? Any camera is capable of shooting a time-lapse. All a time-lapse is is a collection of still photographs stitched together into a video.
Any camera will work, but you’ll find the process much easier if your camera can shoot on manual mode (where you control shutter speed, aperture and ISO) and is capable of shooting RAW files. If not shooting in manual mode, you may end up with varying lighting throughout the pictures, causing the light to jump around throughout the video motion.
Beyond those basics, you’re going to need an intervalometer. Some cameras have a built-in intervalometer; others will require you to buy one. This device allows you to control the number of shots and the interval between each shot, rather than having to manually depress the shutter for hours on end.
Some newer cameras and phones have the feature of creating a time-lapse video. While this is quick and easy, I recommend against it, as you have zero control in your ability to do any post processing (color, speed, flicker, etc.).

How do I go about creating a time-lapse video?
You’re looking for constant motion (water, people, cars, clouds and other subjects that move), and you’re telling a story. Think about what is going to unfold once you start your camera, and plan your shot with that in mind.
Consider investing in a phone app that tracks the sun and stars. This way you’ll know where the sun’s (or moon’s) path will be as you’re composing your shot.
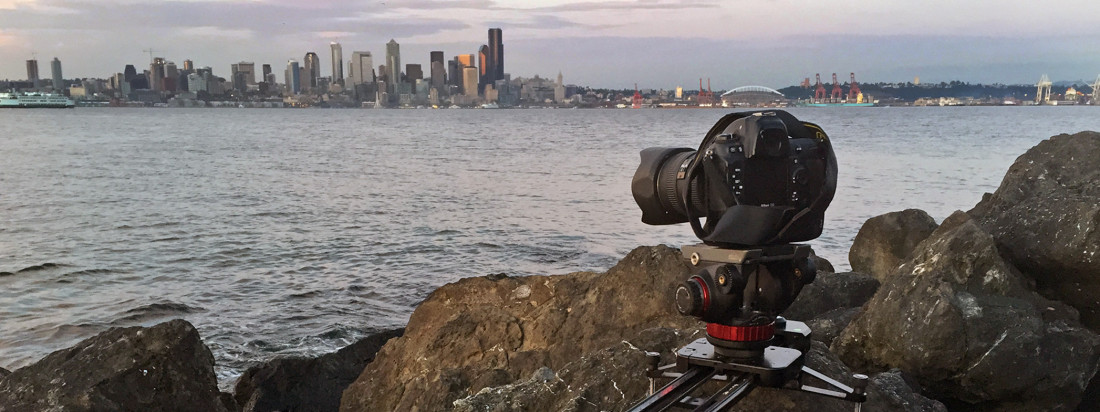
Once you’ve composed your shot, set up your tripod and make certain it’s stable. Any movement to your camera during the time-lapse will ruin the end result. Finally, set your exposure (shutter speed, aperture and ISO), your interval (how often your camera will take a photo) and the number of photos you want your camera to shoot. Start your camera and walk away (remembering not to walk in front of the camera).
Ok, now I have a few hundred photos; what do I do next?
This is the cumbersome part of shooting time-lapses—they take a lot of work and patience. Once you’ve shot all of your photos, you now have to import them into your computer and run them through a time-lapse software program. Some software programs are better than others for stitching the photos together. There are good options out there (some are even free). While QuickTime Player 7 is a staple program used by many photographers, but it doesn’t give you a whole lot of options. GoPro has a timelapse feature in their creative suite and it’s free, but the same limitations apply. My personal favorite is LR Timelapse 4. It’s not cheap but it does the best at processing files in my opion.
While the process will vary from one software version to another, essentially it’s the same. Create unique folders for each time-lapse sequence you shot. Point the software to that folder and set the frame rate (24, 25 or 30 fps) and duration (how long the final clip will be) and click start. (I personally recommend a frame rate of 24, as it gives a more “cinematic” look to your time-lapse video). The program will blend all of your images and export them as a single movie file.
How do I make my time-lapse look the best it can?
In order to get a smooth time-lapse, you don’t want to set your interval between frames for too long. Otherwise, the lag between exposures will leave gaps in the movement of objects (creating a flip-book-type effect to your time-lapse). Instead, try to keep your interval to between one and five seconds to give a fluid look to any movement.
Similarly, you should be mindful of quick-moving objects (trees blowing in the wind or a rushing stream) in your time-lapse. These objects will create an unpleasant look to your finished time-lapse (also known as a “staccato effect”). To counter this, try shooting at longer shutter speeds (1/100th or slower) to blur the quick motion. It will give your final time-lapse a more fluid look. Make sure there is some movement, however, whether clouds or dancing shadows, which helps create a more dramatic time-lapse sequence.
What is “flickering” and how can I fix it?
Flickering is when one exposure out of the batch you just created doesn’t perfectly match the others. The effect created is a “flicker” in the time-lapse. A quick way to counter this problem is to turn off every auto function on your camera (exposure, focus, white balance, sharpening, saturation, etc.). You’ll have to set all of these yourself, but it will prevent your camera from creating a frame that doesn’t match the others.
This will fix most of your flickering issues, although it might not eliminate it all together. Not to worry; there are several software programs made specifically to fix this issue.
While you’re turning off everything “auto” on your camera, go ahead and turn off any color enhancements and shoot with a flat color profile—or better yet, shoot in RAW. That way you can make any changes to the finished images more easily in post processing, rather than relying on your camera to do it for you.
When shooting your time-lapse, check in on it every once in a while. Don’t just walk away and assume everything will turn out perfect. I find it a good idea to check it every 10–15 minutes. Check the exposure level to make sure it hasn’t gotten too dark or too bright, and make sure that the motion you’re trying to capture hasn’t moved to an area outside of your frame. If it has, better to correct it and start over, than to have wasted more time missing the shot.
Adding camera motion to your time-lapse?
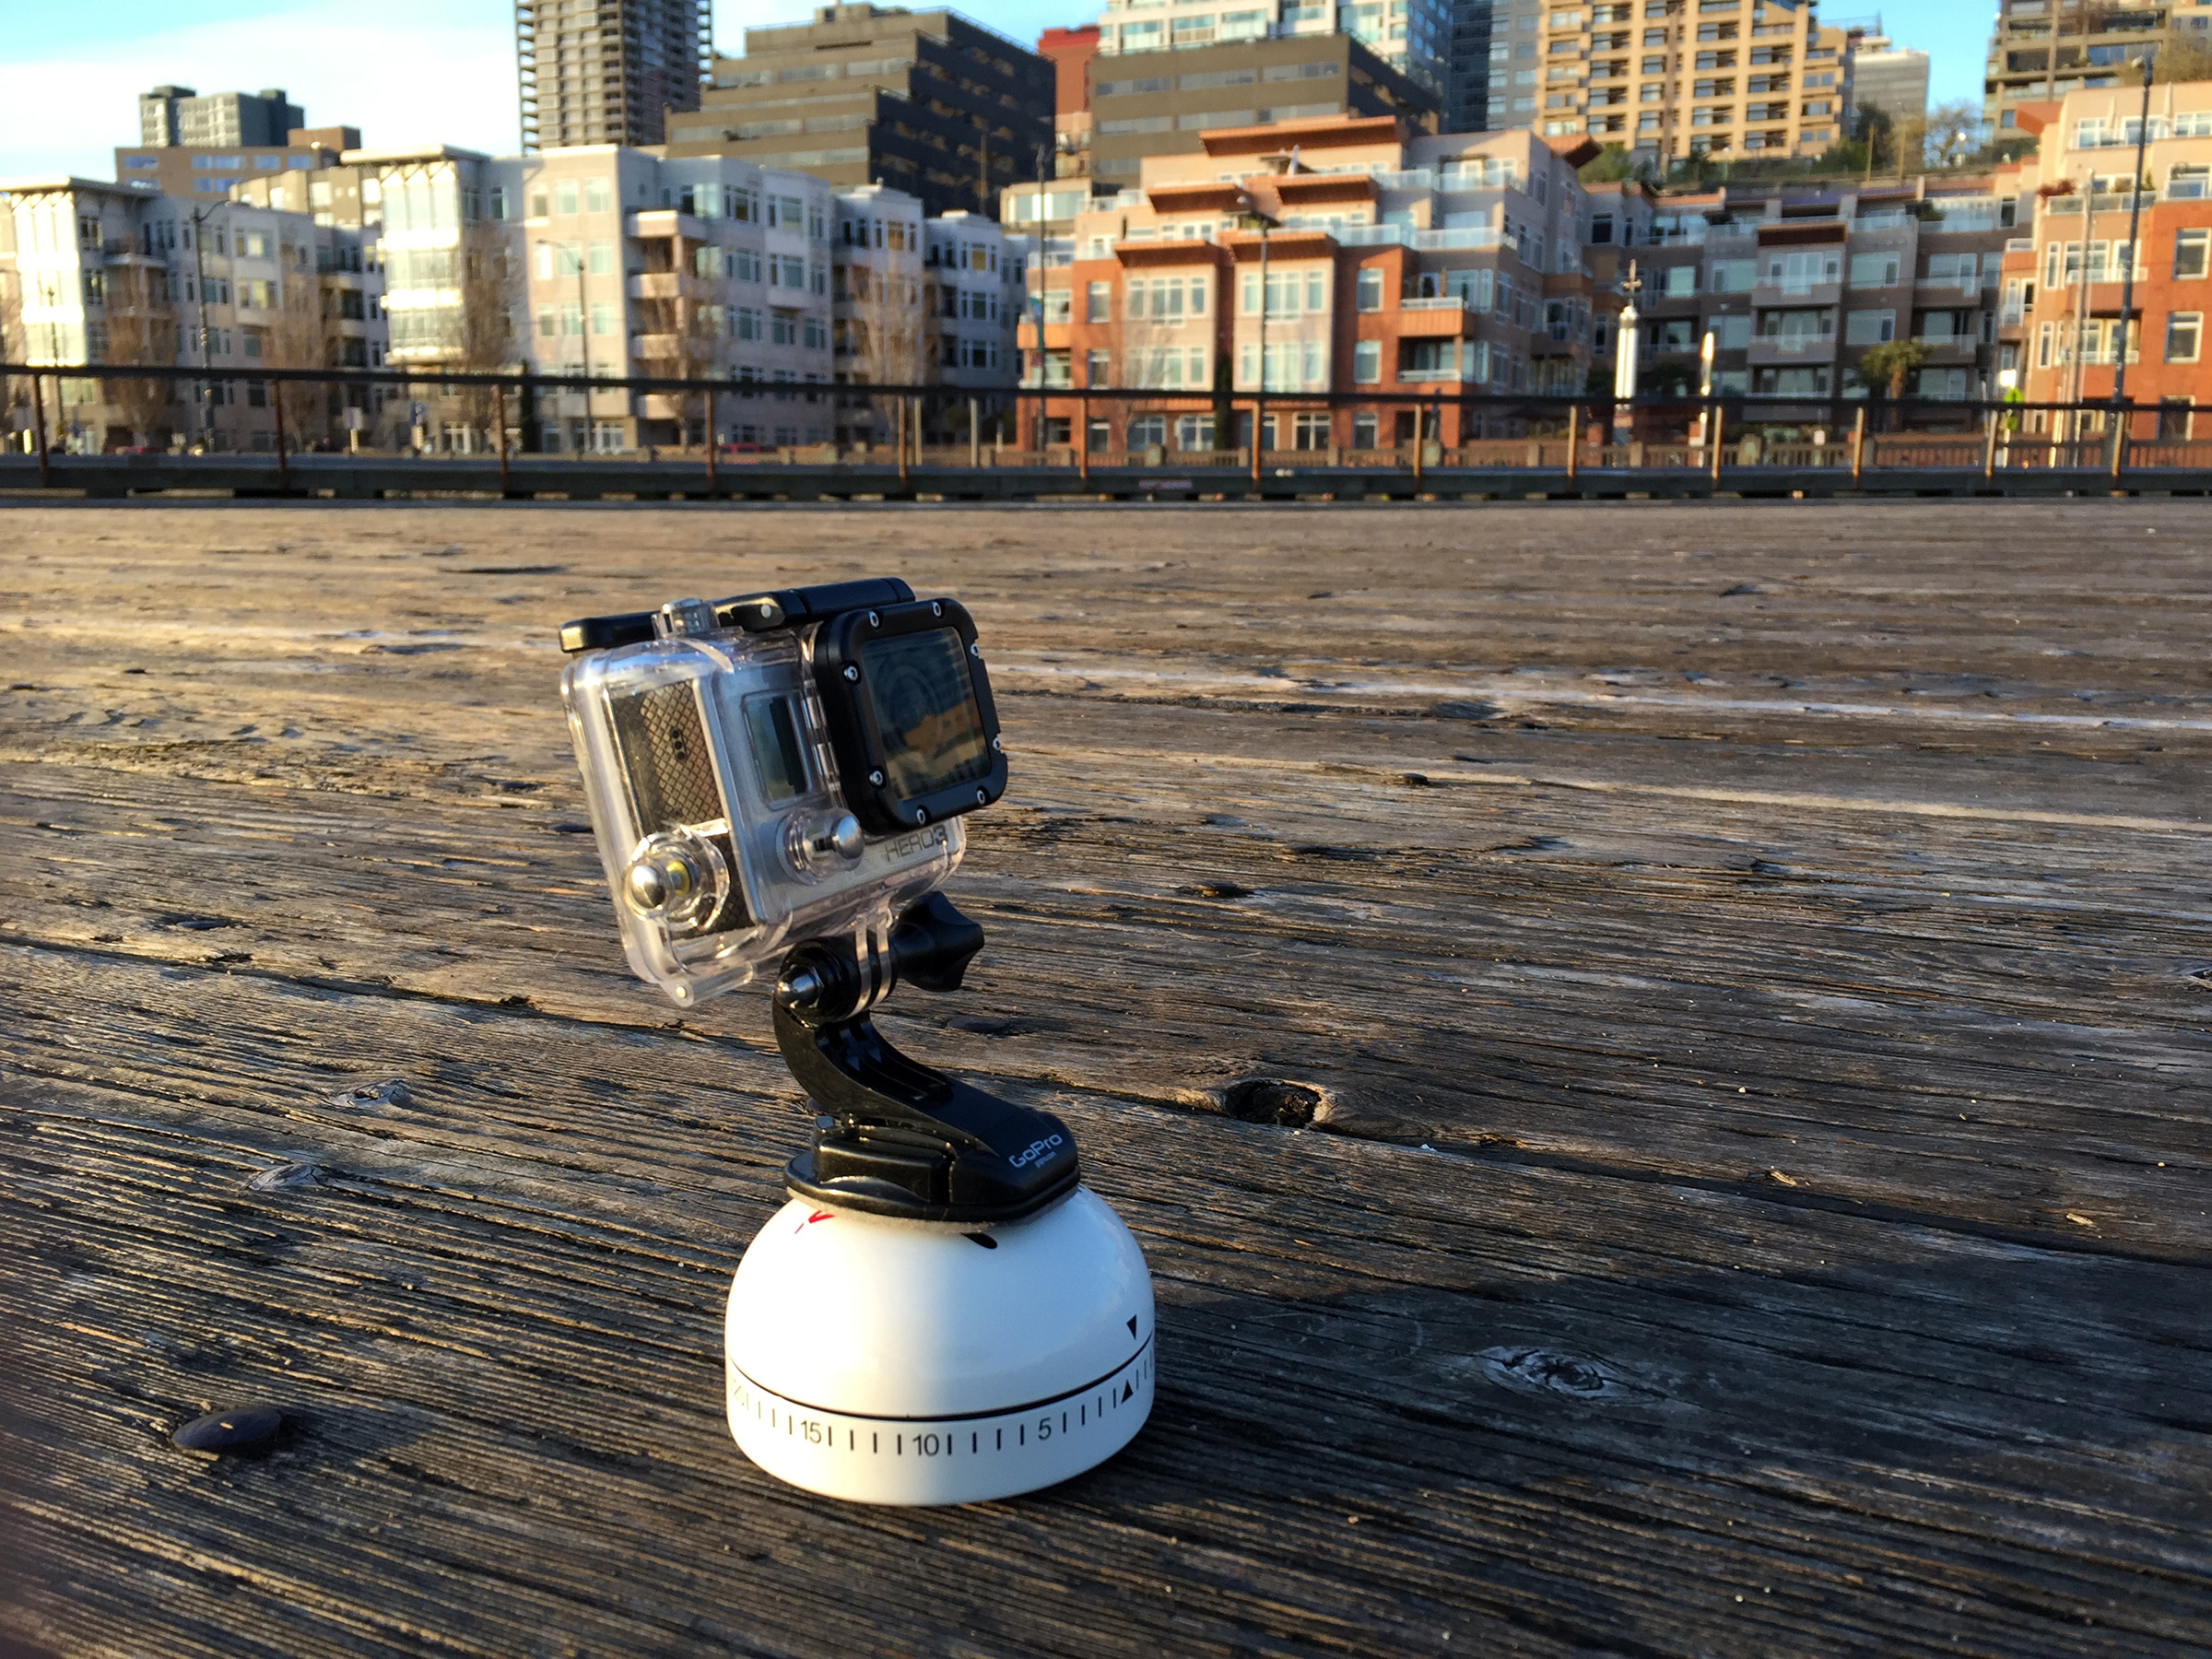
If you’re looking for a cheap and quick way to add some motion to your time-lapses, go to any grocery store and pick up an egg timer. Mount your camera on top of the egg timer, set it for however long you want your time-lapse to go for, and start your camera. The egg timer will rotate very slowly as time ticks away, and it will add a slow horizontal pan to your end video. Total cost: around $5–$10. This option will only work for smaller cameras. DSLRs will require a larger, more professional piece of equipment to achieve this look (known as a motorized pan/tilt tripod head).
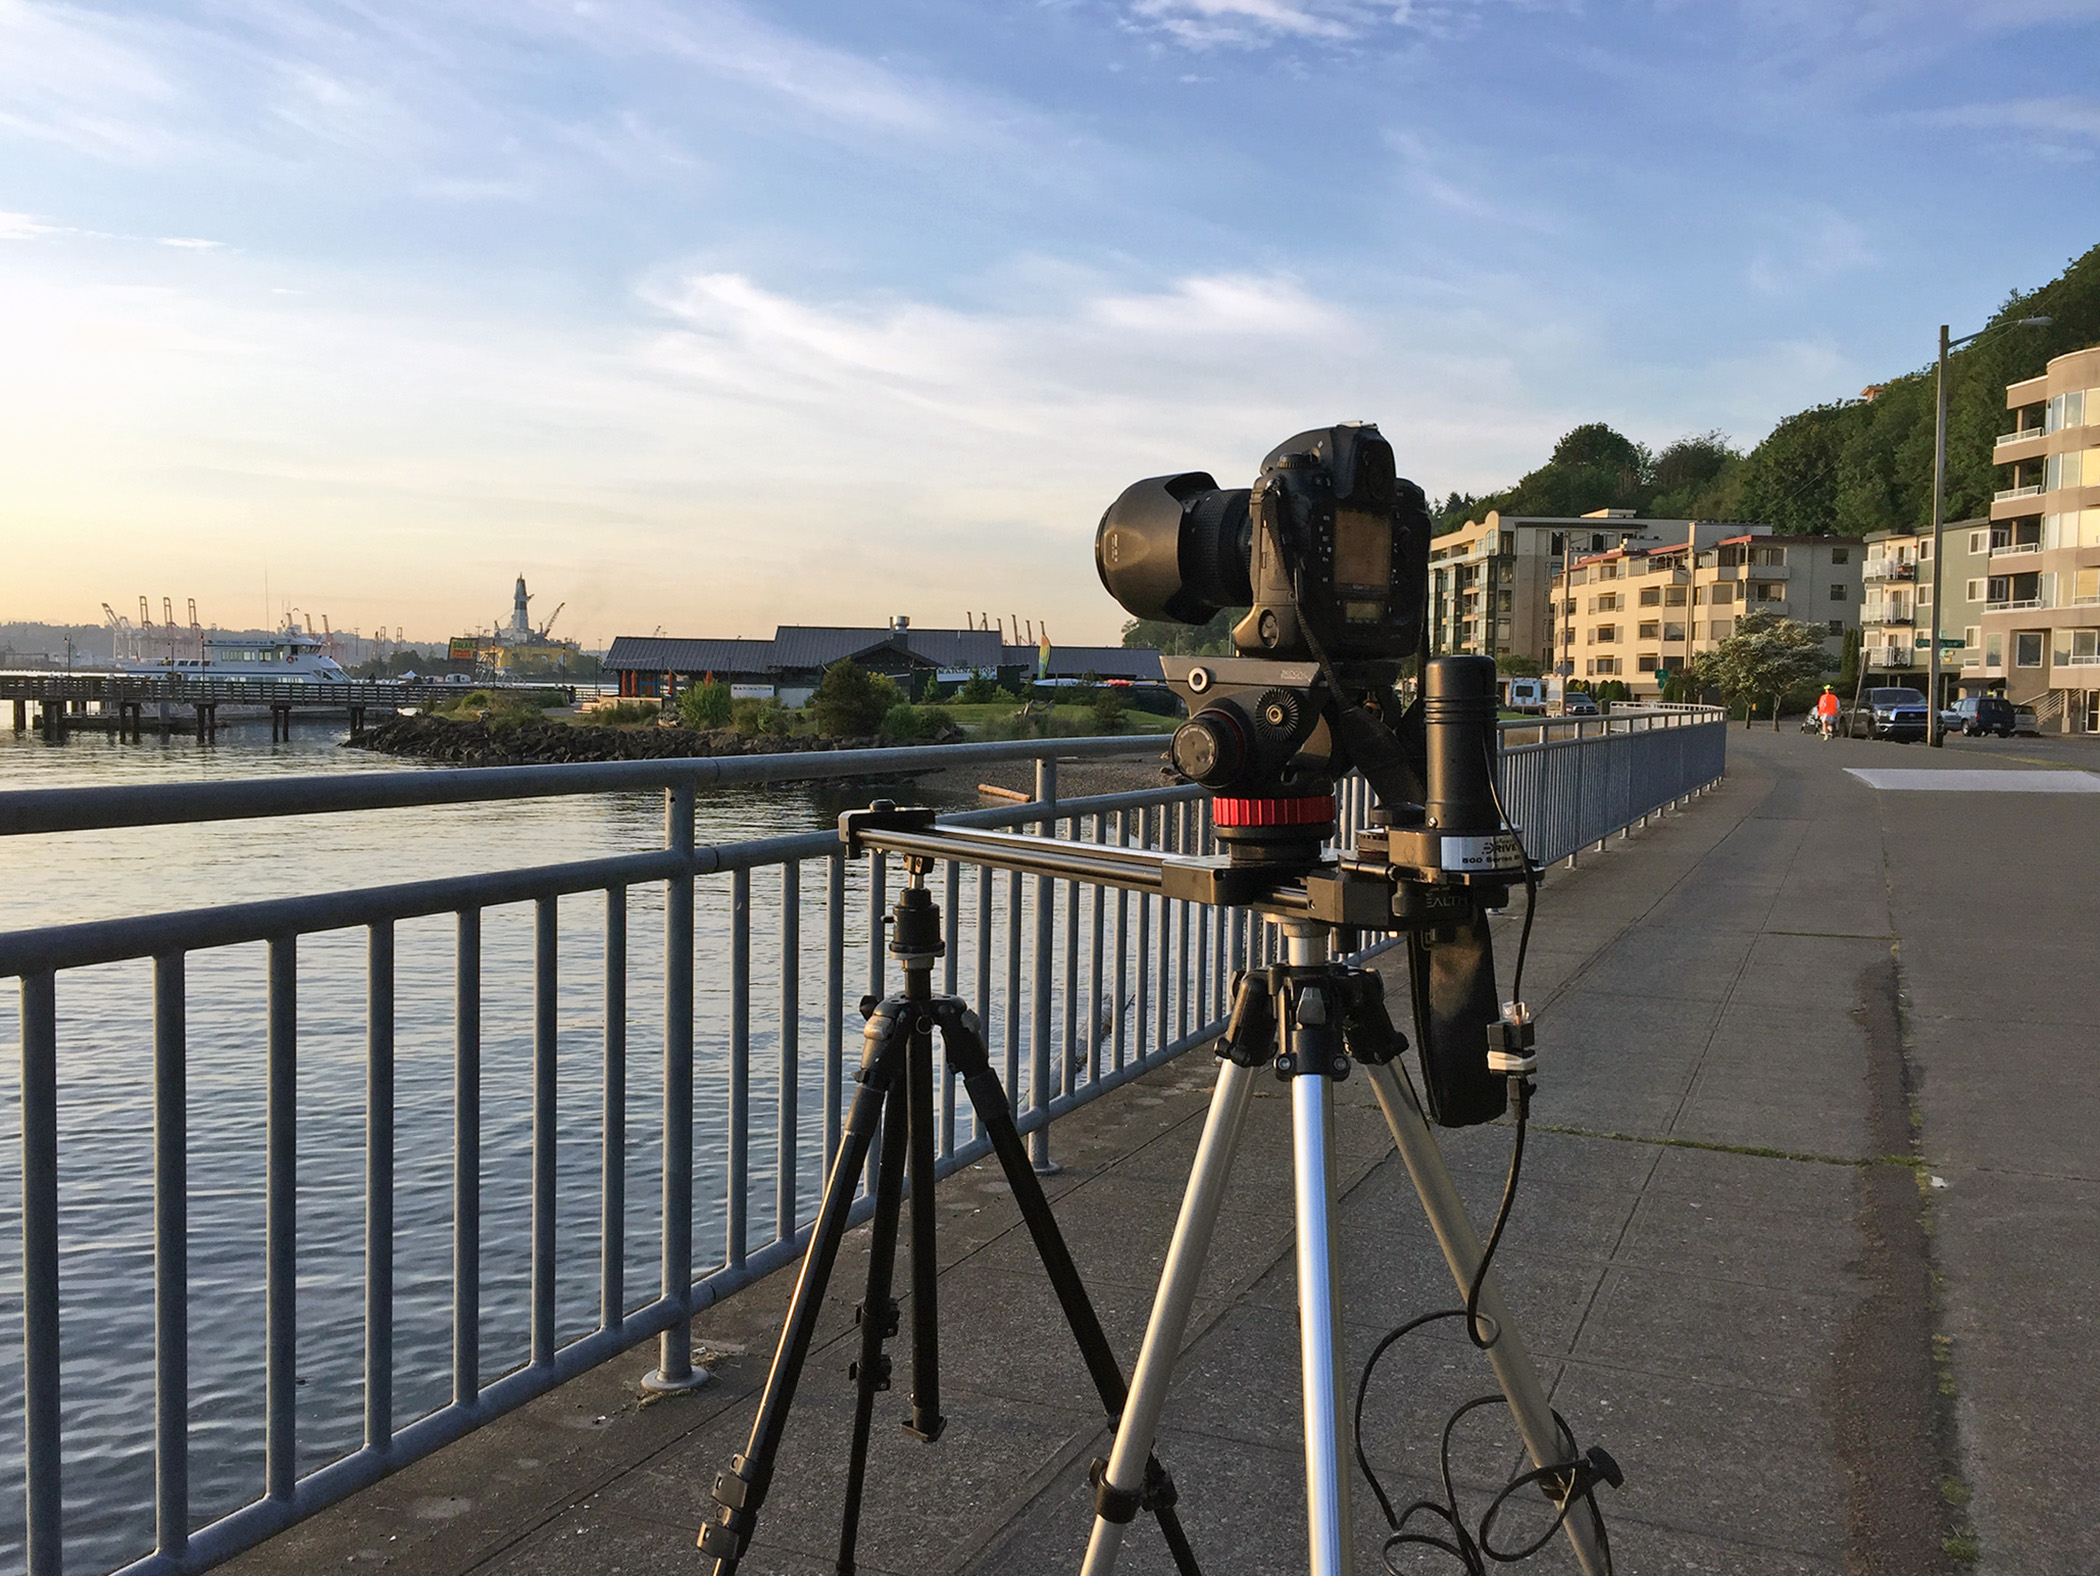
Additionally, you can add horizontal or vertical movement to your time-lapse with a motorized slider. They may be expensive and cumbersome, but they will add another level of quality to your finished product.
If you’re after a cheap way to do this, though, shoot your time-lapse extra wide and then adjust your frame in post processing to pan as the time-lapse goes. (This is done after you’ve created your time-lapse and have imported the video into an editing program.)
What gear should I carry with me for shooting time-lapse sequences?
You’re going to carry most all of your normal photography gear with you on a time-lapse shoot. Beyond your camera, lenses and tripod, be sure to pack extra batteries and memory cards. Time-lapses require hundreds to thousands of images to create and can be a real drain on batteries and cards.
Beyond that, consider investing in filters. An ND (neutral density) filter is incredibly helpful to carry with you. These filters darken the overall scene and allow you to shoot at slower shutter speeds (important when shooting at slower shutter speeds to counter the above mentioned staccato effect).
A good polarizing filter is another great tool to carry. It will make your clouds really stand out while also taking glare off any reflective surface.
Definitely clean your gear before you go out and start shooting. Make sure your camera sensor is clean. Dust spots on your sensor will ruin your time-lapse, and it will take you forever to spot-check hundreds of frames. And for that matter, make sure your lenses and filters are clean as well.
Time-lapses are relatively easy—at face value. They require a lot of practice to get good at. Go out and experiment.
Just because your final product of a time-lapse is a video, doesn’t mean you should ignore the basic rules of photography (proper exposure, rule of thirds, interesting vantage points, etc.). See Photography Tips: Getting Started if you need a little refresher.
(Originally written and created by Ian Coble for REI. See the original article HERE)


Sorry, the comment form is closed at this time.