

Photography Tips: How to shoot better biking photos – Tutorial
In our last photo tutorial, we covered tips and tricks for shooting skiing and snowboarding. In this installment, we’re covering tips and tricks that apply to mountain biking photography. A lot of the advice I give here can apply to any sport you want to shoot, so be sure to check out our previous posts to get those tips too.
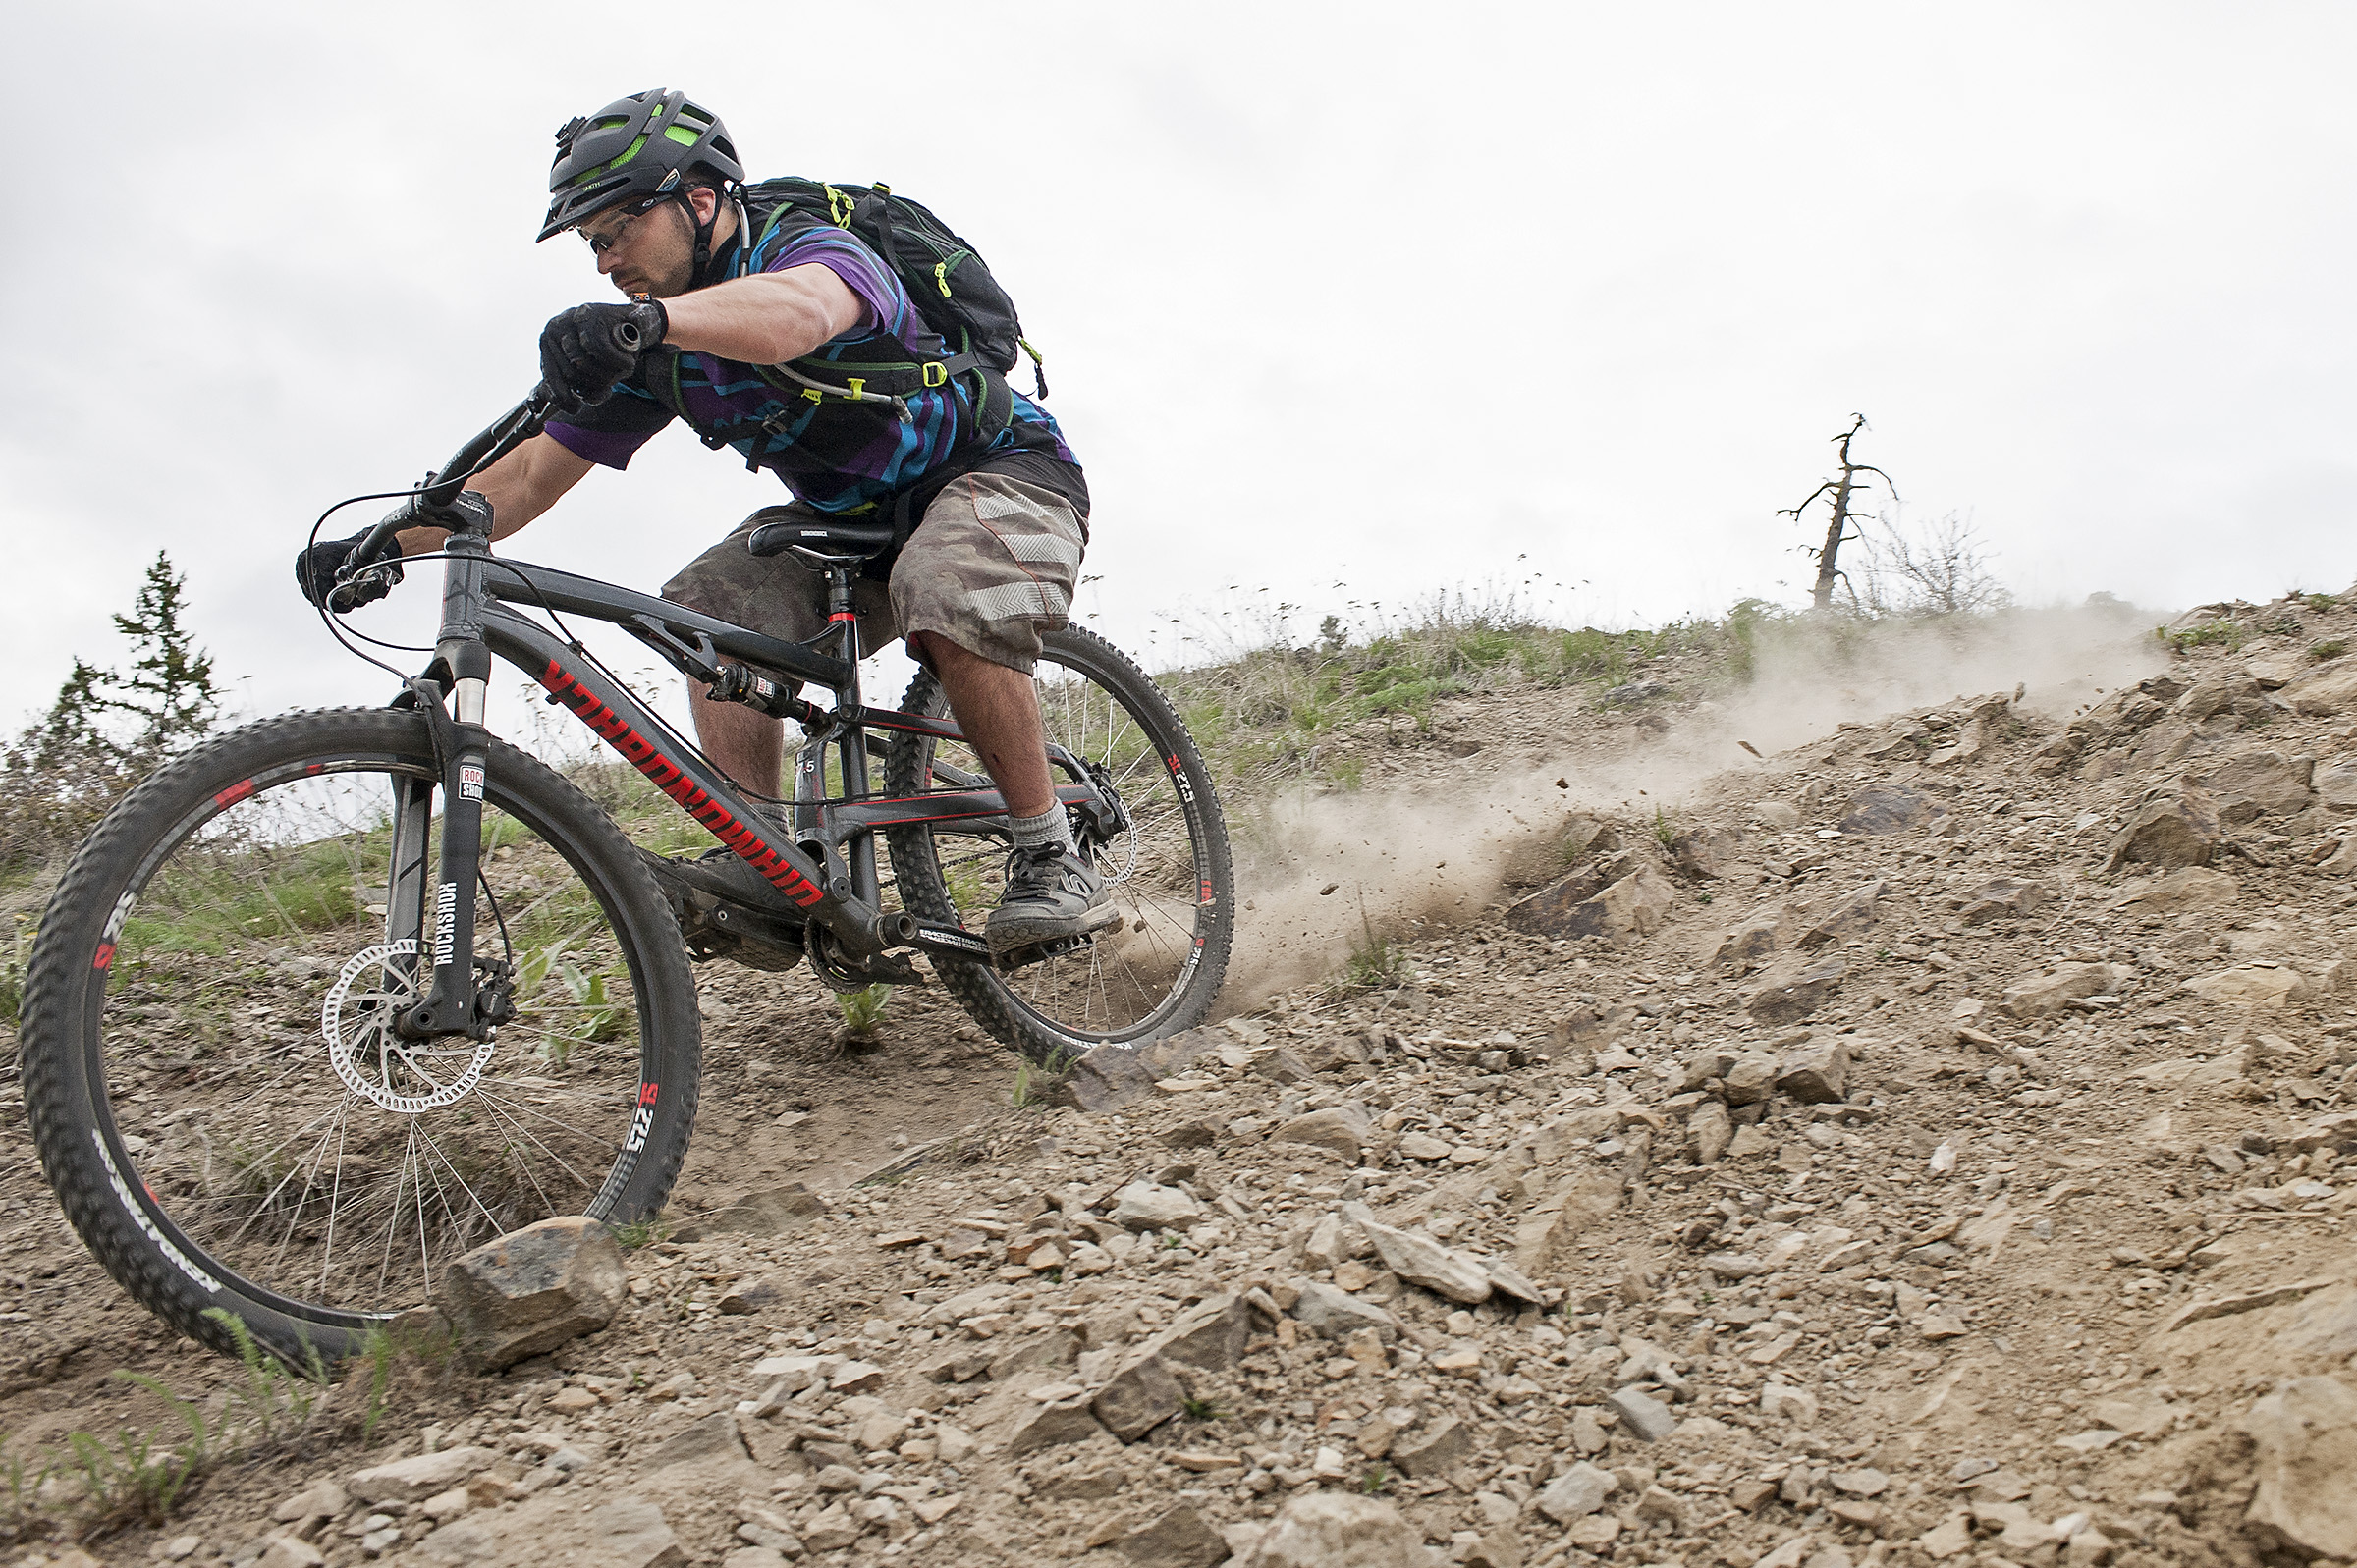
As with athletes in most action sports, bikers are traveling incredibly quickly, so set your shutter speed accordingly. If you want to freeze your subject, I’d advise a shutter speed of 1/1000th or faster. However, mountain biking is one of those sports that shoots well with speed blur. This technique of shooting a slow shutter speed while panning creates a really cool look. Try dialing your shutter speed down to around 1/100th of a second and pan with your subject as they ride past you. Your subject will stay sharp, while the background is blurred.
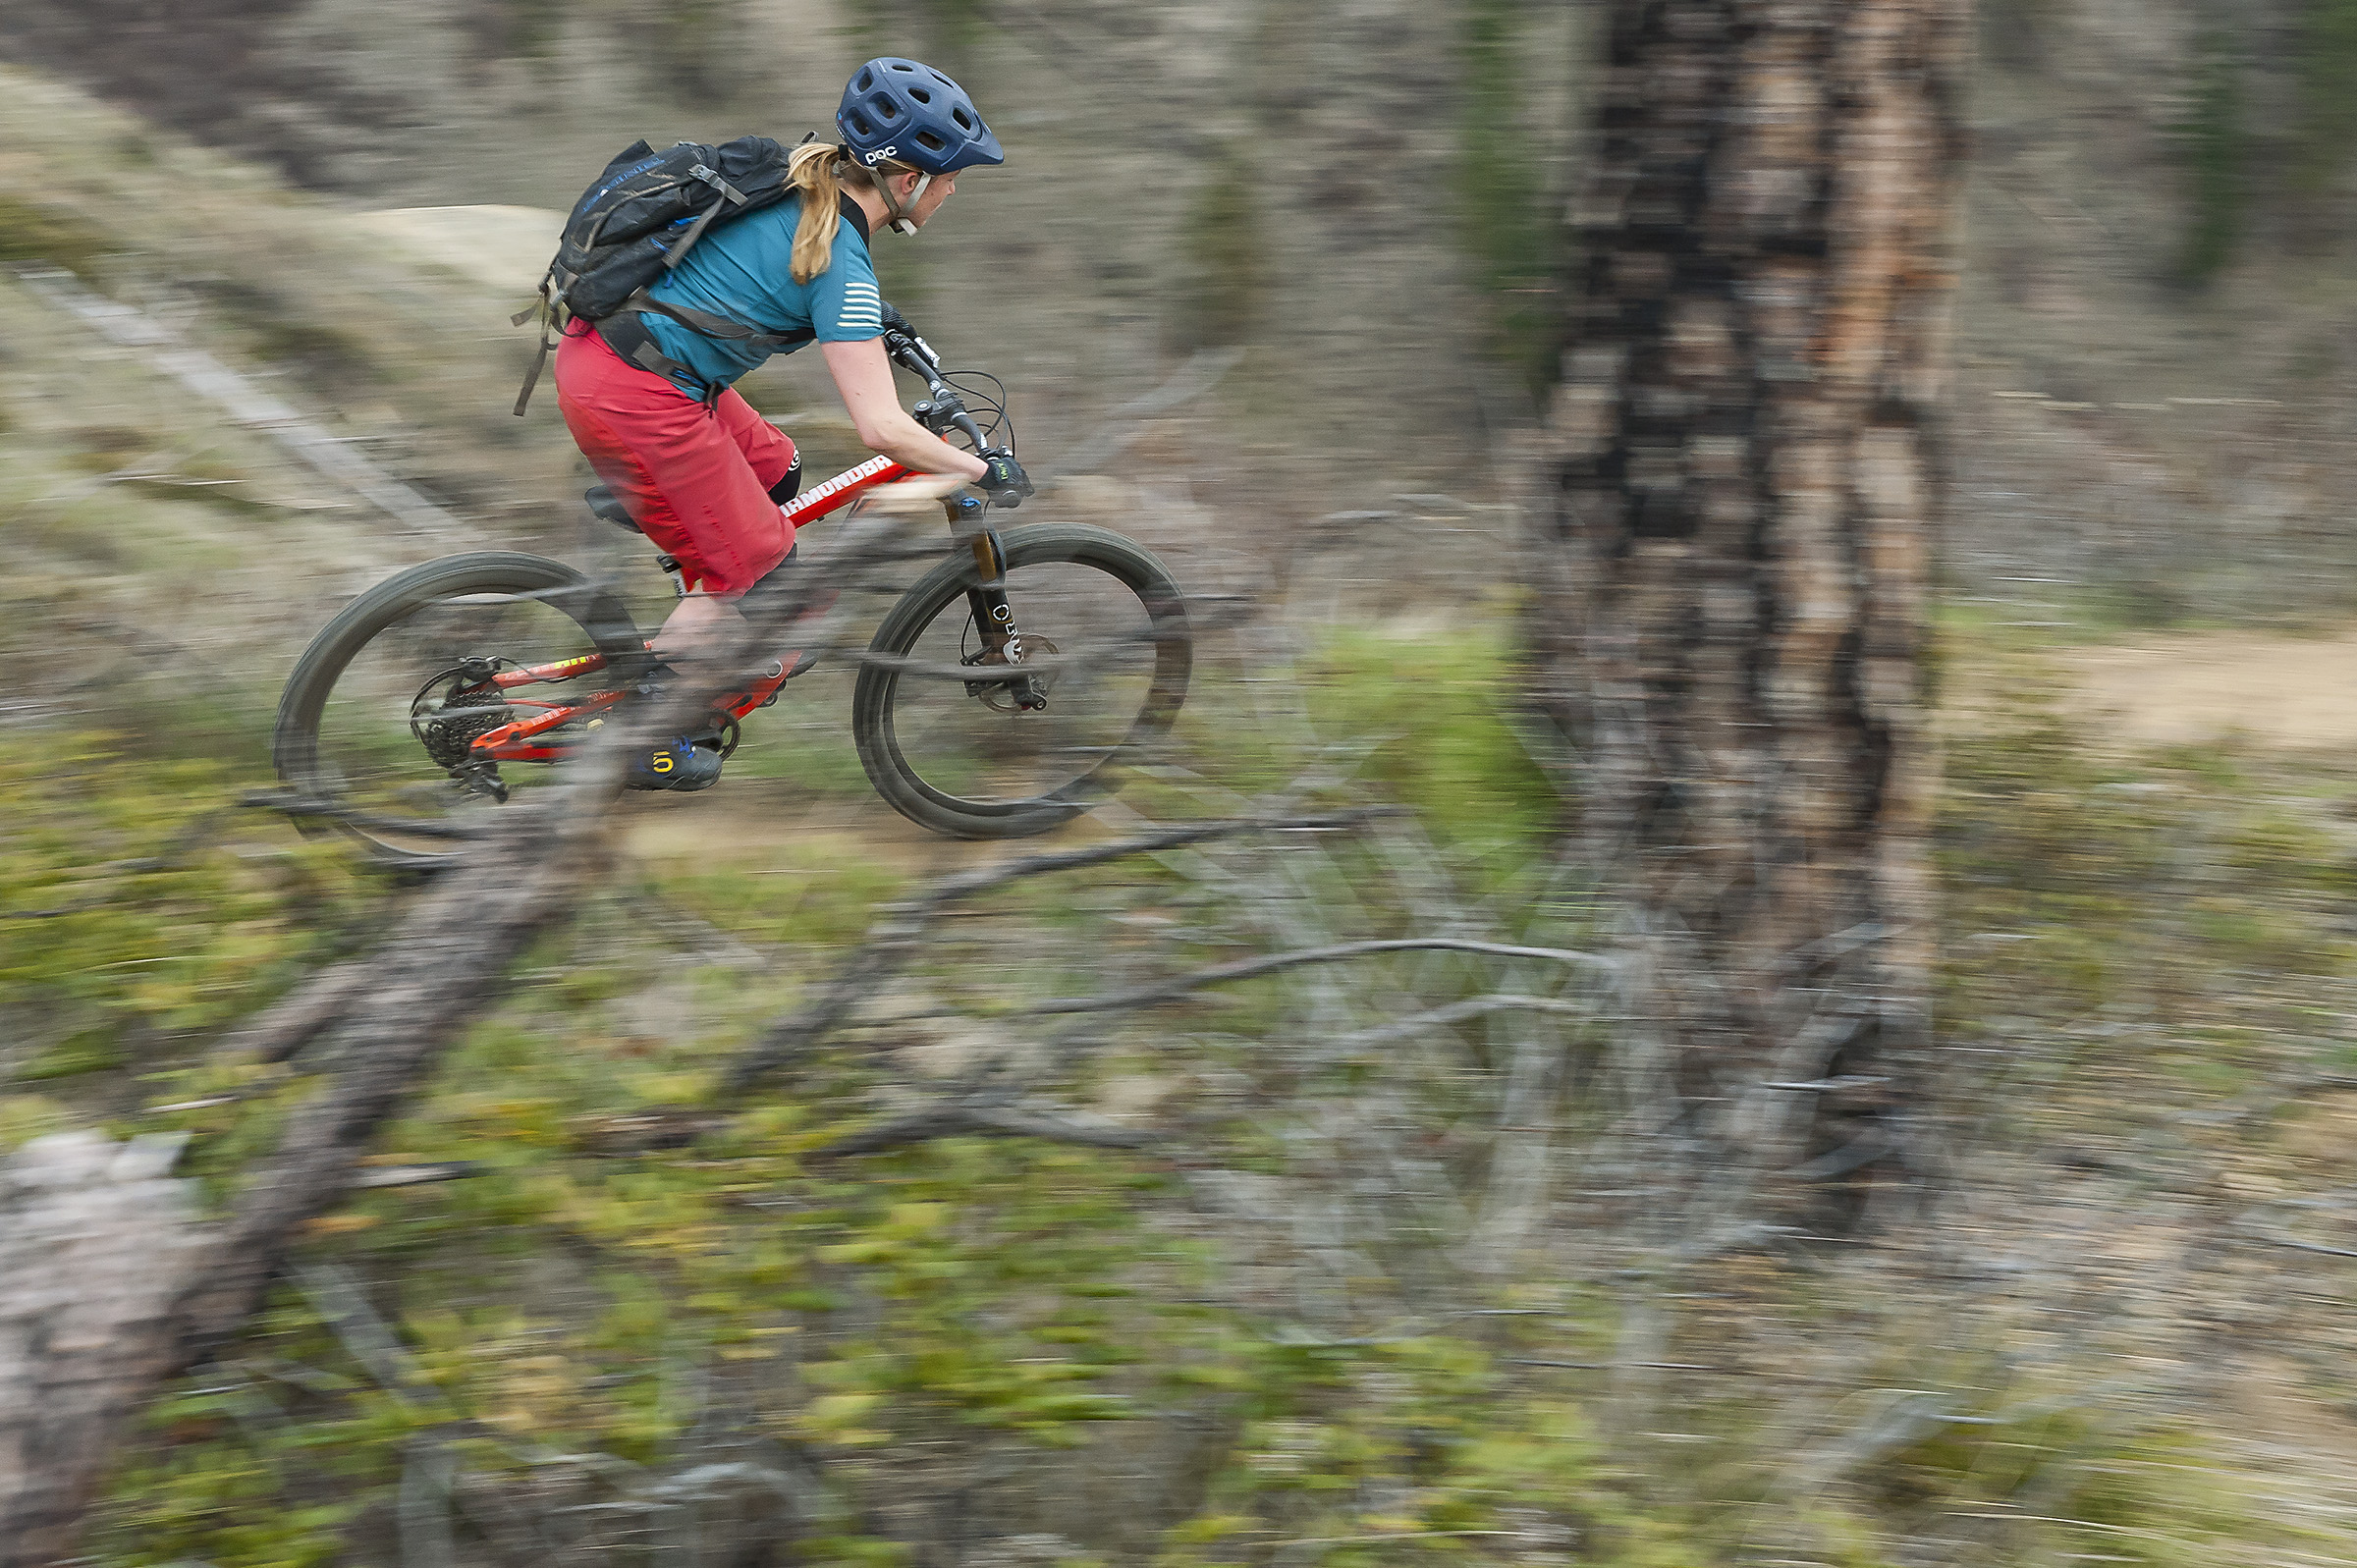
You’ll have to practice to get good at panning at the right speed, but you’ll get it in time. (You may want to vary that shutter speed up or down by two-thirds of a stop depending on how fast your friends ride).
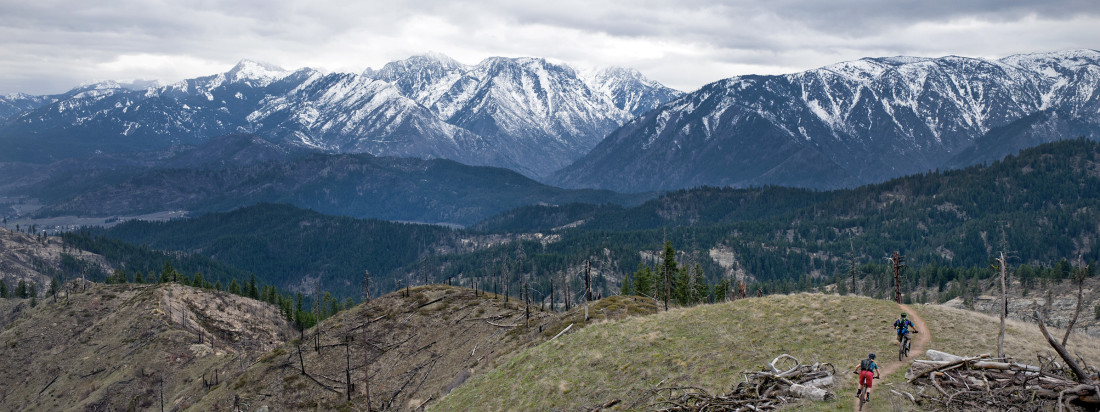
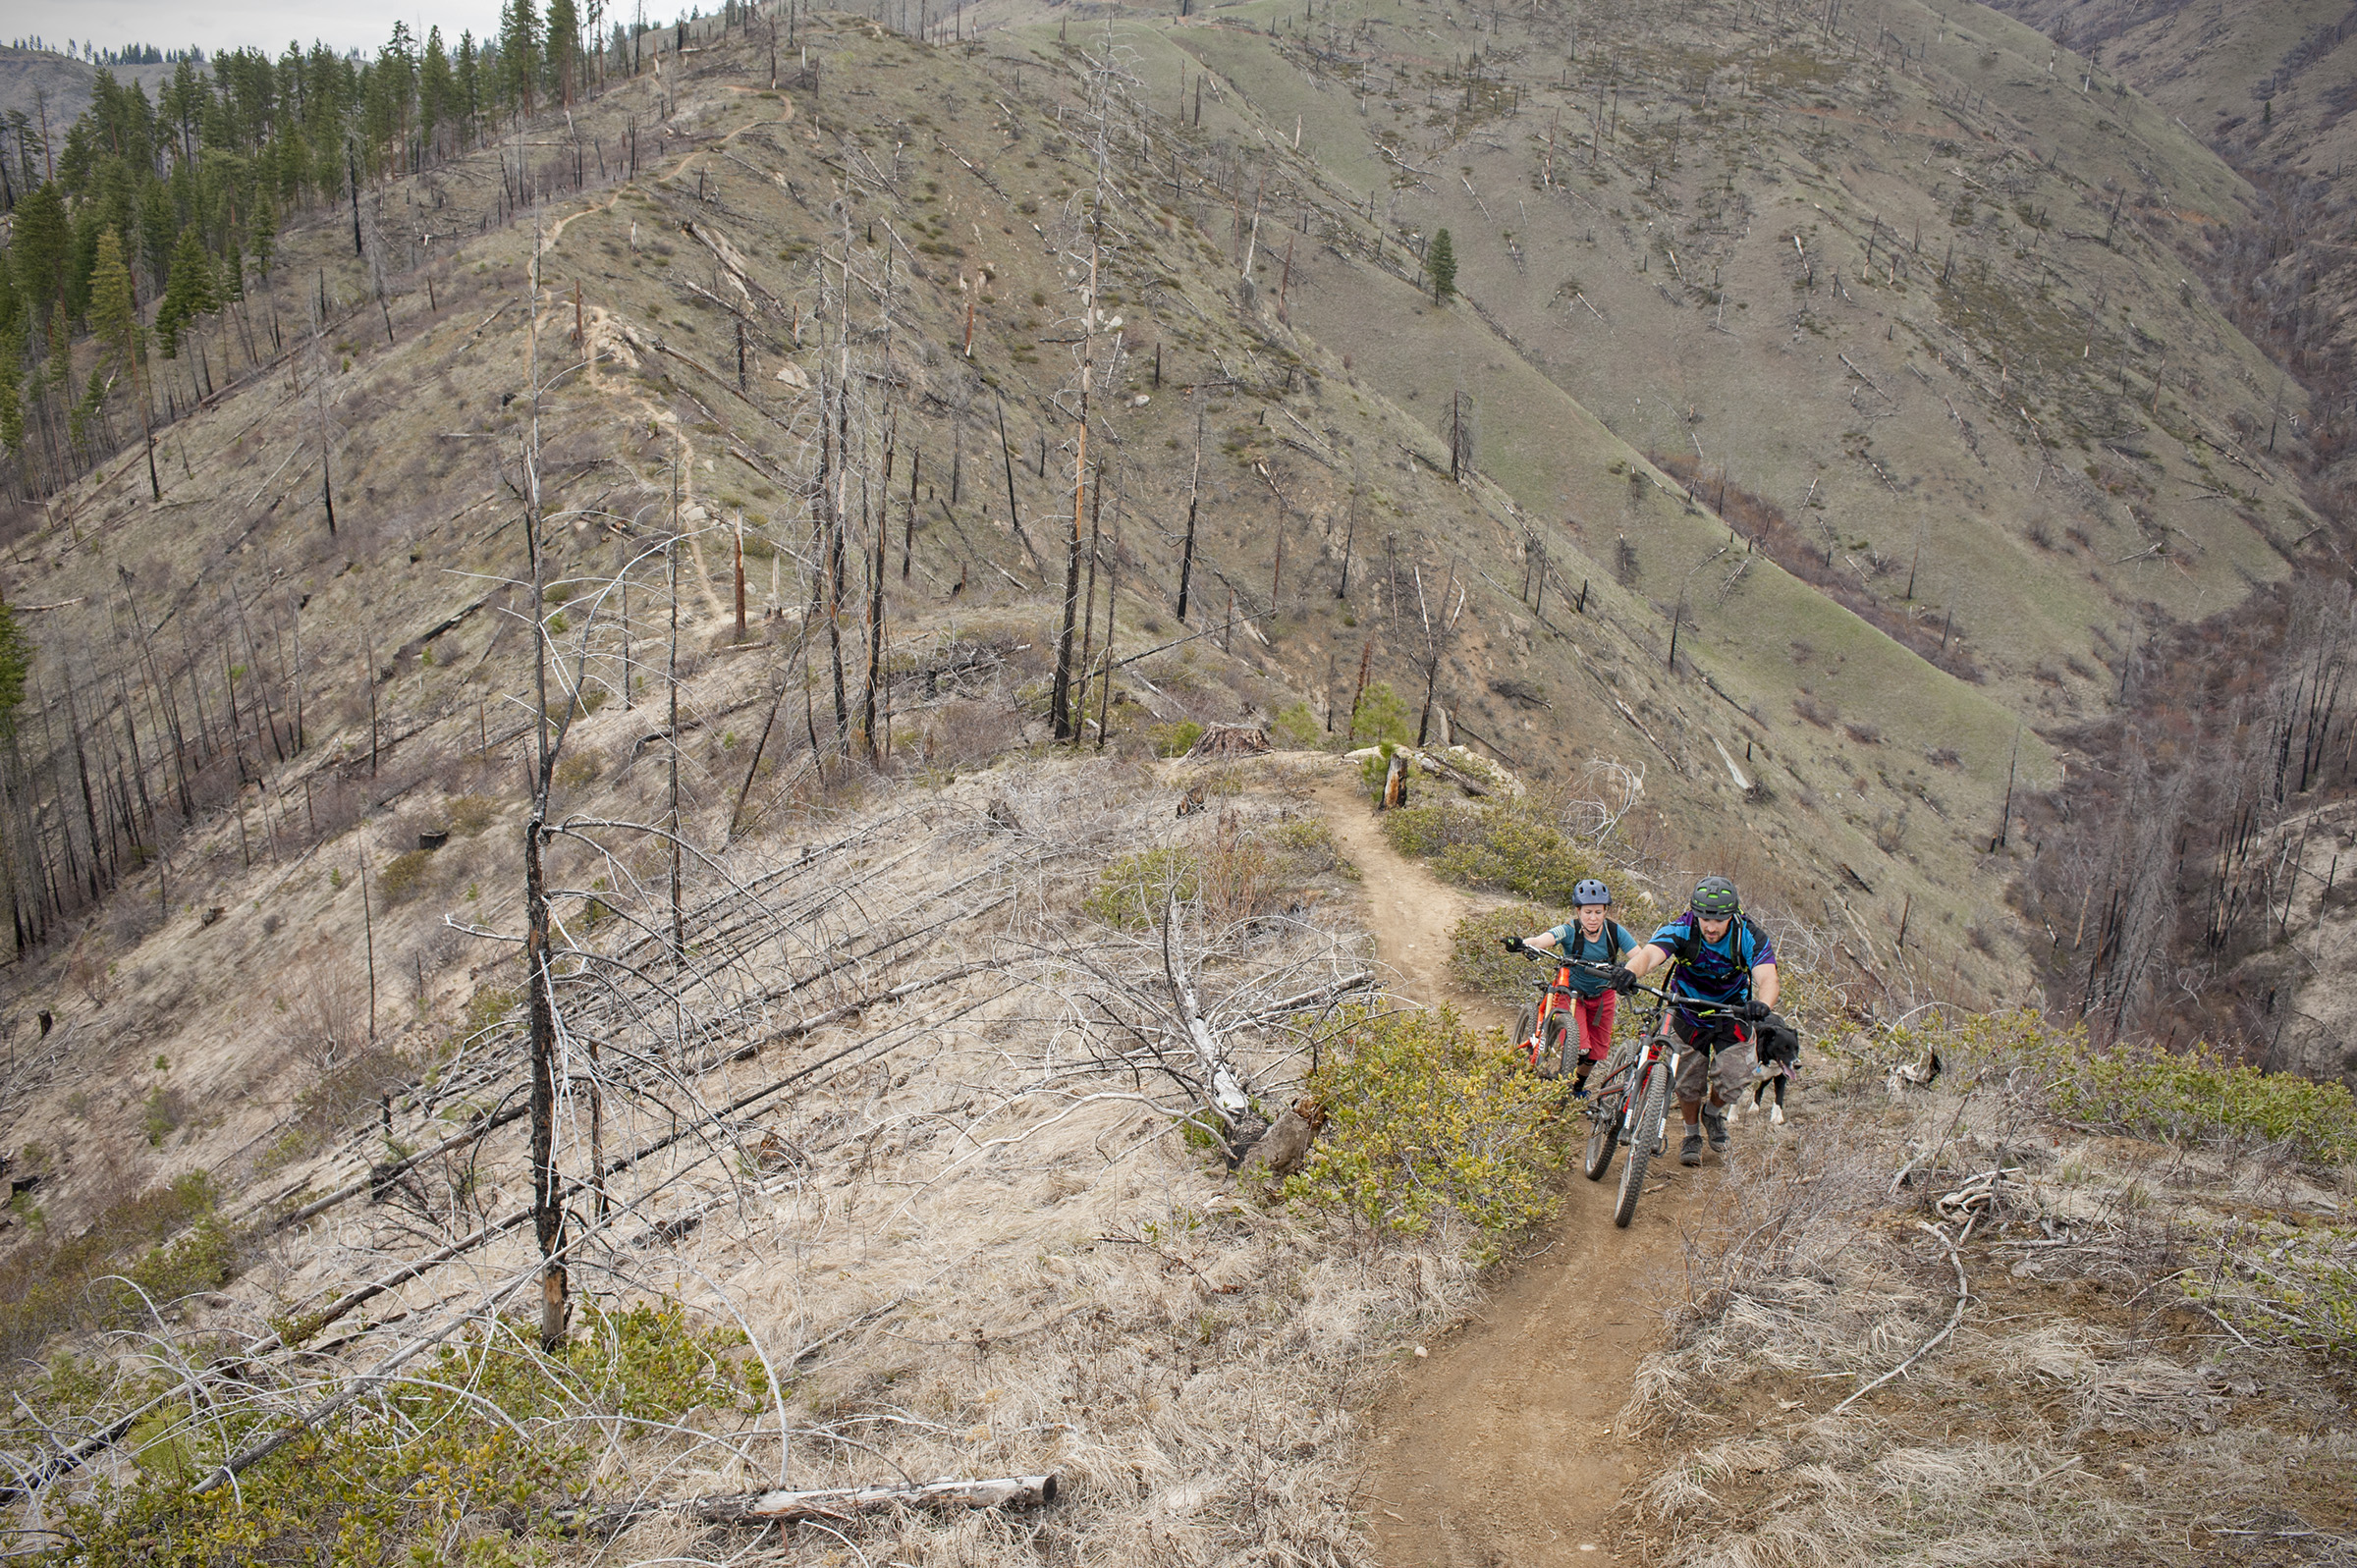
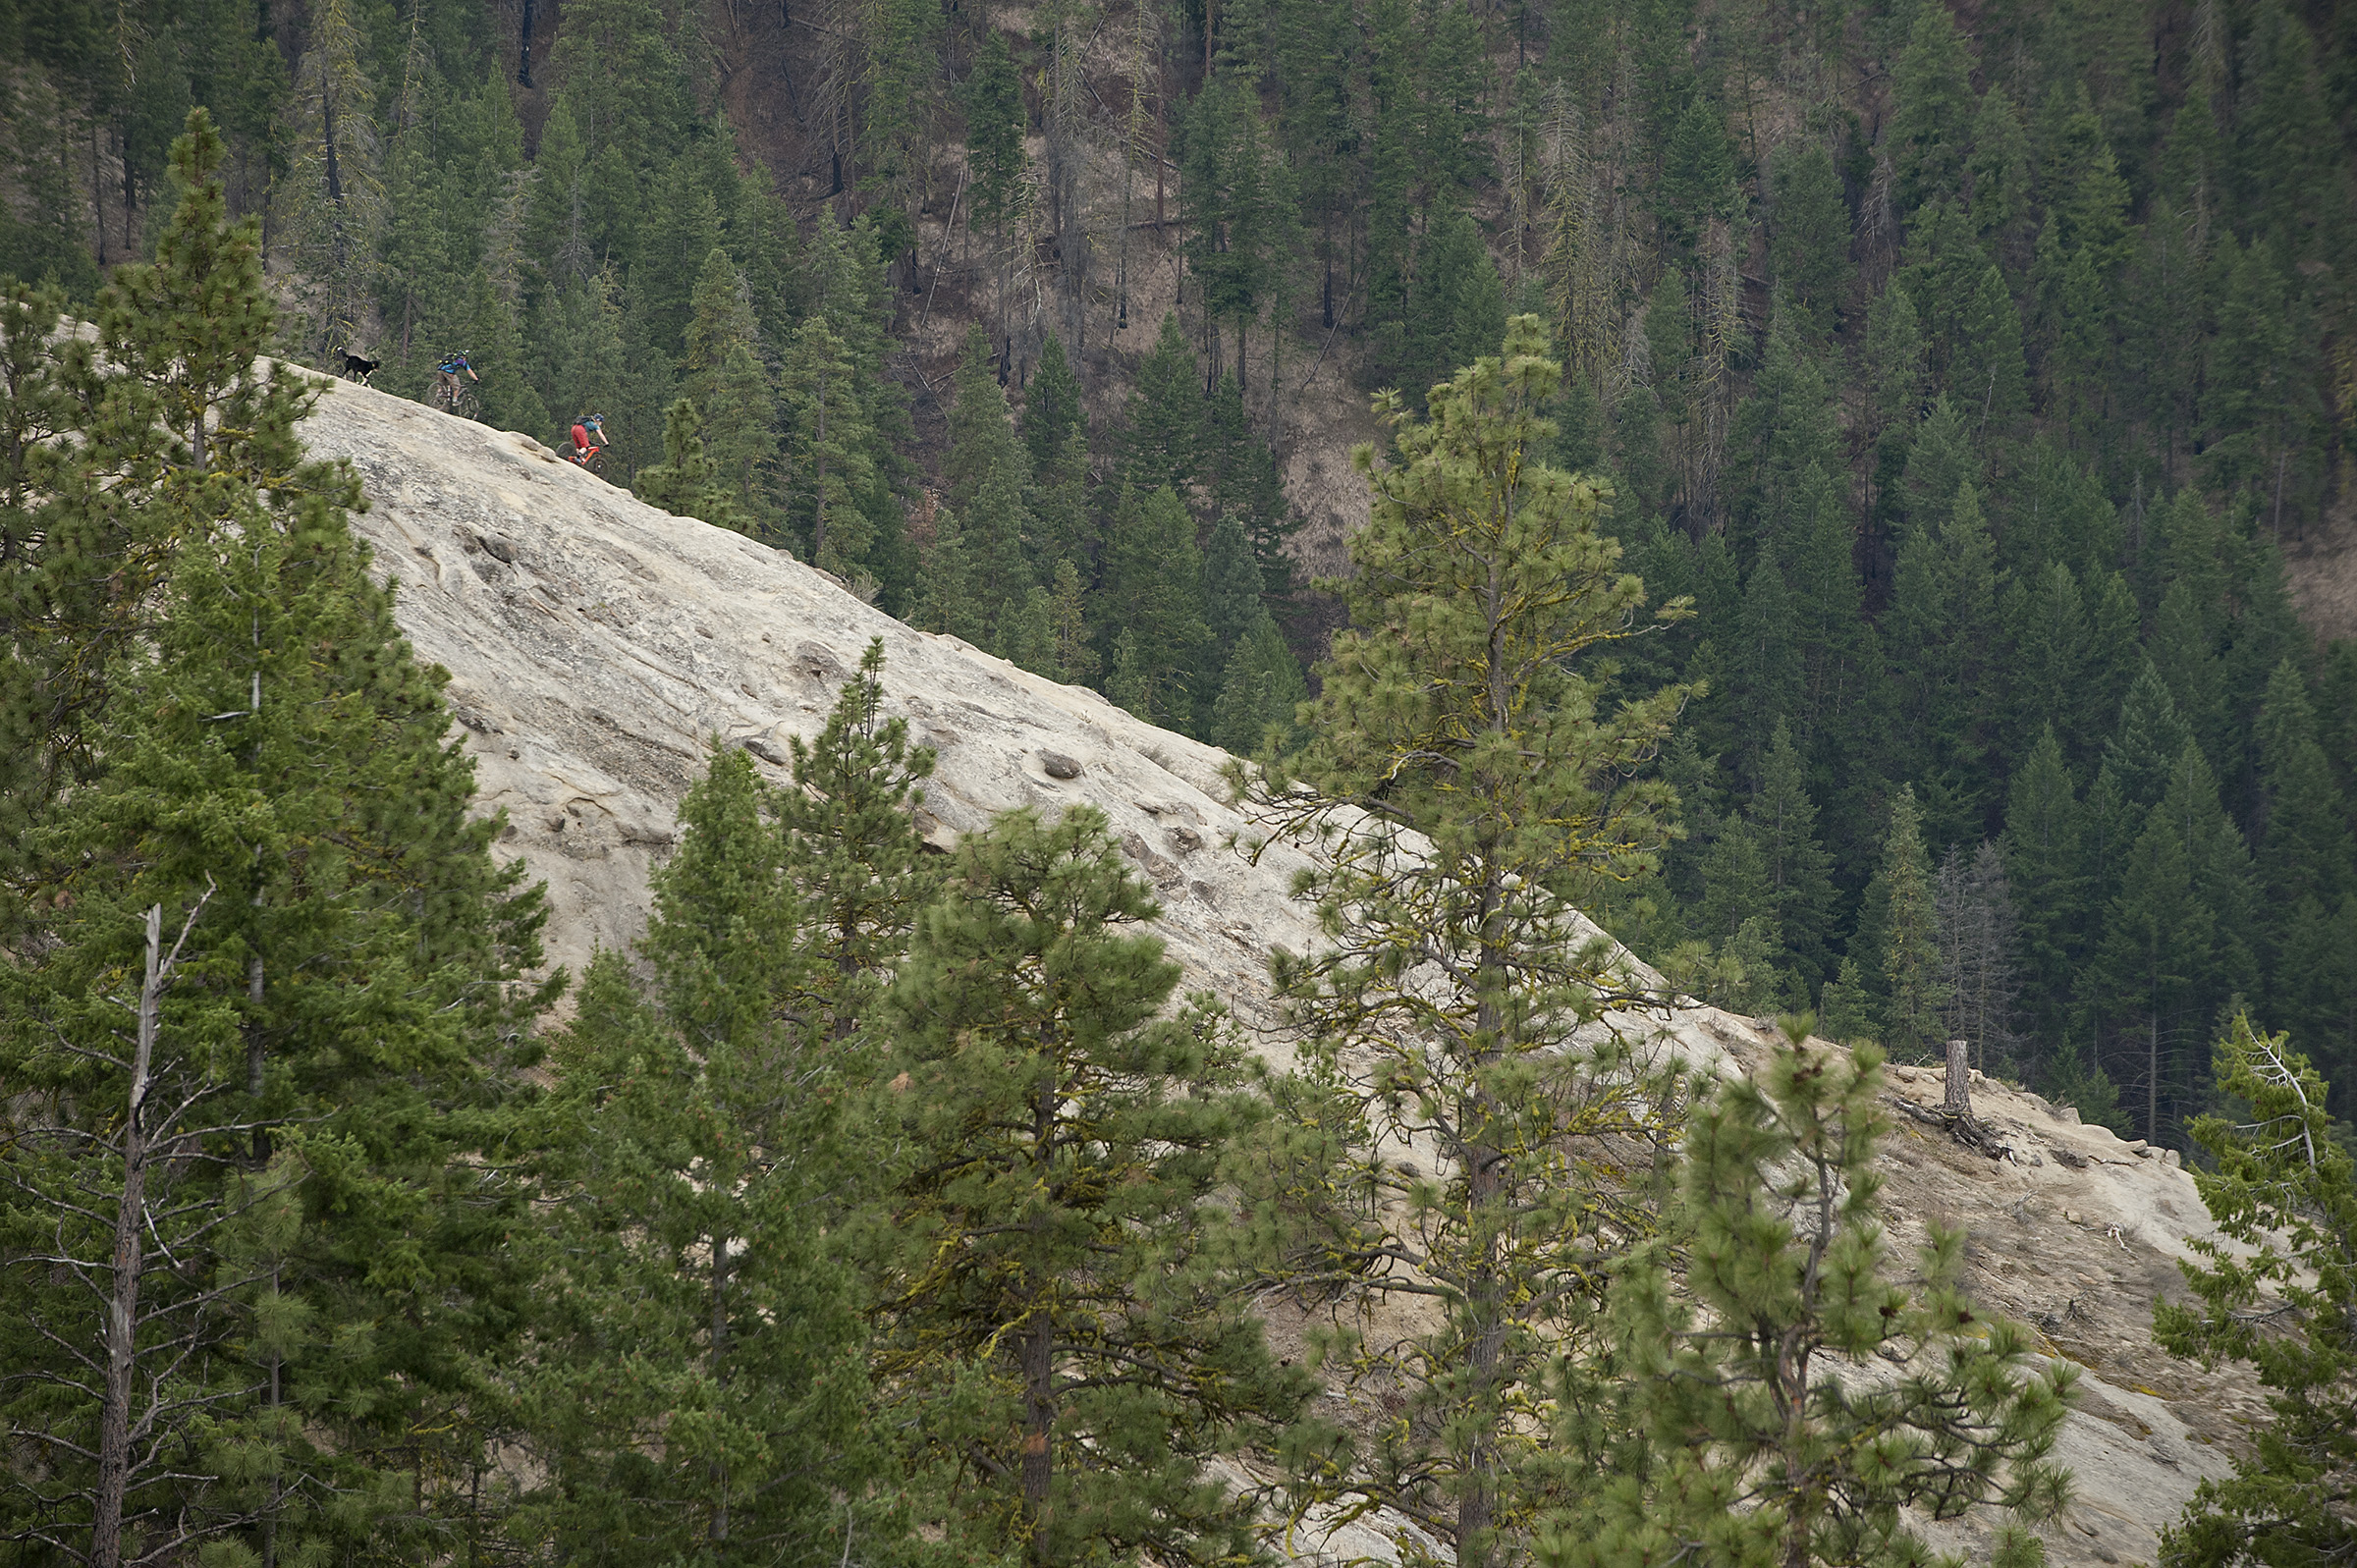
With mountain biking, it’s easy to get hung up shooting only the action. Those fast-paced moments are where all the fun is. But don’t forget to take notice of the day in-between the action peaks. Remember the uphill climb, waiting to drop in, getting ready, tailgaiting—you name it. It’s these shots that will often bring back the greatest memories when you look at them later.
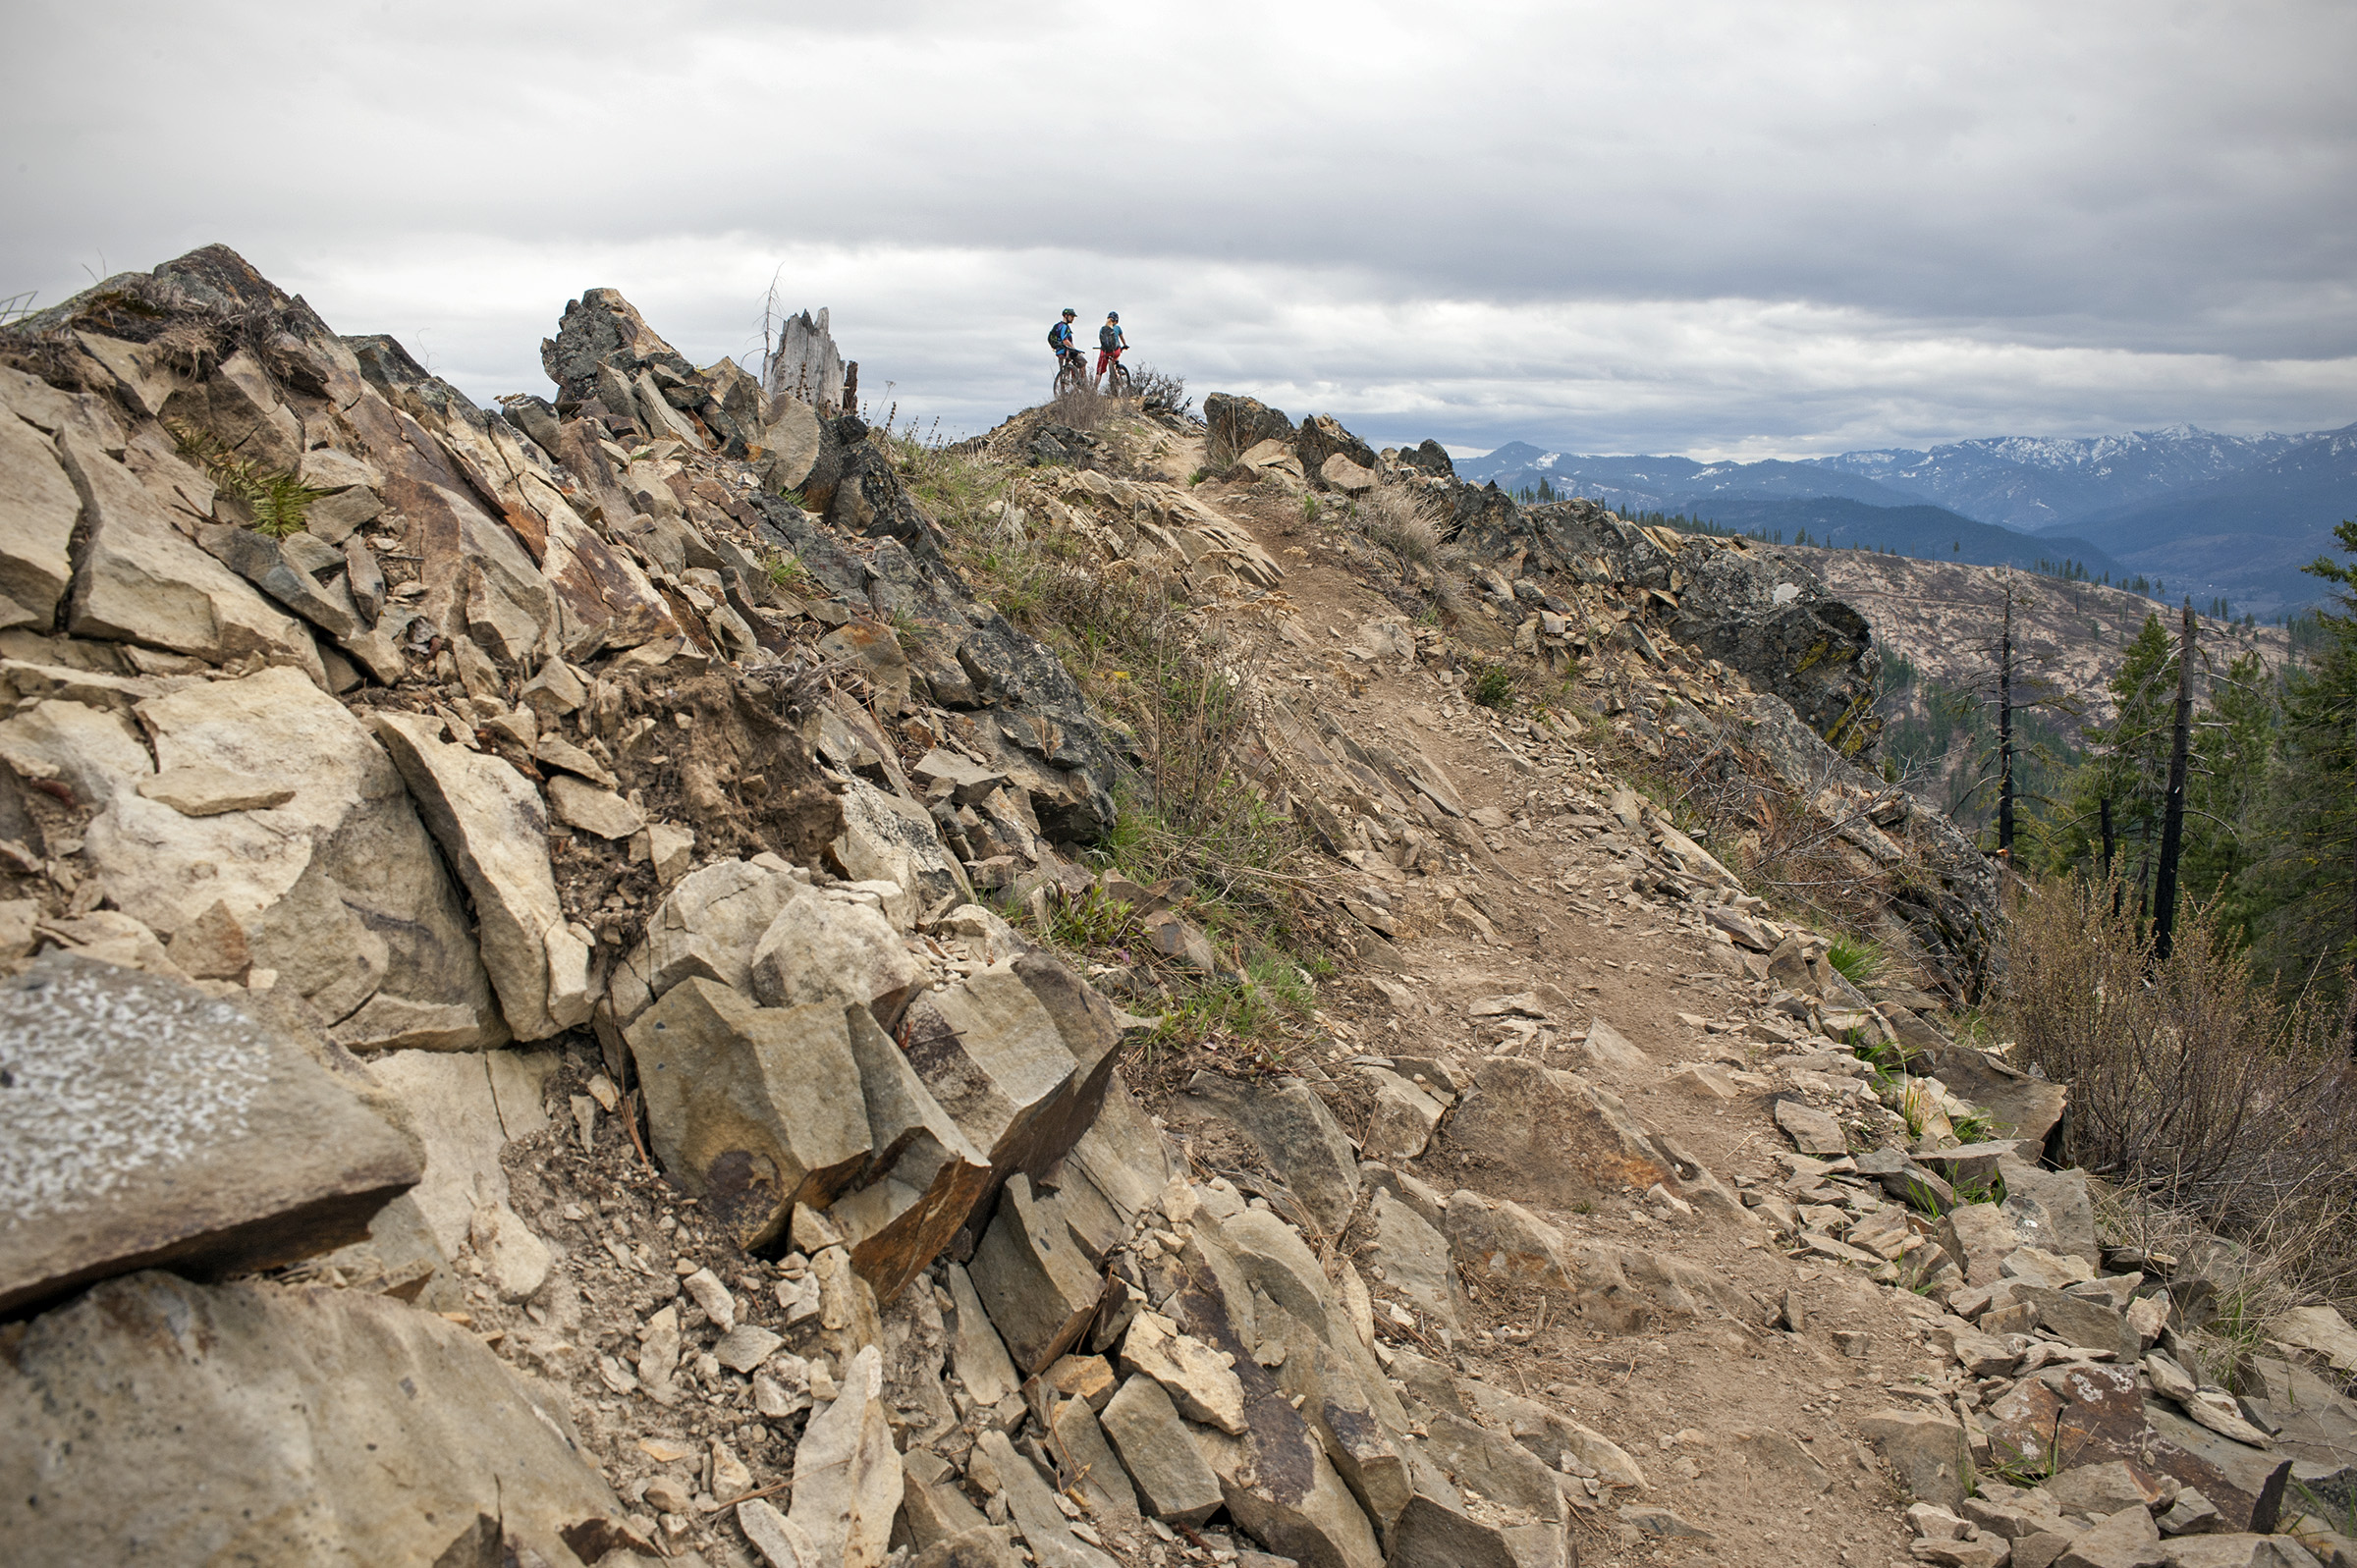
And while you’re at it, don’t get stuck taking only close-up shots of your friends. Or similarly, only shooting wide, scenic, “where’s Waldo” shots. Make sure to take a mix of both, with details, too. Shots of a tire, tracks in the mud, your friend’s dusty hands, whatever it might be. Having variety in your photo’s focal lengths will help to tell the story of your day’s adventure while also making it a lot more interesting to look at.
Communicate with your athletes. This is important with every sport you’ll shoot. Tell your subject what you’re looking for, where you want them on the trail or where you want that peak moment to occur. If your athlete knows what you’re looking for, they’ll be more likely to hit that mark. And remember your two-way radios. Yelling uphill to communicate is not only inefficient, it’s annoying to others that aren’t in your group.
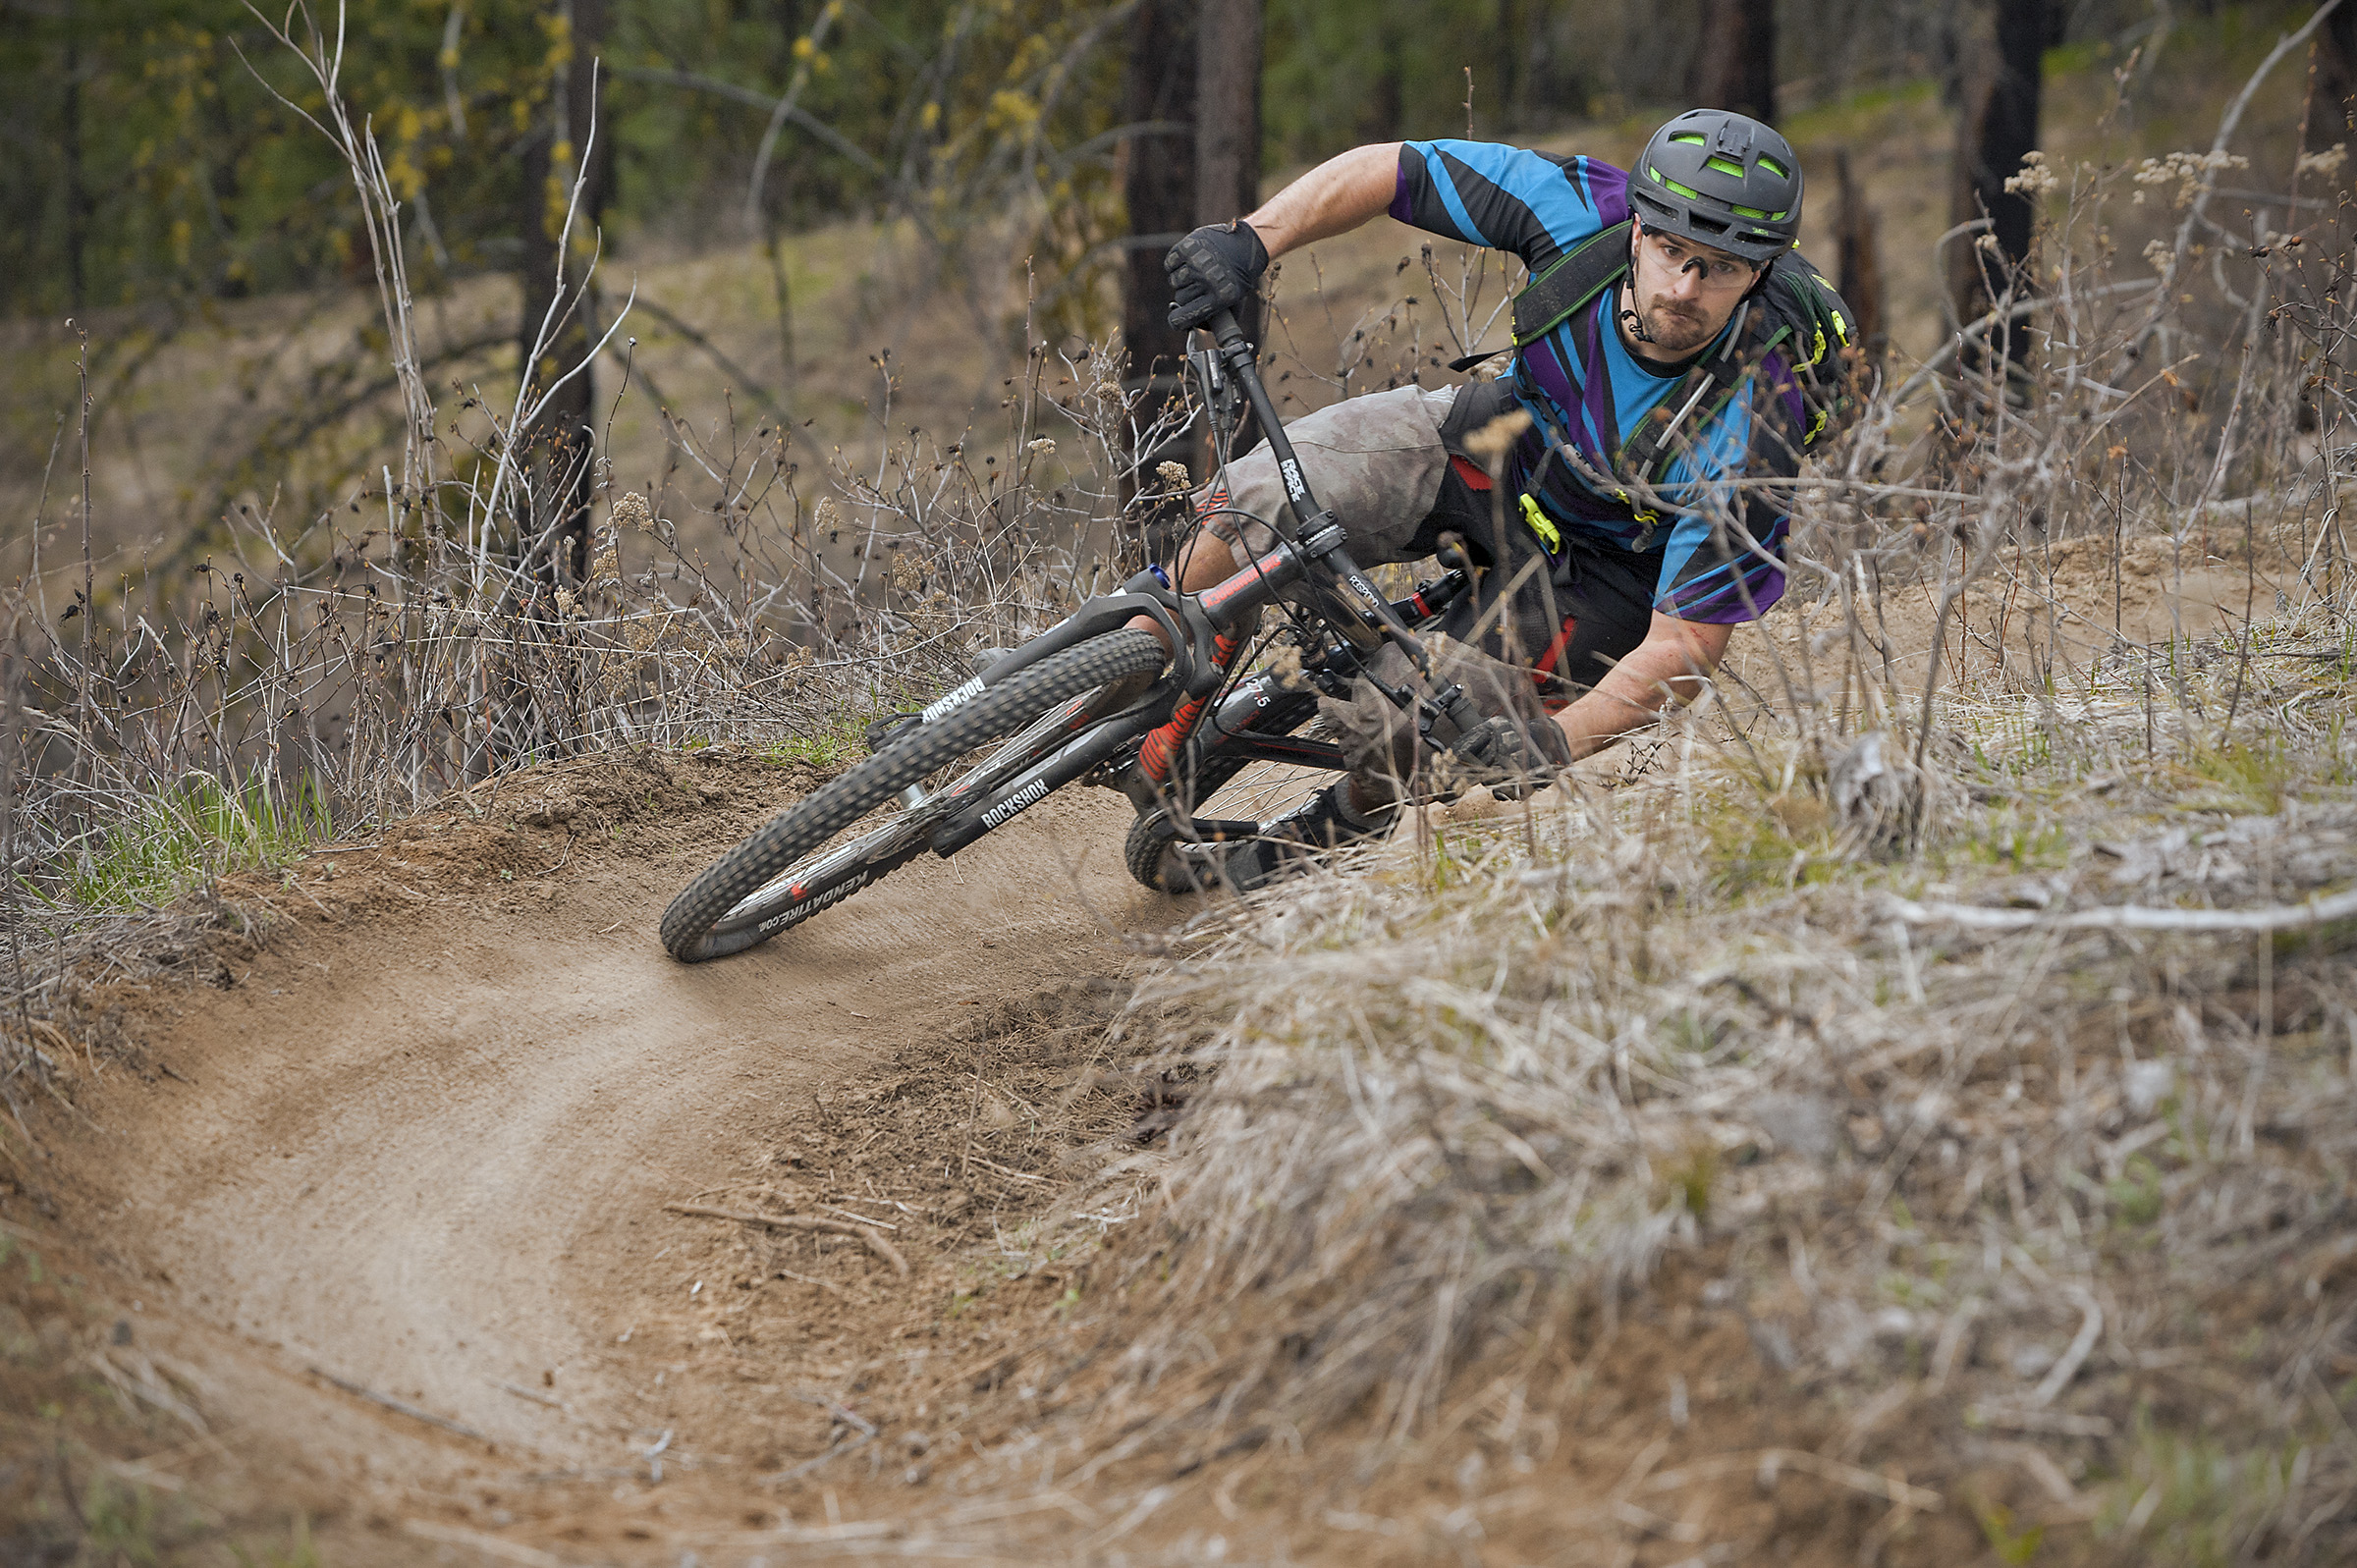
To shoot cornering photos, try to get low. Placing your camera on the ground and looking up at a corner provides a unique angle. You’ll see the detail in the tires grabbing onto the dirt, plus it will give you an interesting view of the athlete.
Take note of the clothing and helmets your friends are wearing. Bright colors stand out in photos and draw your attention. Dark or neutral colors look muddy and make it more difficult to see your athlete in frame.
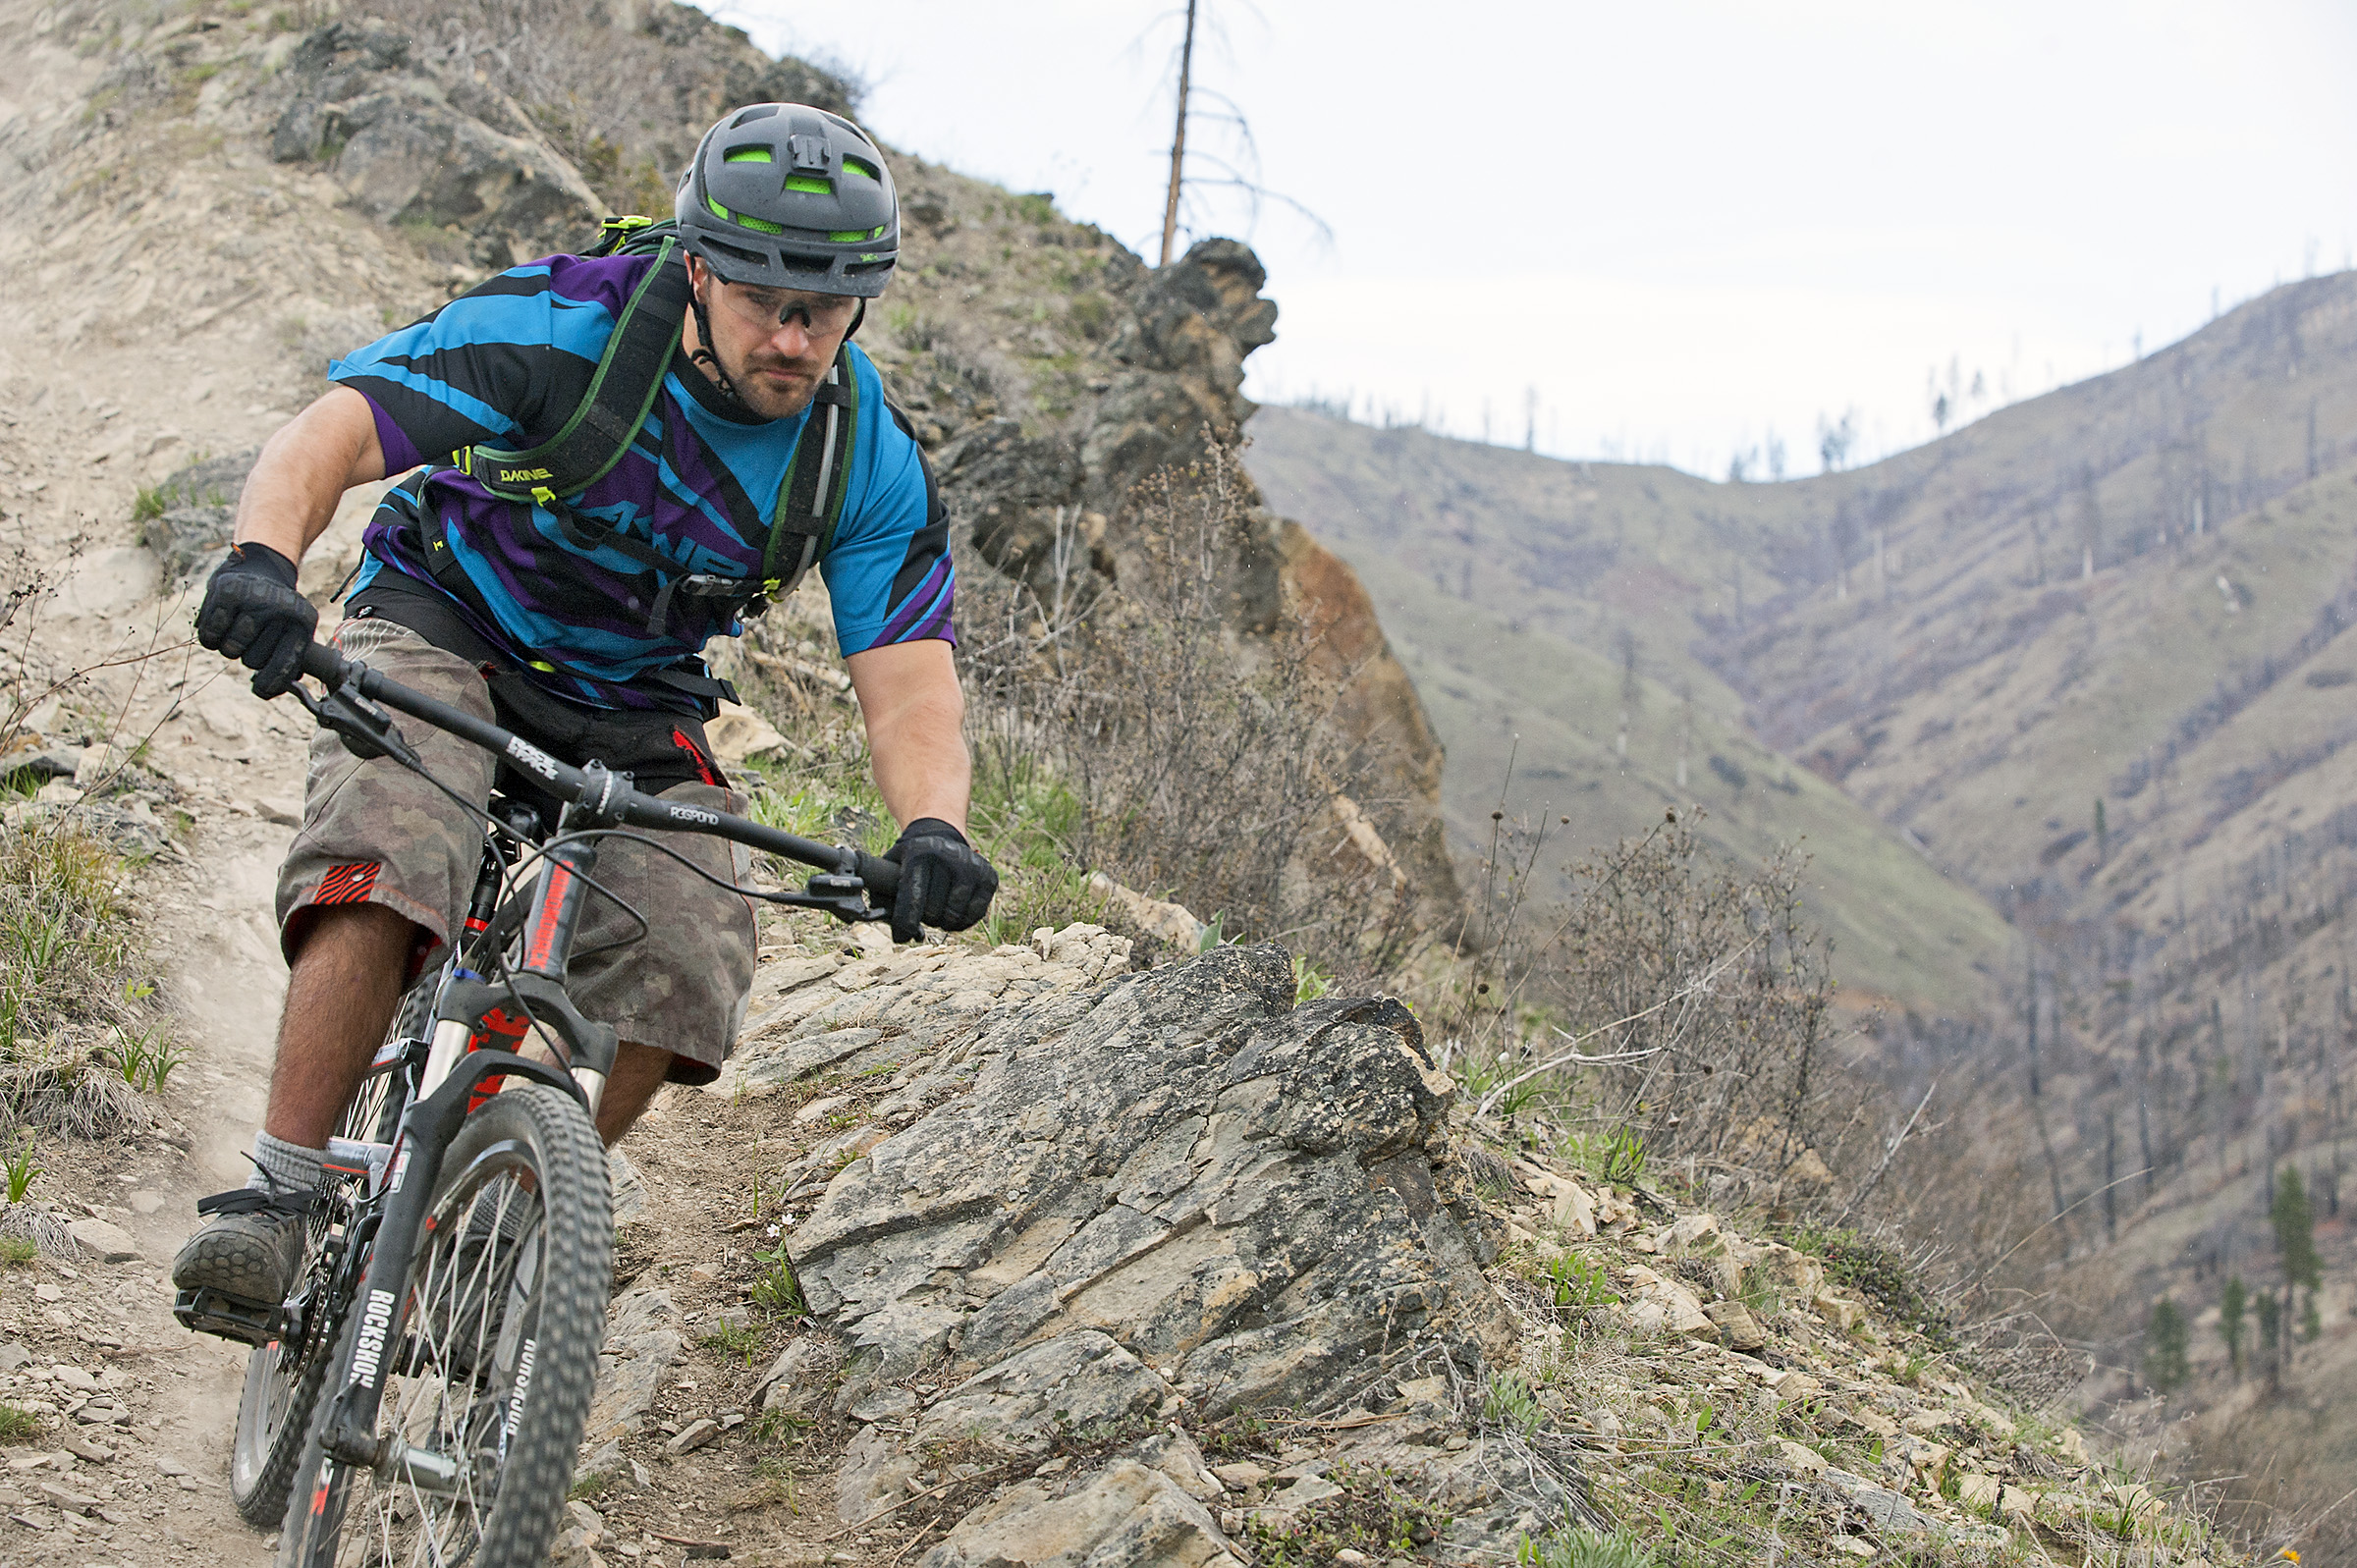
Additionally, take a look at your athlete’s helmet. If it has a visor, consider raising it to its highest setting or coach the rider to look up slightly when you’re shooting. If you can’t see the eyes of your athlete, the photo of him or her will appear less engaging.
Don’t get bogged down carrying too much gear. I’m guilty of ignoring this advice and I almost always regret that decision on the climb. While carrying all your gear lets you choose any lens you own, you’ll also feel weighted down all day. Often you’ll be the slowest on climbs and you’ll have to avoid certain technical sections because of the added weight and resulting shift in balance. Pack light. If you have a camera with one lens that can cover a wide variety of focal lengths (18mm–300mm), you’ll save yourself a ton of hassle.
Pre-focus your camera. Choose where you want your athlete to be at the peak moment of action. Place a pebble or leaf as a marker, or have someone stand in for a moment, then set your focus and lock it. If you try to focus on your rider as he or she approaches, chances are, you’ll miss focus, especially if they’re coming straight at you. Looking for a compromise? I still advise pre-focusing, but instead of physically locking your focus, just hold down the auto-focus lock (AF-L) button. Shoot with the lock button depressed until your athlete moves beyond the focus point, then release and try track focusing as they move.
Mountain biking photography often takes you into dark forests, so know in advance how to compensate for this. A lot of my favorite trails are located deep in the mossy forests of the Pacific Northwest. These locations are lush, beautiful and often times, very dark. Trying to shoot at fast shutter speeds in low light isn’t easy. Consider investing in “fast” lenses, or lenses with large apertures (f/2.8 or better), that will allow a maximum amount of light to reach your sensor even at fast shutter speeds.
Additionally, know how your camera shoots at high ISO values. Depending on the make and model of your camera, you’ll find that your camera will shoot “noisy” files the higher you go up the ISO scale. Find out in advance what ISO values your camera can withstand and avoid going above those values when shooting. Ignore this advice and you’ll come out with photos that are pixilated and blurry. (A side note: If you’re going to be shooting a lot of biking photos in the forest, you may want to look into noise reduction software and Photoshop filters to help eliminate noise in your photos; but that’s an entirely different topic that’s too large to dive into here.)

If you’re finding that even with fast lenses and a high ISO you’re not able to shoot at fast enough shutter speeds, then consider packing along some additional light in the form of speedlights or strobes.

Avoid shooting midday. When the sun is directly overhead, it creates harsh, unflattering light. This light is incredibly contrast heavy (with very dark tones and very bright tones) and most cameras don’t have the dynamic range to capture this. Instead of lamenting the woes of the limitations of modern-day cameras, instead try shooting in the mornings and evenings when the ambient light is tempered and the resulting contrast isn’t as strong.
Carrying your gear. When you, the photographer, are participating in the same sport you’re shooting, your gear is at risk of getting trashed. Invest in a solid photo pack that can protect your gear while allowing quick access to your camera. Additionally, look into packs that have a built-in rain shield. Getting caught in a quick-moving rainsquall can ruin your gear if you’re not prepared for it.
Remember the basic photo techniques (proper exposure, rule of thirds, interesting vantage points, etc.) before you go out and shoot. See our previous lesson if you need a little refresher.
Have fun!
(Originally written and created by Ian Coble for REI. See the original article HERE)


Sorry, the comment form is closed at this time.